


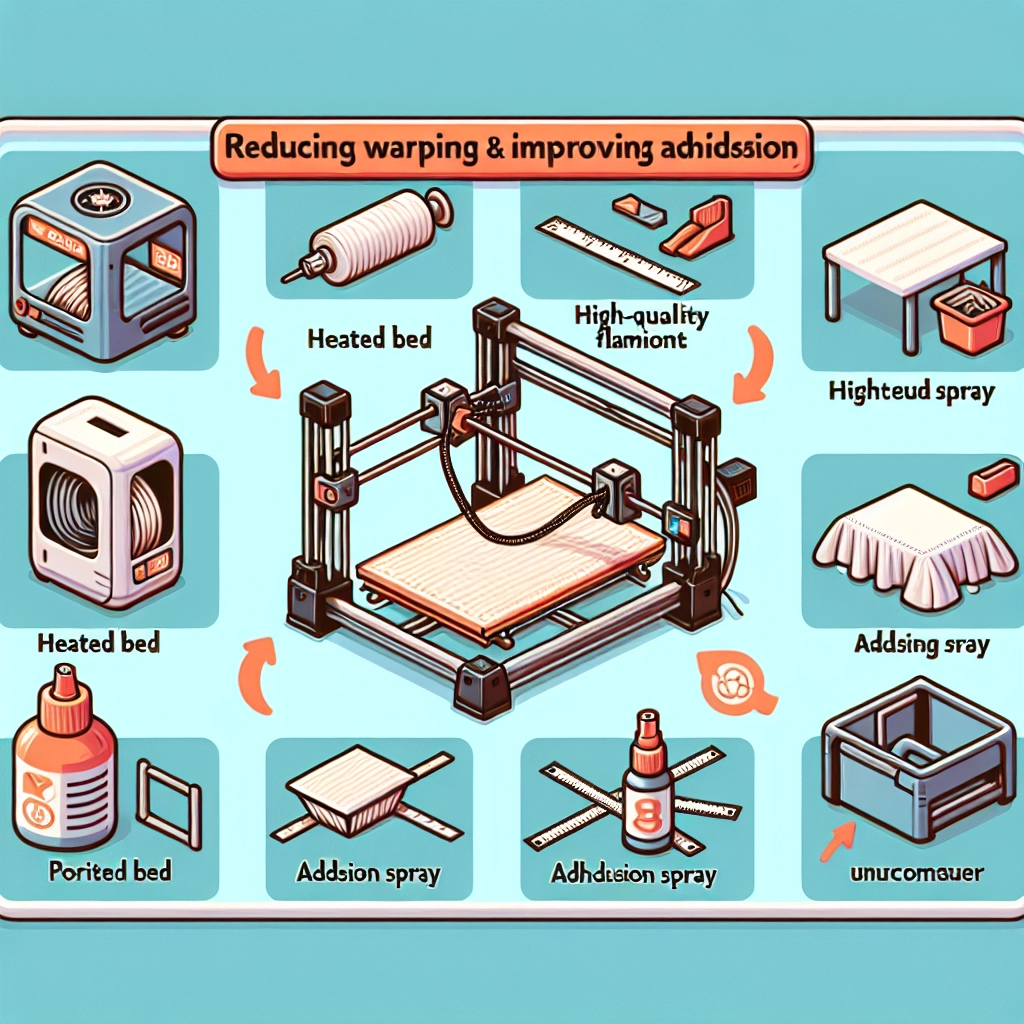
Tips to Reduce Warping and Improve Adhesion in 3D Printing
Ah, 3D printing—what a fascinating blend of creativity and technology! Whether you’re an experienced maker or a newbie in the 3D printing world, you’ve likely encountered some challenges along the way. One of the most common issues that can drive you a little bonkers is warping. Nothing is more frustrating than diligently preparing your model, only to have it curl up like an old receipt during printing. Fear not! Let’s dive into some effective tips to reduce warping and maintain solid adhesion for fantastic results.
Understand the Basics
Before we jump into specific tips, it’s essential to understand why warping occurs. Warping typically results from uneven cooling—when certain parts of the printed object cool down faster than others, leading to a change in shape (or worse, a failed print). This often happens with materials like ABS, which tend to shrink as they cool. Understanding this fundamental issue will help you better apply the strategies we’ll discuss.
1. Level the Print Bed
First things first: a leveled print bed is key. An uneven surface can be the source of many headaches, causing adhesion issues that lead to warping. Take the time to ensure your print bed is perfectly level before starting a print. Most printers have built-in leveling systems or guides, but a manual check can go a long way. A ruler or a piece of paper can help you see how close the print head is to the bed at various points.
2. Improve Bed Adhesion
Bed adhesion plays a pivotal role in reducing warping. Here are a few easy tricks to boost it:
-
Use the Right Surface: Different printing surfaces offer various levels of adhesion. Glass, PEI sheets, or specialty tapes can work wonders. Experimenting with multiple materials can help you find the one that suits your needs best.
-
Apply Adhesive Agents: Consider using adhesive sprays, glue sticks, or even painter’s tape. A thin layer of glue stick can do the trick for many filament types, providing a better grip for the first layer.
-
Adjust Temperature: Keeping your print bed at the right temperature can notably enhance adhesion. For example, keeping ABS prints around 100-110°C helps mitigate issues with warping.
3. Temperature Control
Speaking of temperature, let’s delve deeper into it! Maintaining a controlled environment during printing can greatly reduce warping. Here’s how:
-
Enclosure: If your printer doesn’t already have an enclosure, consider building or buying one. An enclosed space can help maintain a consistent temperature and protect your print from drafts that could cause uneven cooling.
-
Ambient Temperature: Try to print in an environment with minimal temperature fluctuations. Avoid drafts from windows, vents, and doorways that might affect cooling.
4. Optimize Print Settings
Your slicing software has a big say in how your print will behave, so adjusting your settings can make a significant difference. Here are a few adjustments you can make:
-
First Layer Height and Speed: Lowering the speed for the first layer helps with better adhesion. A thicker first layer can also act as a solid foundation for the rest of your print.
-
Brim and Raft: Utilizing a brim (a few extra rings around your model) or a raft (a thick base layer) can help hold your print down and reinforce adhesion on the initial layers.
-
Cooling Settings: Using minimal or no cooling for the first few layers can allow for better adhesion and help combat warping.
5. Choose the Right Filament
Lastly, the material you’re working with can have a massive impact on the quality of your prints. Here are a few suggestions:
-
PLA: If warping gives you too much trouble, consider switching to PLA. It’s much less prone to warping compared to ABS. Plus, it’s easy to print with and doesn’t emit strong fumes!
-
Specialty Filaments: There are also many options available that are designed to reduce warping, such as ASA or PETG, which can offer the durability of ABS with better adhesion properties.
3D printing can feel like a rollercoaster of triumphs and frustrations, but with a little patience and the right techniques, you can minimize warping and improve adhesion significantly. Remember, practice makes perfect! Each print you work on helps you learn more about your machine and materials, paving the way for even better projects in the future. Happy printing, and may your models come out flawless!