


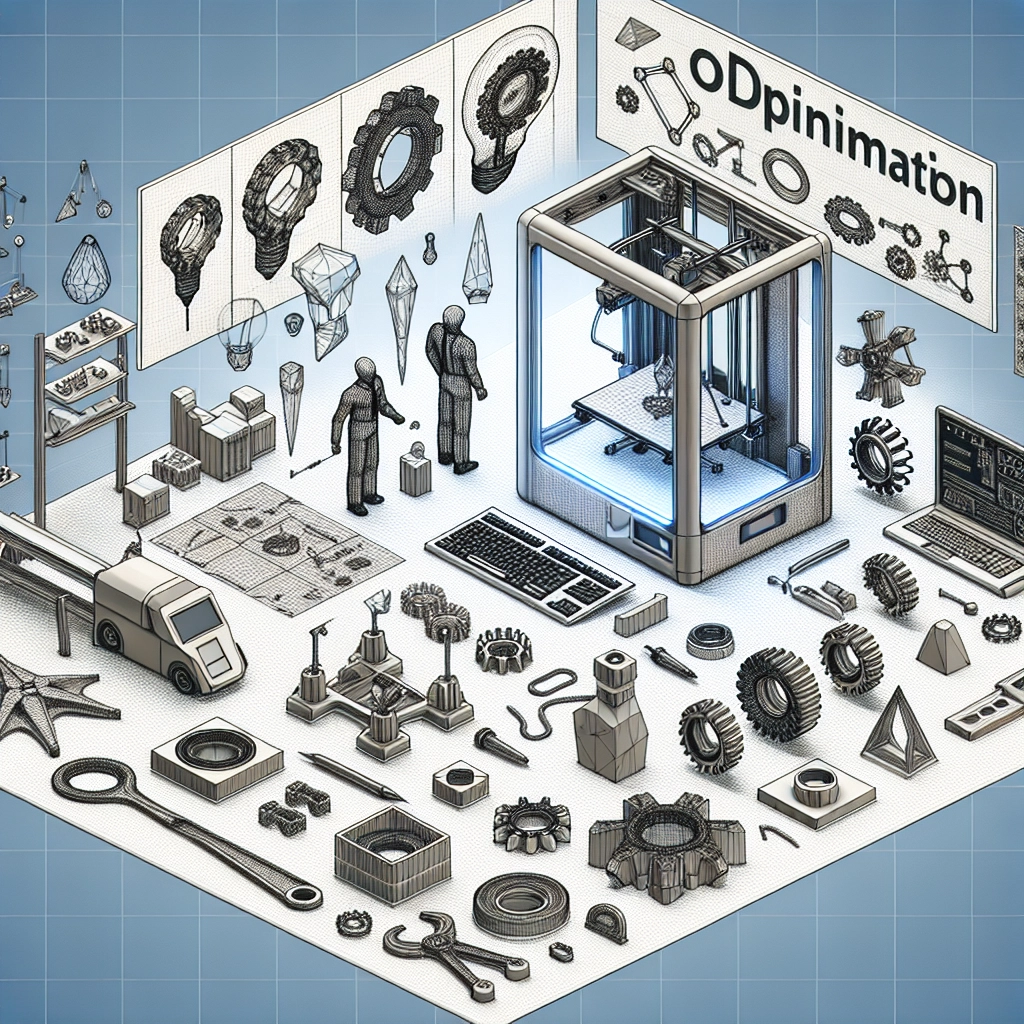
Designing Functional Parts: Optimizing Your 3D Prints
If you’re diving into the world of 3D printing, you’ve likely realized that creating the perfect print isn’t just about hitting that “print” button and waiting for success. There’s a bit of artistry and a whole lot of science involved, especially when it comes to designing functional parts. Whether you’re crafting a prototype, a replacement piece, or a unique gadget, the ultimate goal is to optimize those prints for functionality. Let’s explore how to do just that!
Understanding the Basics of 3D Printing
Before we get into the nitty-gritty of functional designs, it’s important to understand how 3D printing works. In simple terms, 3D printing is an additive manufacturing process where material is layered on top of each other to create a three-dimensional object from a digital model. The type of material you choose, the printing technology used (like FDM, SLA, or SLS), and the specific print settings can dramatically affect the strength, durability, and functionality of the final product.
Choosing the Right Material
Selecting the appropriate material is one of the most crucial steps in your journey toward a functional part. Each material has its own properties which can greatly impact the strengths, weaknesses, and abilities of your print.
-
PLA (Polylactic Acid) is great for beginners due to its ease of use, but it may not be the best choice for functional parts that will be exposed to heat or high stress.
-
ABS (Acrylonitrile Butadiene Styrene) is tougher and more heat-resistant, making it a solid choice for functional parts, though it can be tricky to print due to warping.
-
PETG (Polyethylene Terephthalate Glycol-modified) offers a great balance between durability and ease of printability, ideal for parts that require some flexibility.
-
Nylon is incredibly strong and flexible, perfect for parts that need to endure stress but can be a challenge if you’re new to the game.
Take some time to consider what demands your part will face. Will it need to withstand heat? Will it be subjected to regular mechanical stress? Answering these questions can guide you toward the right material for your needs.
Design for Strength
When it comes to designing functional parts, structural integrity is key. Here are some tips to enhance strength in your designs:
-
Incorporate Fillets: Sharp corners can be stress points. So, when designing parts that will bear weight or experience friction, consider using fillets or chamfers to distribute stress more evenly across the piece.
-
Optimize Wall Thickness: Thin walls can save material and reduce weight, but they can also compromise strength. Do some analysis to find the sweet spot; generally, a thickness of at least 2-3mm is a good starting point for many functional applications.
-
Use Lattice Structures: If your design allows it, incorporating lattice structures can significantly enhance strength while minimizing weight. This design approach also encourages better filament bonding during the print.
Print Orientation Matters
Did you know that the orientation of your print can make a significant difference in its strength and functionality? Printing a part vertically often results in stronger pieces than printing it flat, due to the way layers bond together. However, this isn’t a universal rule. It can depend on the type of part you’re creating and the specific stresses it will encounter. Conducting test prints in various orientations can highlight the best choice for your application.
Fine-Tuning Print Settings
Now that your part design is looking strong and fabulous, it’s time to get those print settings dialed in.
-
Layer Height: Smaller layer heights will yield finer details, but they also require more print time. Balance detail versus speed based on how your piece will be utilized.
-
Infill Density: Adjusting the infill density can significantly impact the weight and strength of your printed part. For functional parts, a higher infill percentage (around 20-50%) is recommended to ensure durability.
-
Print Speed and Temperature: Don’t rush things! Slower print speeds often lead to better layer adhesion and a higher quality finish. Additionally, ensure you’re printing at the temperature recommended for your material to improve strength and reduce warping.
3D printing is a fantastic tool that has opened doors for creators, hobbyists, and engineers alike. By selecting the right materials, optimizing your designs for strength, carefully considering print orientation, and fine-tuning your print settings, you’ll be well on your way to creating functional parts that fulfill your needs. Through trial and error, coupled with a little patience, you’ll not only keep improving your printing skills, but you might even discover unique solutions and designs you never thought possible!
Dive into your next project with excitement and curiosity. Who knows what amazing (and functional) creations await you in the realm of 3D printing!