How to Create Detailed Miniatures with 3D Printing
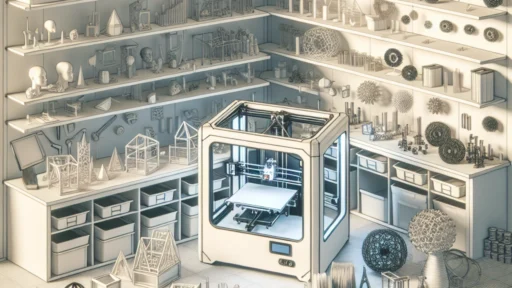
3D printing has revolutionized the way we create physical objects, and one of the most fascinating uses of this technology is in crafting detailed miniatures. Whether you’re a tabletop gamer, a hobbyist, or an artist, creating your own miniatures can be both rewarding and fun. Let’s chat about how to get started, some techniques to achieve complexity and detail, and a few tips to elevate your creations!
1. Get Familiar with 3D Printers
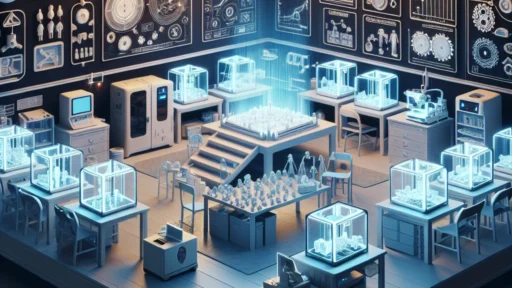
First things first: if you don’t already own a 3D printer, it’s time to do some research and find one that suits your needs. There are two main types of 3D printers you might consider:
-
FDM (Fused Deposition Modeling): This is the most common type of 3D printer. It works by melting plastic filament and laying it down in layers to create an object. While FDM printers are often more accessible and affordable, they may not capture fine detail as well as other options.
-
Resin Printers: For higher detail, consider a resin printer, like those using SLA (Stereolithography) or DLP (Digital Light Processing). These printers use light to cure liquid resin, resulting in incredibly high-resolution models and intricate details, which are perfect for miniatures.
No matter what type you choose, familiarizing yourself with the printer and understanding its capabilities is essential.
2. Design Your Miniature
Once you have your printer set up, you can either design your miniatures from scratch or modify existing designs. If you’re feeling ambitious, software like Blender, Tinkercad, or ZBrush can help you bring your vision to life. For simpler projects, check out platforms like Thingiverse or MyMiniFactory, where you can browse a plethora of pre-existing models, some which are free and others available for purchase.
When designing or modifying a miniature, keep in mind the scale you want to achieve and any functional aspects, like joints for movement. Don’t be discouraged if designing from scratch is challenging; practice makes perfect, and there are loads of tutorials online to get you started.
3. Prepare the Model for Printing
Once you have your model ready, it’s time for the preparation stage. This process includes slicing your 3D model — a crucial step that translates your digital design into layers that the printer can understand. You’ll use slicing software like Cura or PrusaSlicer to set your desired print settings, which can significantly affect the outcome.
Pay attention to the layer height (lower numbers for finer detail), infill percentage (which affects strength), and support structures (which can help in printing complex geometries). These settings will influence the speed, quality, and overall success of your print.
4. Optimize Printing Settings
Getting the best print means experimenting with different settings. Every printer has its quirks, and what works great for one model might not work for another. Here are some factors to consider:
- Temperature: Ensure you’re using the correct nozzle and bed temperatures for your filament or resin type.
- Speed: Slower print speeds often yield better detail, particularly for intricate elements on miniatures.
- Layer Heights: For detailed miniatures, a layer height of 0.1mm or less can help produce smoother surfaces and finer details.
It’s definitely a game of trial and error, but don’t be afraid to adjust settings after test prints to improve your final product.
5. Post-Processing Your Miniatures
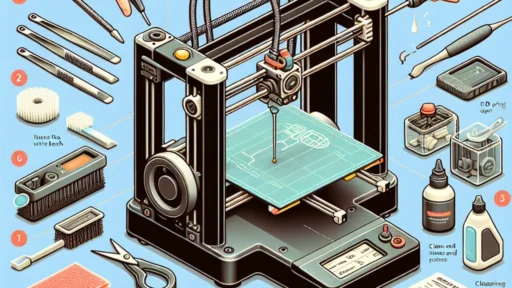
Once your miniature is printed, there may be some finishing touches needed to bring it to life. With FDM prints, you might need to sand rough edges or use a heat gun to smooth surfaces. For resin prints, cleaning off excess resin is essential, often involving a wash with isopropyl alcohol and a UV curing process to solidify the model.
Painting is another exciting step; consider using primer to ensure paint adheres correctly and then layer different colors and washes to create depth. There are huge communities dedicated to miniature painting that can offer tips and techniques for achieving that ‘wow’ factor!
6. Connect with the Community
Lastly, becoming part of the 3D printing and miniature-making community can enhance your experience. Online forums, social media groups, and local Maker Spaces offer fantastic opportunities for feedback, tutorials, and inspiration. Sharing your creations (and challenges) can lead to valuable insights and camaraderie!
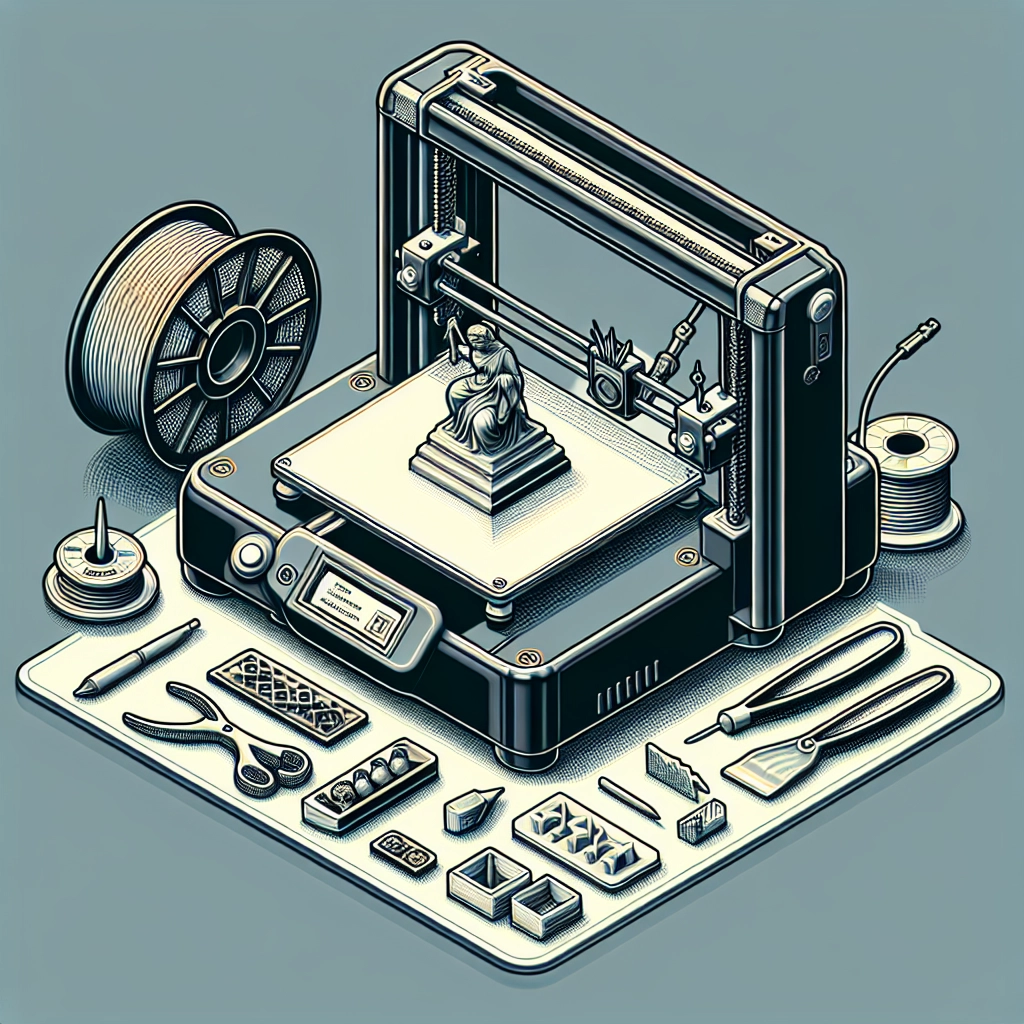
Creating detailed miniatures through 3D printing can be a deeply fulfilling craft that allows you to express your creativity and craftsmanship. With some practice, patience, and an eager spirit to learn, you’ll soon find yourself designing and printing intricate pieces you can be proud of. So grab that design software, fire up the printer, and let your imagination run wild! Happy printing!