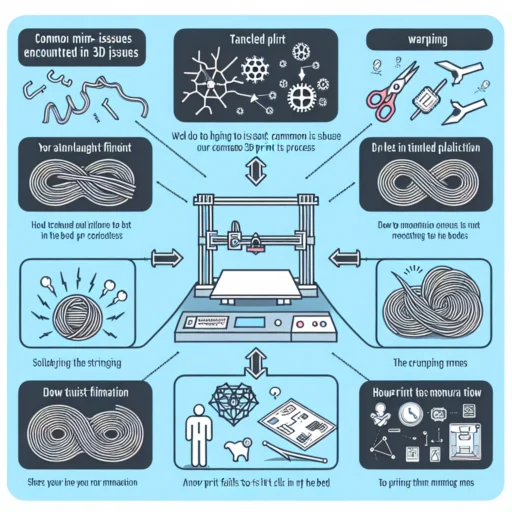
Tips for Troubleshooting Common 3D Printing Issues
Ah, the wonders of 3D printing! There’s nothing quite like watching a digital creation spring to life right before your eyes. But if you’ve already dipped your toes into this fascinating world, you know that the journey isn’t always smooth sailing. From warping and under-extrusion to stringing and layer shifting, 3D printing can be a bit of a roller coaster ride. So, let’s roll up our sleeves and dive into some common issues and their fixes.
1. Warping
One of the most notorious enemies of 3D printing is warping. It happens when the edges of your print cool too quickly, causing them to lift away from the build plate. If you’ve ever seen a print that looks like it took a tumble down the stairs, it’s probably due to warping.
Fixes:
- Temperature: Make sure the build plate is heated adequately. Using a heated bed can significantly reduce warping, especially with materials like ABS.
- Adhesion: Improve adhesion by using glue sticks, hairspray, or specially designed bed surfaces. You can even try printing with a brim or rafts to help anchor the print.
- Environment: Keep your printing environment stable. Drafts and extreme temperature fluctuations can also contribute to warping.
2. Under-Extrusion
Under-extrusion often manifests when your print sees more gaps than actual material. If your design looks like it’s been through a blender, you’re probably dealing with this issue.
Fixes:
- Extruder Calibration: Double-check your extruder calibration. Ensure that the steps per mm are set correctly so that your printer extrudes the right amount of filament.
- Clogs: Inspect your nozzle for clogs. A partially clogged nozzle can reduce flow, leading to under-extrusion. Clean it or replace it if necessary.
- Filament Quality: Sometimes, it’s simply the quality of your filament. Check to make sure it’s not old or brittle, which can affect how it flows.
3. Stringing
If you notice fine strands of material connecting parts of your print, you’ve fallen victim to stringing, often caused by excess filament oozing out while your extruder moves. Think of it as your 3D print’s version of "cobwebs."
Fixes:
- Temperature: Lower your nozzle temperature slightly. A lower temp can help reduce the oozing that leads to stringing.
- Retraction Settings: Adjust your retraction settings. Increase the retraction distance or speed to minimize the filament that remains in the nozzle during travel moves.
- Travel Speed: Increase the travel speed of the print head. A faster move means less time for the filament to ooze out, reducing the chance of stringing.
4. Layer Shifting
Layer shifting is an issue where layers of your print become misaligned, resulting in a zig-zag pattern. This can be particularly frustrating when your design has intricate details that get lost among the chaos.
Fixes:
- Belt Tension: Check the tension on your printer’s belts. Loose belts can lead to shifts in layers, so make sure they are adequately tightened.
- Stepper Motors: Ensure that your stepper motors are functioning correctly. If they’re skipping steps, you may need to check for potential overheating or electrical issues.
- Surface Vibration: Make sure your printer is located on a stable surface. If your workbench shakes or wobbles, it can greatly affect print quality.
5. Poor Bed Adhesion
An uncooperative print won’t stick to the build plate, leading to an unsettling experience watching your work unravel mid-way. There’s little more disheartening than seeing your creation come undone!
Fixes:
- Bed Leveling: Regularly check and calibrate your print bed. A level bed is crucial for good adhesion.
- Surface Preparation: Clean the print surface to remove oils and dust. Sometimes just a quick wipe with isopropyl alcohol is all you need.
- Filament Choice: If all else fails, consider trying different materials known for better adhesion, or adjusting your printing temperature.
3D printing can be a tinkerer’s paradise, and while it can often feel like you’re playing whack-a-mole with various issues, each challenge is an opportunity to learn and improve. By familiarizing yourself with these common problems and their fixes, you’ll not only save precious filament and time but also hone your skills as a maker. So, don’t let those hiccups get you down; embrace them as part of the creative process, and watch your prototypes transform into perfect prints! Happy printing!