


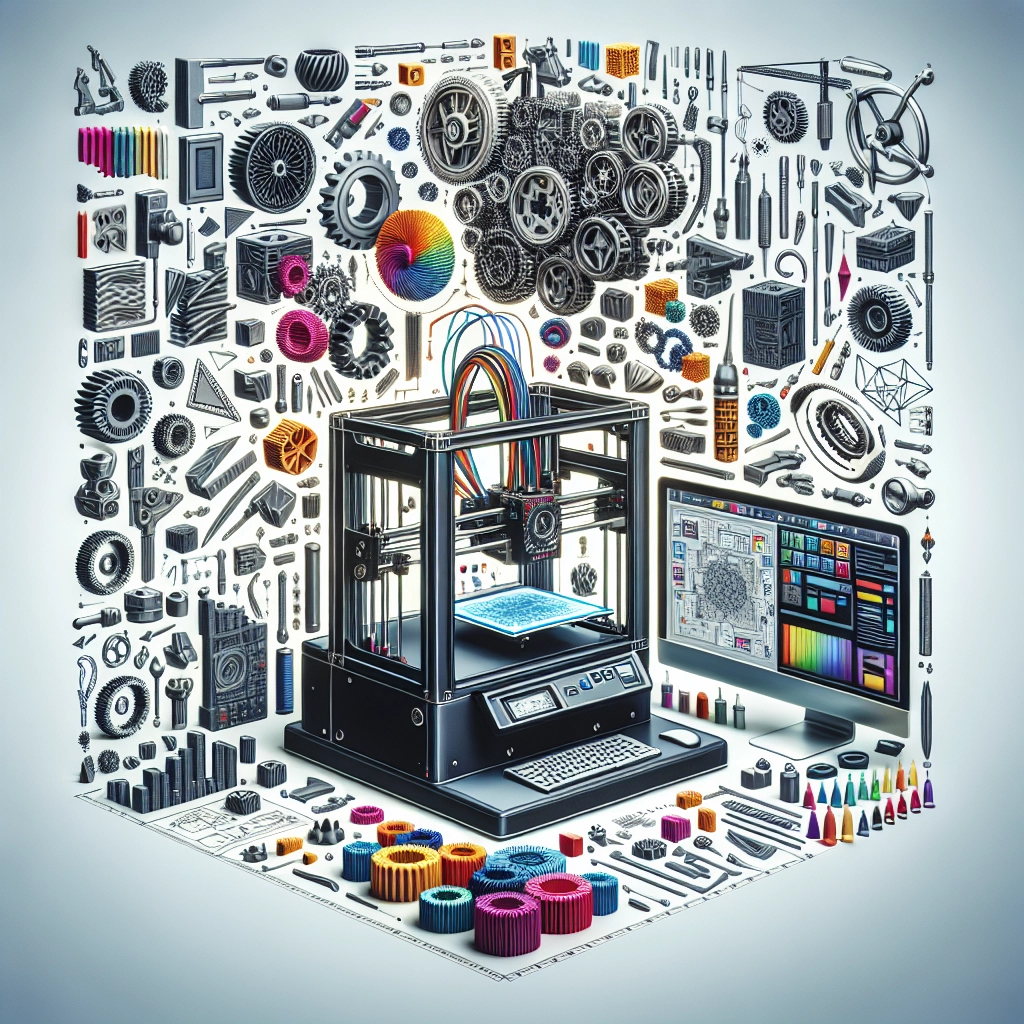
Designing and 3D Printing Functional Parts: A Beginner’s Guide
3D printing isn’t just about creating decorative objects or whimsical toys anymore—it’s transforming the way we design and manufacture functional parts! Whether you’re a hobbyist looking to make custom tools for your workshop or an engineer aiming to prototype a new gadget, 3D printing can provide an exciting and innovative approach. Let’s dive into the world where design meets functionality in the realm of 3D printing.
Understanding the Basics
At its core, 3D printing, also known as additive manufacturing, creates physical objects from digital models. You start with a CAD (computer-aided design) file, and the printer builds the object layer by layer from materials like plastic, metal, or resin. The accessibility of 3D printers has soared in recent years, making it easier than ever for anyone to start creating their own functional parts.
Choosing the Right Design Software
The first step in creating a functional part is selecting the right design software. There are plenty of options available, ranging from beginner-friendly to industry-standard software. Programs like TinkerCAD and Fusion 360 cater to different skill levels, allowing you to design everything from simple shapes to complex assemblies.
Make sure to consider the specifications and requirements of the part you want to create, including dimensions, tolerances, and any features (like holes or grooves). Understanding how to navigate your chosen software will give you a solid foundation to build upon.
Keeping Functionality in Mind
When designing functional parts, there are several key considerations to keep in mind:
-
Material Selection: Different materials have unique properties. For example, PLA is great for basic prototyping and yield simplicity but can warp under heat. On the other hand, ABS is more robust and heat-resistant but requires a well-ventilated area for printing due to its fumes. If you need metal parts, you’ll likely be looking at more specialized equipment. Choose your material based on the functionality you require.
-
Strength and Durability: Think about the stresses your part will face. Will it bear weight? Will it be exposed to heat or liquids? Optimize your design by including support structures or ribs where needed to enhance strength without excessively adding weight.
-
Assembly and Interlocking Parts: If your design involves multiple components, make sure they can be easily assembled post-printing. Interlocking pieces should have precise tolerances to ensure a snug fit, yet they need to be easy enough to put together without force.
-
Testing and Iteration: Don’t be afraid to experiment! The beauty of 3D printing is the rapid prototyping capability. Print several versions of your part, make adjustments based on performance, and keep iterating until you’re satisfied with the outcome.
Preparing for Print
Once you’re happy with your design, it’s time to slice it! Slicing software translates your 3D model into instructions that the printer can understand. You’ll set print parameters like layer height, infill density, and support structures here. Generally, a lower layer height will yield a smoother finish but increase print time, while a higher infill percentage gives greater strength but uses more material.
Pay attention to the orientation of your part during slicing; the way you position it can greatly impact the strength and surface finish. Test prints can help you gauge the success of your orientation choices.
The Printing Process
Now, it’s the moment of truth! Load your material into the printer, hit “print,” and watch as your creation comes to life. Patience is key, as printing can take anywhere from a few minutes to several hours, depending on the complexity of the design.
After printing, remember to carefully remove your part from the build plate and finish any post-processing steps, such as sanding, washing, or painting, to achieve your desired final appearance.
Real-World Applications
The potential uses for 3D printed functional parts are virtually limitless! From custom tools like screwdrivers tailored to your grip to prototype components for engineering projects, 3D printing can drastically reduce lead times and costs. Hobbyists create everything from drone parts to unique home gadgets, while professionals use it to innovate in fields like automotive, aerospace, and healthcare.
Approaching the design and 3D printing of functional parts can feel overwhelming at first, but remember that practice makes perfect. Dive into the process, make use of the countless online resources and community forums available, and soon you’ll find yourself equipped to turn your ideas into tangible creations! In a world that increasingly values customization and efficiency, 3D printing could be your ticket to unlocking endless possibilities—one layer at a time.