How to Troubleshoot Common 3D Printing Issues
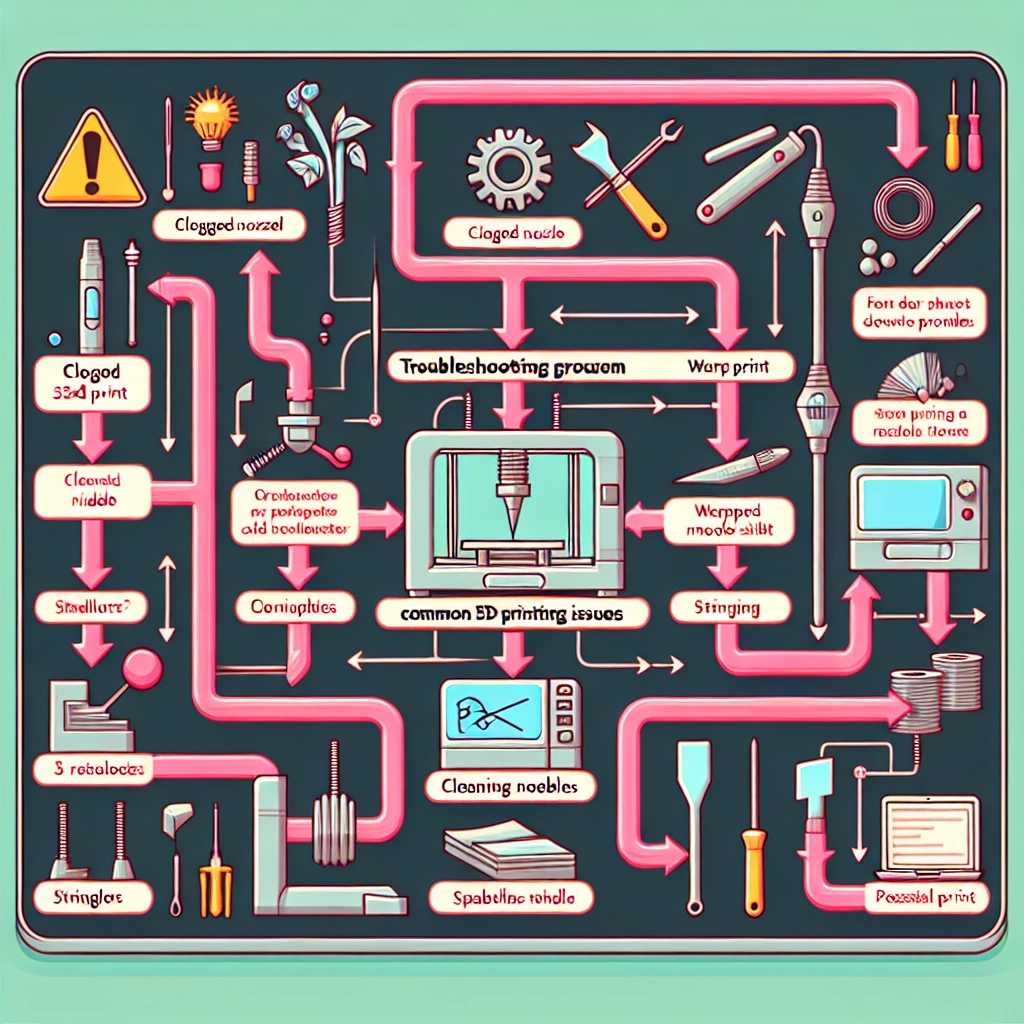
Ah, the world of 3D printing! It’s an exciting realm where creativity meets technology, and you can turn your wildest ideas into tangible objects. However, like any tech-based hobby, things can go awry. Fear not! Today, we’re diving into some common 3D printing issues and how to troubleshoot them like a pro.
Layer Misalignment
One of the most frustrating issues you might encounter is layer misalignment. It’s not just annoying; it can ruin your print entirely. This usually happens when your printer’s axes aren’t calibrated or the belts are loose.
What to do:
-
Check Calibration: Start with calibrating the X, Y, and Z axes. Refer to your printer manual for specific instructions. Many printers come with a calibration cube file, which you can print to check if the dimensions are correct.
-
Tighten Belts: Give your printer’s belts a quick inspection. If they’re loose, adjusting the tension can often solve the misalignment problem. They should be firm but not overly tight.
-
Inspect the Build Plate: Ensure that the build plat is secure and leveled. Warping can throw your entire print off balance, leading to misalignment.
Poor Adhesion
Nothing’s more disheartening than watching your print lift off from the build plate after you’ve spent hours waiting. Poor adhesion can result from various factors, including bed temperature, surface, or even the type of filament you’re using.
What to do:
-
Clean the Build Plate: Dust or grease can prevent the first layer from sticking. Wipe the plate with isopropyl alcohol or a mild soap solution.
-
Adjust Bed Temperature: Check if your printer’s bed temperature is suitable for the material you’re using. For instance, PLA typically requires around 60°C, while ABS works better at around 100°C.
-
Use Adhesives: Sometimes, a little extra help goes a long way. Consider using glue sticks, painter’s tape, or specialized printing adhesives to improve bed adhesion.
Filament Jams
Filament jams can interrupt your print and lead to all kinds of frustrations. Often, these jams occur when the filament path is obstructed or if the temperature isn’t right.
What to do:
-
Check Pathway: Make sure the filament spool can rotate freely and that there aren’t any tangles. Inspect the extruder and the nozzle for any blockages or debris.
-
Adjust Temperature Settings: If your filament isn’t melting properly, try increasing the nozzle temperature by 5 to 10 degrees. However, be careful not to exceed the recommended temperature for your specific filament type.
-
Clean the Nozzle: If your nozzle is clogged, you may need to either heat it up and push filament through or use a specialized cleaning tool to clear out any obstructions.
Stringing
Few things are as annoying as finding your print looks like it has spider webs all over it. This phenomenon, known as stringing, happens when the printer’s nozzle oozes material during non-print movements.
What to do:
-
Retraction Settings: Adjust your retraction settings in the slicer software. Increasing the retraction distance and speed can help minimize stringing.
-
Temperature Adjustment: Lowering the print temperature can also reduce oozing. Fine-tuning this will depend on your specific filament, so some experimentation might be necessary.
-
Travel Speed: Increasing the travel speed of the print head can help reduce the time it takes to move between areas, lessening the chance for filament to ooze out.
Warping
Warping occurs when corners of your print start to lift off the build plate, often leaving ugly gaps. This can be particularly problematic with materials like ABS.
What to do:
-
Bed Adhesion Techniques: As mentioned earlier, improving bed adhesion can help combat warping. Consider using a heated bed and applying adhesives if necessary.
-
Enclosure: If possible, printing in an enclosed space can prevent drafts and temperature fluctuations that cause warping. If you don’t have an enclosure, try to keep your printing area as draft-free as possible.
-
Cooling Fans: Some models can benefit from being cooled less aggressively during the first few layers. You can usually control fan speed in your slicer software.
Final Thoughts
3D printing is as much about patience and experimentation as it is about design. Troubleshooting can feel like a daunting task at first, but with a little practice, you’ll find it easier to tackle these common issues. Every failed print brings you closer to mastering the craft, so don’t be discouraged! Embrace the journey, keep those spools of filament ready, and let your creativity flow. Your next masterpiece might just be a print away!


