How to Troubleshoot Common Filament Issues in 3D Printing
If you’ve dipped your toes into the world of 3D printing, there’s a good chance you’ve had your fair share of filament-related hiccups. Whether you’re completely new to this fascinating technology or a seasoned maker, navigating filament problems can be a bit of a headache. But fear not! With a few tips and tricks, you can troubleshoot common filament issues and get back to printing your next masterpiece in no time. Let’s dive into some common problems and how to resolve them.
1. Clogging the Nozzle: A Sneaky Saboteur
Clogs are like that annoying traffic jam that holds everyone up. They can be caused by a variety of issues, such as debris in the filament, moisture absorption, or even a dirty nozzle. Fortunately, there are several ways to tackle this pesky problem.
First, make sure you’re using high-quality filament and storing it in a dry place. If your filament has absorbed moisture, consider using a filament dryer or a food dehydrator to remove the moisture.
If your nozzle is clogged, you can try a few gentle techniques. Cold pulls can be effective—heat the nozzle to the printing temperature, then lower it to about 100°C and pull the filament out. This often brings out any gunk that’s stubbornly stuck inside.
2. Under-extrusion: When Your Printer Gets Stage Fright
Under-extrusion can make your printed object weaker or lead to gaps in your layers. You might notice clumping or an inconsistent flow of filament. This issue can stem from several sources, including insufficient nozzle temperature, a partially clogged nozzle, or even a problem with the extruder.
Start by checking your print settings—especially the temperature. If it’s too low, the filament won’t melt properly. A good rule of thumb is to increase your temperature in 5°C increments until you see a steady flow. If that doesn’t help, inspect your nozzle for obstructions. A quick clean can work wonders!
Don’t forget to check your extruder as well. Sometimes the filament gear doesn’t grip the filament properly, leading to slippage. Ensure it’s clean, and adjust the tension if necessary.
3. Over-extrusion: More Isn’t Always Merrier
Just like too much icing on a cake can make it unappetizing, over-extruding filament can result in messy prints. You might see blobs, oozing, or a shiny surface that indicates excess material. This can often be adjusted by calibrating your steps per millimeter for your extruder.
It might also help to tweak your slicer settings. Reducing the flow rate or adjusting the extrusion multiplier can make a significant difference. Remember to check your initial layer settings too; sometimes a little bit of extruded filament during the first layers can cause problems if it’s cranked up too high.
4. Warping: The Unwelcome Party Crasher
Warping is that annoying phenomenon when the edges of your print start curling up, making it almost impossible to finish a nice, flat object. This problem is quite common with materials like ABS, which tend to cool unevenly.
To mitigate warping, make sure you’re using a heated bed, which can help keep the entire print base warm. Adding an adhesive like glue stick or painter’s tape can also enhance adhesion. For particularly difficult materials, consider using a print enclosure to keep ambient temperatures consistent throughout the printing process.
5. Stringing: The Web of Frustration
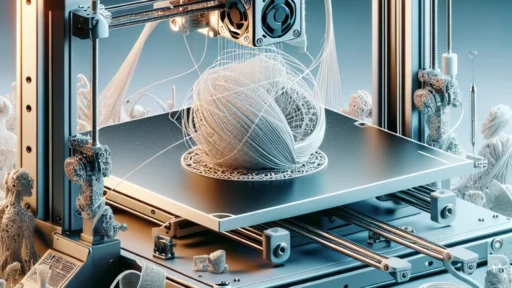
Stringing occurs when your print ends up looking like it’s got a few nasty spider webs hanging around. This usually happens when the nozzle oozes filament while moving from one point to another. Thankfully, this is often fixable with some adjustments to your slicer settings.
Increasing retraction distance or speed in your slicer can help "suck back" the filament during moves. Also, adjusting the temperature slightly can sometimes minimize stringing—too high of a temperature can result in more oozing.
Troubleshooting Filament Wisdom
In the world of 3D printing, some filament-related challenges are almost inevitable. But with a little patience and practice, you can learn to troubleshoot these common issues like a pro! Understanding what causes these problems allows you to experiment and fine-tune your settings for optimal results.
Most importantly, don’t get discouraged. Every hiccup is just a stepping stone toward mastering your 3D printing craft. With time, you’ll not only become adept at solving these issues but you might also enjoy the process of learning and creating. So grab that filament, fire up your printer, and let the journey continue!


