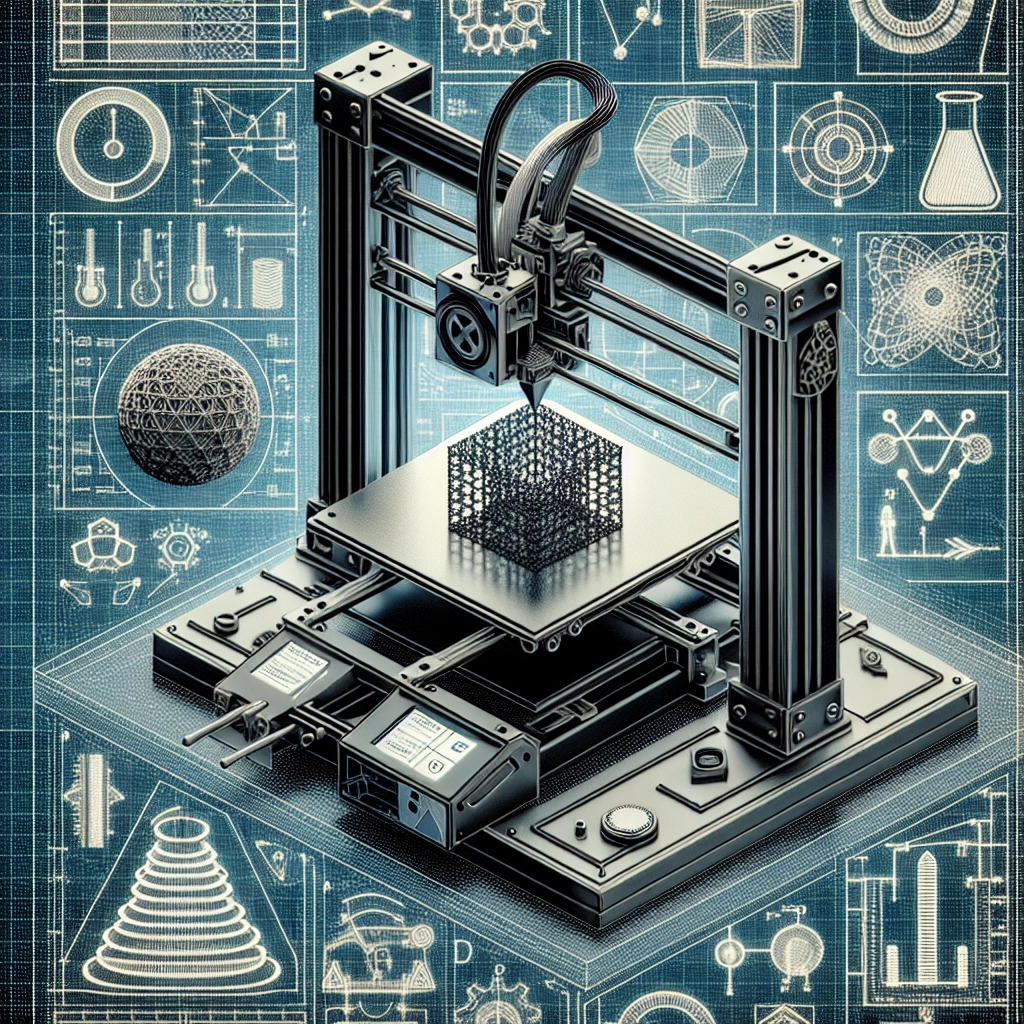
Diving Into 3D Printing: Understanding Different Print Settings
Have you ever marveled at the idea of bringing your imagination to life by creating tangible objects straight from your mind? Well, that’s the magic of 3D printing! This innovative technology has moved from the realm of industry into our homes and hobbyist workshops at an astonishing pace. But as exciting as it is to dive into the world of 3D printing, it can also feel overwhelming, especially when it comes to understanding the different print settings. Let’s break it all down, shall we?
The Basics of 3D Printing
Before we get into the nitty-gritty of print settings, let’s briefly discuss how 3D printing works. At its core, 3D printing, or additive manufacturing, involves creating a physical object layer by layer from a digital file. The printer reads the 3D model and extrudes material—usually a type of plastic—into the desired shape. Pretty neat, right?
Print Settings That Matter
When you start printing, you’ll discover a variety of settings that can drastically influence the outcome of your print. Here are some of the key ones you should know:
1. Layer Height
Layer height is one of the most critical settings to consider. It determines the thickness of each layer that the printer deposits. A lower layer height—let’s say 0.1mm—results in a smoother finish and more detail but takes significantly longer to print. Conversely, a higher layer height (like 0.3mm) will speed things up, but you might sacrifice some quality and detail.
Pro Tip: If you’re printing something that you’re going to paint or finish later, a higher layer height can save time since the imperfections will be less noticeable once painted over.
2. Print Speed
Print speed is another vital parameter that can affect print quality. It refers to how fast the printer moves while extruding filament. While it might be tempting to crank up the speed for a quicker print, doing so can lead to issues like poor adhesion between layers, stringing, or even complete print failure.
Sweet Spot: A speed between 40-60mm/s is often a good starting point for many 3D printers, but always refer to your printer model for its optimal speed settings.
3. Infill Density
Infill refers to the inner structure of your print. A lower infill density means less material is used and a faster print, but this can leave your object fragile. On the other hand, a higher infill density makes your print robust but also increases material costs and print time. Most hobbyists find a balance at around 20% infill for general use, but certain objects may require more or less, depending on their function.
4. Supports
Not every 3D model is perfectly designed for printing. Overhangs—parts of the model that extend outward without anything beneath—may need support to prevent sagging during the printing process. You can customize support settings, such as using different densities or types (like tree supports vs. grid supports) to make removal easier and improve the finish on the model.
5. Bed Adhesion
Printing can be a bit of a dance with gravity, especially when your object is trying to stick to the print bed. The first layer is crucial for a successful print. Options like brim or raft settings can help improve adhesion. A brim adds a few extra lines around your print, while a raft lays down a supportive platform.
Quick Tip: Using a good adhesive like glue stick or painter’s tape can significantly boost your first layer’s adherence, reducing the chance of warping.
6. Temperature Settings
Different materials require different temperatures for optimal extrusion and adherence. For instance, PLA usually prints well between 180-210°C, while ABS might need to be set higher. Also, the heated bed temperature varies: PLA typically needs around 60°C, while ABS does better with around 100°C.
Finding Your Rhythm
The beauty of 3D printing is that it allows for a lot of customization and experimentation. You’ll quickly find that no two models will print the same, and that includes the settings you’ll need to use. Keeping a journal of your print settings and results can create a personalized database for future projects, helping you refine your skills over time.
Getting started with 3D printing can feel daunting with all the options available, but understanding the various print settings helps to demystify the process. Whether you’re making a fun project for yourself, a gift for a friend, or a prototype of a groundbreaking idea, experimentation is key. So, grab your 3D model, tweak those settings, and let your creativity flow! After all, the journey from digital design to physical object is as thrilling as it is rewarding!

