


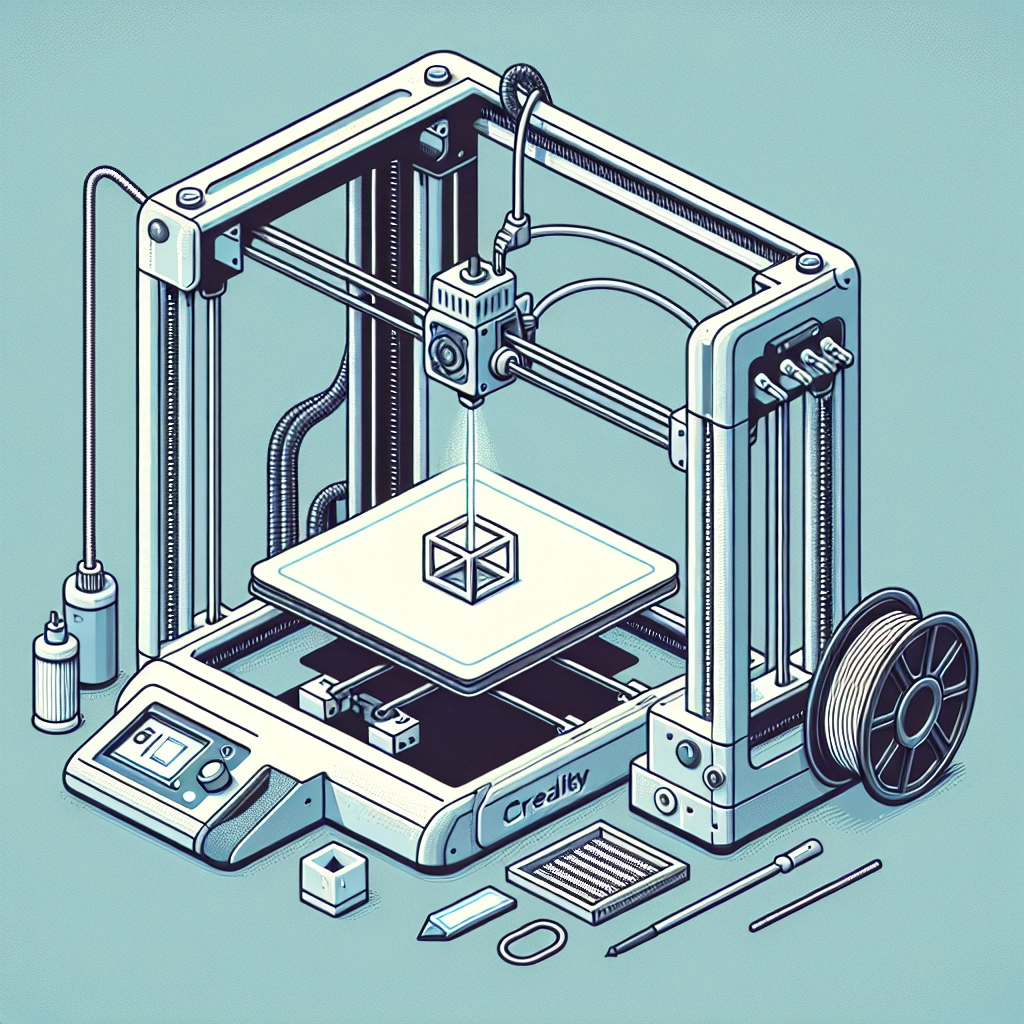
Getting Started with Creality: Your First 3D Print
The world of 3D printing can feel a bit like magic at first glance. The thought of creating your own objects, models, or even prototypes right from the comfort of your home is both exhilarating and a tad intimidating. If you’re diving into the realm of 3D printing with a Creality printer, you’re in good hands! Known for their affordability and reliability, Creality printers have become a popular choice among beginners and seasoned enthusiasts alike. So, let’s walk through the steps of getting your first 3D print started and add a little magic to your day!
Unboxing Your Creality Printer
First things first: unbox that shiny new Creality printer! Depending on the model you’ve chosen, the setup process may vary slightly, but generally, you’ll find your printer parts neatly packed. Take your time and ensure you have all components, including the frame, print bed, extruder, power supply, and any tools needed for assembly.
As you’re unpacking, it’s a good idea to also check the manual. Who knew flipping through pages could spark so much excitement? The manual will guide you through assembly and offer useful tips tailored to your specific printer model.
Assembly Time
Putting your printer together can be one of the most rewarding parts of the process. Follow the manual step-by-step. You might need a little patience (and maybe some YouTube tutorials) when it comes to securing the belt systems or aligning the print head, but embrace the experience! You’re not just following instructions; you’re crafting a tool that will unleash your creativity.
Make sure to double-check the wiring and connections as you go. A well-assembled printer is crucial for a successful first print!
Calibrating Your Printer
Now that your printer is assembled, it’s time for a crucial step: calibration. Calibration ensures that your printer delivers accurate and precise prints, so don’t skip it! Most Creality printers have a simple bed leveling system that guides you through the process.
You’ll probably want to start with the print bed. Make sure it’s level and heated properly if your printer has a heated bed. You can either level it manually or use an auto-leveling sensor if your model includes one.
Choosing Your First Print
Once everything is set up and calibrated, it’s time to decide what to print! For your first print, it’s wise to start small. Think about objects that are not overly complex but still interesting. Many online repositories, like Thingiverse or MyMiniFactory, have tons of free designs for beginners.
A good first print can be something like a simple keychain, a small figurine, or even a practical object like a phone stand. The key is to choose something that won’t overwhelm you but still brings a smile to your face!
Slicing Software: Prepping Your Design
Before your printer can bring your design to life, you need to prepare it in slicing software. This software converts your 3D model into instructions that your printer understands. For Creality, popular options include Cura and Creality Slicer, which are user-friendly and great for beginners.
Download the slicing software and install it on your computer. Import your chosen model, and you’ll get options to adjust settings like layer height, print speed, and infill density. If you’re uncertain about settings, many pre-configured profiles are available specifically for different Creality models, making it easier to hit the ground running.
Getting Ready to Print
Once you’ve sliced your object, it’s time to get your printer ready. Load your filament—PLA is often the best choice for beginners due to its ease of use—into the extruder. Then, transfer your sliced file to the printer, either via SD card or USB, depending on your setup.
Take a moment to double-check that the bed is clean and preheated to your desired temperature. You’re almost there!
Hit Print and Enjoy!
With everything in place, press that “print” button! Watching a 3D print unfold in real-time is truly mesmerizing. Be sure to keep an eye on it during the initial layers; this is where most problems can occur. If it adheres well to the bed, you’re in for a treat!
After some time (this could be anywhere from an hour to several hours depending on your print), you’ll have a finished product! Enjoy that feeling of accomplishment as you hold your very first 3D print.
3D printing is a journey filled with experimentation and creativity, and each print brings invaluable learning experiences. With practice, you’ll develop your own preferences and techniques, bringing even more exciting projects to life. So, dive in, let your creativity run wild, and who knows? Your next big idea could be just a print away!