A Beginner’s Guide to Setting Up Your First Creality 3D Printer
Diving into the world of 3D printing can be an exciting adventure! You might have heard about amazing models printed out of plastic, custom-designed figures, or even intricate mechanical parts. If you’ve purchased a Creality 3D printer, congratulations! You’re in for a treat. With this guide, we’ll walk you through the essential steps to get your printer up and running, so you can start creating your own unique 3D printed masterpieces.
Unboxing Your Creality Printer
The first step in this journey is unboxing your printer. Carefully tear open the packaging, ensuring you keep everything organized. Place your printer on a sturdy, level surface since vibrations could affect print quality. Inside the box, you should find the following components:
- The main printer body
- Print bed
- Control box
- Power supply
- USB cable
- Filament (sometimes included)
- Tools for assembly
- Instruction manual
Don’t throw away any of the packaging just yet! You never know when you might need to put your printer back for maintenance or moving.
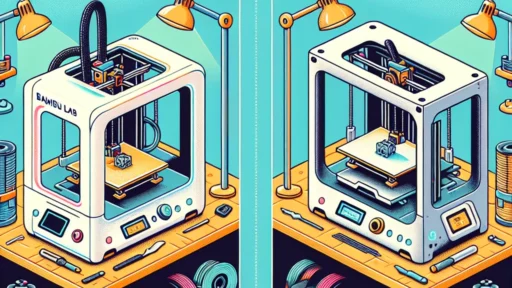
Assembling Your Printer
Most Creality printers, like the Ender series, require some assembly. While some parts come pre-assembled, you’ll need to attach legs, connect various components, and make sure everything is secured properly. Don’t sweat it if you’re not a pro at assembly!
-
Follow the Manual: Your instruction manual will guide you through the assembly step-by-step. Take your time, and double-check your work after each step to avoid any hasty mistakes.
-
Keep it Clean: Make a habit of keeping the area around your printer clean and free of clutter. Dust and debris can affect your prints.
-
Use the Right Tools: Many 3D printers come with tools for assembly. Use the provided tools, as they’re designed to fit your printer’s components.
Wiring It Up
Once your printer is physically assembled, the next step is wiring everything up. Plug in the main power supply, and connect the control box to the printer’s main body. Don’t be alarmed if there are multiple wires—many will be color-coded or labeled to help you figure things out.
Make sure everything is securely connected and that wires are neat and tidy to avoid tangling during operation.
Installing the Print Bed
The print bed is where the magic happens, and getting it leveled is crucial for successful printing. Many printers have a manual bed leveling feature. Here’s a simple way to do it:
-
Home the Printer: Use the printer controls to move the print head to the home position.
-
Check Distance: Adjust the bed height by placing a standard piece of printer paper between the nozzle and the bed. You want a bit of resistance when you slide the paper back and forth.
-
Level the Corners: Most printers will have four adjustment knobs at each corner of the bed. Adjust each corner until they are even in height.
Choosing and Loading Filament
Now, let’s talk about filament! Most beginner 3D printers use PLA, a biodegradable plastic that’s easy to work with. To load filament:
-
Preheat Your Nozzle: Navigate your printer’s menu to preheat the nozzle to the appropriate temperature for your filament.
-
Insert the Filament: Once the nozzle is hot enough, feed your filament into the extruder until it begins to flow out of the nozzle.
-
Cut Cleanly: Make sure the end of your filament is cut straight to avoid any feeding issues.
Printing Your First Model
With everything set up, it’s finally time to print! You can download 3D models from various online repositories like Thingiverse, MyMiniFactory, or even create your own designs using software like Tinkercad or Fusion 360.
-
Slice the Model: Use slicing software (like Cura) to convert your 3D model into a format your printer can understand. Adjust the settings according to your printer specifications.
-
Transfer the File: Export the sliced model onto an SD card and insert it into your printer.
-
Start Printing: Select the model from the printer menu and hit the print button. Grab a comfy chair, because watching your design come to life layer by layer is incredibly satisfying!
Embracing the Learning Curve
As a new Creality 3D printer owner, remember that every experience is part of the learning process. Don’t get discouraged by failed prints or tricky settings. With a little patience and practice, you’ll soon find yourself creating impressive 3D prints that you’ll be proud to show off.
3D printing is an art, a science, and a little bit of magic all rolled into one. So enjoy the journey, experiment with different designs, and most importantly, have fun turning your ideas into reality!