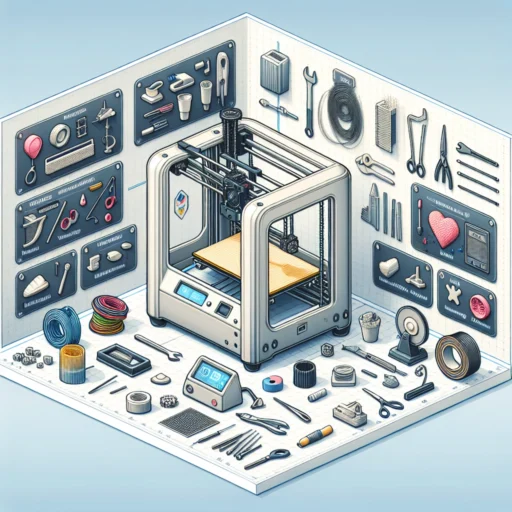
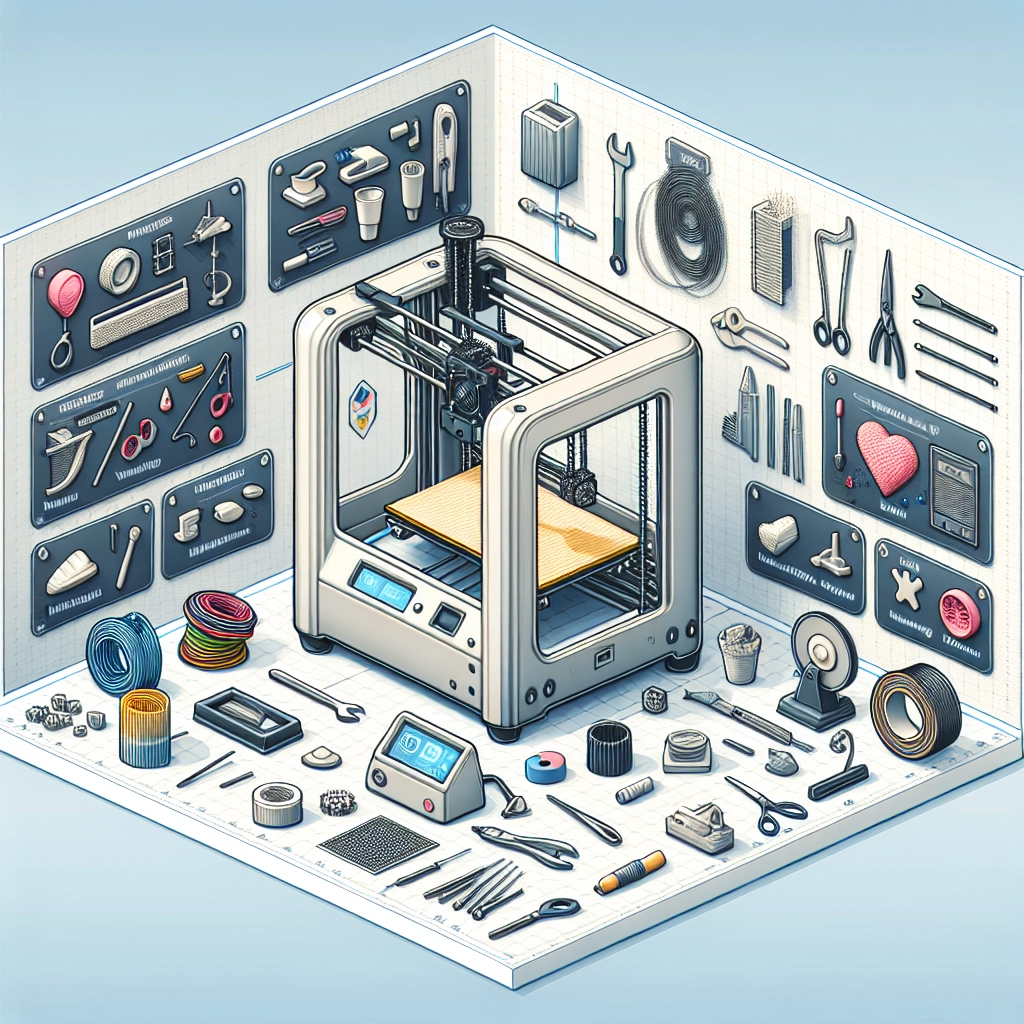
Troubleshooting Common 3D Printing Issues with Creality
3D printing is an exhilarating mix of art and technology, but even the best printers can sometimes throw a wrench into your plans. If you own a Creality printer—like the popular Ender series or CR series—you might have run into some hiccups along the way. Don’t worry! You’re not alone. Let’s dive into some common problems and easy fixes to get your printer back up and running smoothly.
1. First Layer Problems
One of the most common issues in 3D printing is getting that first layer just right. If your first layer is squished, too high, or not sticking, it can ruin your entire print.
Fix: Start with leveling your build plate. This is crucial for good adhesion. You can do this manually or with the help of auto-bed leveling probes if your printer has one. If the first layer still doesn’t stick, consider using a glue stick, hairspray, or a dedicated print surface like PEI. Adjusting your nozzle height can also make a massive difference. An ideal first layer should be slightly squished against the bed; aim for just enough pressure to see a slight flatness to the filament.
2. Clogged Nozzles
A clogged nozzle can be frustrating. If your printer is extruding barely any filament or not at all, you might have a blockage.
Fix: Start by heating the nozzle to the printing temperature for the filament you’re using. Try to manually push the filament through; this sometimes clears smaller clogs. If that doesn’t work, you may need to remove the nozzle and clean it with a thin wire or soak it in some cleaning solution. Be careful when reassembling to ensure everything is tightly secured!
3. Warping and Lifting
Have you ever started a print only to find later that the edges have lifted off the build plate? Warping is notorious for ruining prints, especially with larger models.
Fix: Ensure your print bed is heated adequately for the filament you’re using. ABS, for example, often requires a bed temperature around 100°C to prevent lifting. Adding an enclosure can also stabilize the temperature around your print and reduce drafts that cause warping. Additionally, using a brim or raft can help with edge adhesion.
4. Stringing
Stringing occurs when thin strands of filament are left behind as the print head moves from one point to another. This can make your prints look messy and unprofessional.
Fix: To combat stringing, start by adjusting your retraction settings. Increasing the retraction distance and speed often helps prevent filament from oozing out during travel moves. Lowering the print temperature can also reduce stringing since hotter filament is more likely to ooze. Lastly, consider a test print to dial in your settings before committing to a full model.
5. Layer Shifting
If you notice layers offset from one another, you’ve likely encountered layer shifting. This can happen for various reasons, including loose belts or motors that aren’t seated properly.
Fix: Check all belts and tighten them if necessary, but don’t overtighten as this can lead to other issues. Take a peek at the stepper motors to ensure they are functioning correctly and seated in their mounts. Occasionally, an overly aggressive print speed can contribute to layer shifting, so don’t hesitate to lower the speed and see if that resolves the issue.
6. Inconsistent Extrusion
If your prints have sections that appear under-extruded or inconsistently filled, it can significantly affect the integrity of the final piece.
Fix: This often points toward filament issues, so start by checking your filament for kinks or knots. Ensure the filament is dry, as moisture can lead to poor extrusion. Examine your extruder settings—calibrating for the correct steps/mm is a must. If things still don’t seem right, try cleaning the extruder gear to ensure it’s gripping properly.
7. Poor Detail or Oversimplified Prints
Your prints should look as vibrant as your designs, but sometimes they may lack detail.
Fix: A few factors come into play here. Ensure you’re using the correct layer height for the details you want—lower layer heights mean finer details. Check your nozzle size; a smaller nozzle can produce finer details but will take longer to print. Additionally, adjust your print speed; slower speeds generally improve detail but can extend print time.
A Final Thought
3D printing can often feel like a journey filled with challenges, especially when troubleshooting persistent issues. However, the satisfaction of overcoming these hurdles and watching your ideas come to life more than makes up for the occasional frustration. With patience and a bit of knowledge under your belt, you’ll be well-equipped to tackle any challenge your Creality printer throws your way. Happy printing!