


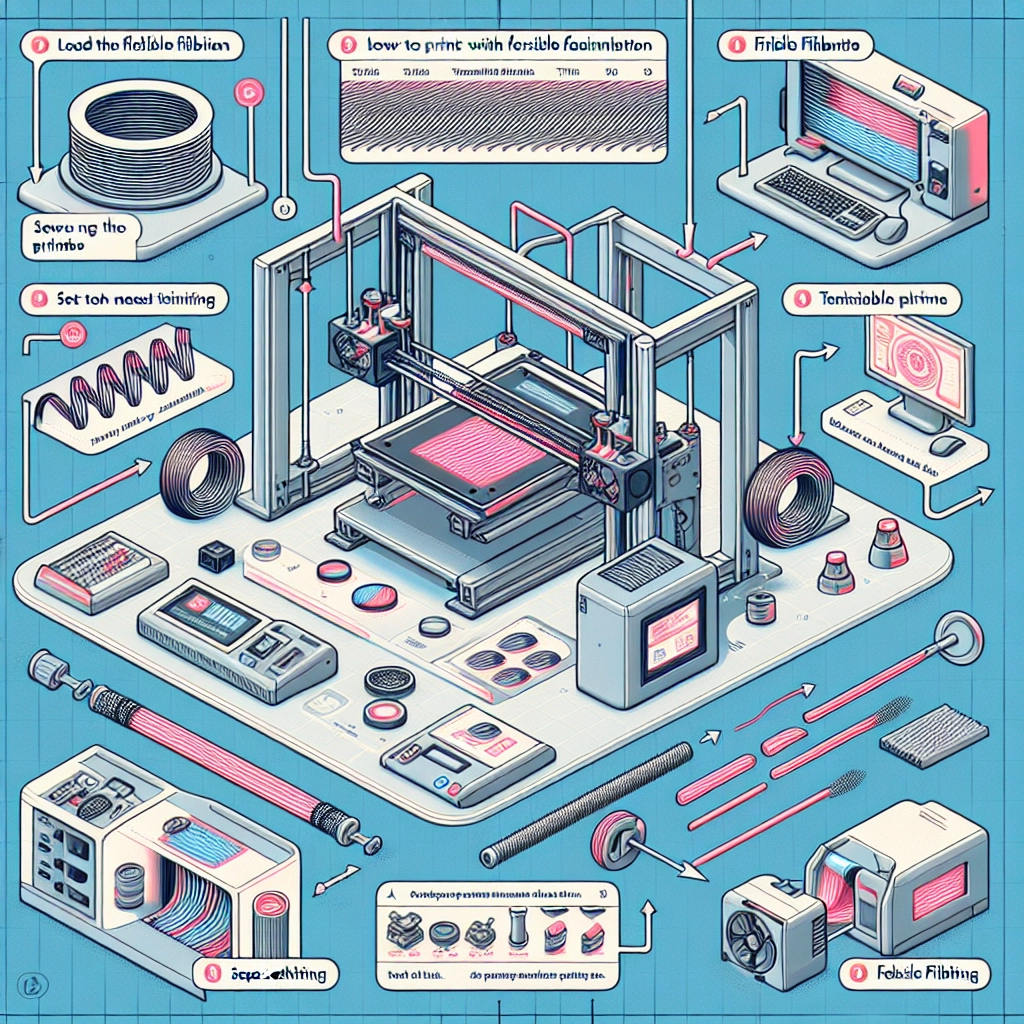
How to Print with Flexible Filaments: Tips and Techniques
3D printing has come a long way since its inception, and one of the most exciting developments has been the introduction of flexible filaments. If you’ve ever marveled at those bendy, squishy models, you might be itching to give flexible filaments a try. However, printing with these materials can be a bit tricky. Fear not! We’ll explore some handy tips and techniques to help you navigate the world of flexible filaments and unleash your creativity.
Understanding Flexible Filaments
First, let’s dive into what flexible filaments are. These materials, often made from thermoplastic elastomers (TPE) or thermoplastic polyurethane (TPU), are designed to bend and stretch. Because of their elasticity, they open up a world of possibilities, allowing you to create everything from soft toys to functional components like gaskets or phone cases.
However, the very qualities that make flexible filaments so appealing can pose challenges in the printing process. They tend to be more difficult to handle than standard filaments, as they can jam in the extruder or cause issues with layer adhesion if not treated properly.
Choosing the Right Printer and Settings
Before you start printing, ensure your printer is well-suited for flexible materials. While many modern printers can handle flexible filaments, those equipped with a direct-drive extruder (where the filament is fed directly into the hotend) often yield the best results. Bowden setups (where the filament is pushed through a tube before reaching the extruder) can be more challenging, as they introduce extra length and resistance.
Once your printer is ready, you’ll need to adjust your settings:
-
Temperature: Start with the manufacturer’s recommended temperature range, typically between 210°C to 250°C. If you’re facing extrusion issues, you may need to tweak the temperature slightly. A hotter nozzle can help improve flow, while a lower temperature might prevent stringing.
-
Speed: Slower print speeds often yield better results. Flexible filaments behave differently than rigid ones, so a speed of around 15-30 mm/s is generally recommended. Experimentation will help you find the sweet spot for your specific filament.
-
Retraction: Because flexible filaments can ooze or string, adjusting the retraction settings can help. Start with a shorter retraction distance (around 1-2 mm) and a slower speed to prevent clogs and ensure smooth extrusion.
Bed Adhesion
Getting your print to stick well to the bed is crucial, especially when working with flexible filaments. Here are some approaches that can help:
-
Brim or Raft: Using a brim or raft can provide extra surface area for adhesion. This is particularly useful for larger models, which can be prone to warping.
-
Build Surface: Consider using a textured build plate or a surface designed for flexible materials. PEI sheets or specialized 3D printing tape can improve adhesion.
-
Temperature: A heated bed can make a significant difference. Set the bed temperature between 40°C and 60°C and experiment to see what works best with your chosen filament.
Model Design Considerations
When designing your models, keep a few things in mind to ensure a successful print with flexible filaments:
-
Wall Thickness: Increase the wall thickness settings to enhance sturdiness. This will ensure your model is not too flimsy, especially if it’s a functional item.
-
Infill: Depending on your project, opting for a lower infill percentage can help maintain flexibility. For functional items, consider using a gyroid infill pattern, which provides strength while allowing movement.
-
Supports: If your model has overhangs, choose a support structure that is easy to remove. Grid or tree-like supports can work well with flexible filaments.
Troubleshooting Common Issues
Even with careful planning, issues may arise. Here are a few common problems and their solutions:
-
Clogged Nozzle: If you notice under-extrusion or irregularities in your print, your nozzle may be clogged. Clean it thoroughly and consider using a larger nozzle size (like 0.6mm) for flexible filaments, which can help prevent jams.
-
Stringing: If you’re dealing with stringing, fine-tuning your retraction settings can help. You may also want to print with a bit more distance between your objects to reduce chances of filament dragging.
-
Layer Adhesion: If you’re experiencing poor layer adhesion, slightly increasing the print temperature or adjusting your cooling settings might do the trick.
With these tips and techniques, you’re well on your way to successfully printing with flexible filaments. The key is to experiment, learn from your mistakes, and enjoy the process. Whether you’re creating functional tools or artistic pieces, the versatility of flexible filaments means you can let your imagination run wild. Happy printing!