Maximizing Your 3D Printing Experience: Tips and Tricks
3D printing has come a long way since it was first introduced. It’s not just for professionals or hobbyists anymore; it’s becoming a go-to method for innovation, creativity, and problem-solving in various fields like education, medicine, and even art! Whether you’re a novice dreaming of your first print or a seasoned maker looking to refine your skills, there are plenty of tips and tricks to help you make the most out of your 3D printing experience. So, let’s dive in!
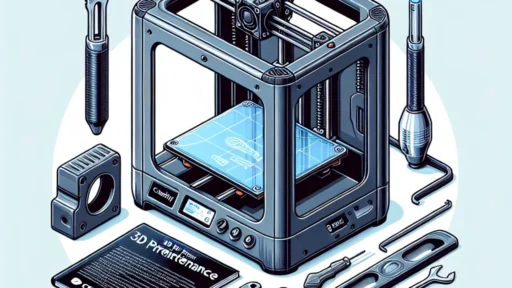
Understand Your Printer
Before you start printing, it’s vital to know your machine inside and out. Each 3D printer has its own quirks, capabilities, and limitations. Take the time to read through the manual and familiarize yourself with its components—no one wants to be staring at a pile of tangled filament because they didn’t understand the extruder.
Key aspects to focus on include:
- Build Volume: Understand how much you can print in one go and adjust your designs accordingly.
- Print Speed: Balancing speed and quality is crucial; faster prints may compromise detail.
- Filament Type: Different types of filament (PLA, ABS, PETG, etc.) require varied settings and handling. Make sure you choose one that matches your project’s needs.
Calibrate Your Printer
Calibration may sound tedious, but it’s worth it for the quality of your prints. A well-calibrated printer reduces issues like warping or poor adhesion. Check your bed leveling, extruder steps, and flow rate. A simple rule of thumb is to print a small test object, like a calibration cube, to see how everything is running.
If you notice issues, don’t hesitate to troubleshoot. Instagram and YouTube are filled with tutorials from fellow 3D printing enthusiasts who share their successes and failures. Learning from them can save you a lot of time and material!
Choose the Right Software
The software you use for slicing your 3D models can significantly impact the final product. Slicing software converts your 3D models into instructions that your printer can understand. Tools like Cura, PrusaSlicer, and Simplify3D offer various settings to tweak based on your requirements.
Experiment with different settings, like layer height and infill density. Sometimes a lower layer height can make your prints look smoother, while a higher infill might add durability to functional parts. Don’t forget to explore support structures too, especially for intricate models!
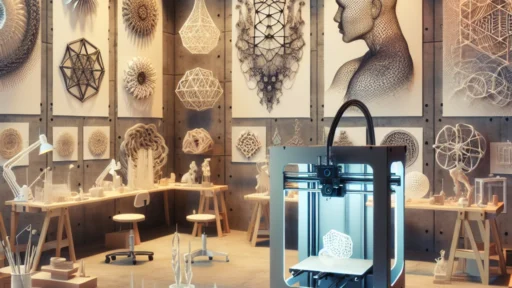
Experiment with Designs
Once you’ve got the basics down, it’s time to get creative! The beauty of 3D printing lies in its adaptability. Start experimenting with your designs, perhaps creating something personal for your home or an innovative piece for a gifting opportunity.
Websites like Thingiverse and MyMiniFactory showcase thousands of designs that can spark your imagination. Feel free to tweak the designs you download to match your personal style or needs. You’ll not only learn a lot through this process but also build a portfolio of unique prints!
Master Post-Processing
After your print is finished (hooray!), post-processing can elevate your project to another level. This phase involves cleaning up your print, which may include sanding rough edges, painting, or applying a protective sealant.
Consider experimenting with different finishing techniques like vapor smoothing for materials like ABS or adding a glossy finish on PLA. The key is to let your creativity shine, transforming your prints from basic to beautifully finished pieces.
Join the Community
Never underestimate the power of community! Join forums, Facebook groups, or local maker spaces to share your experiences, ask questions, and get feedback on your work. Engaging with other enthusiasts can provide not only useful tips but also motivation and support as you navigate the world of 3D printing.
Troubleshoot and Learn
Even the best printers can face hiccups! Be prepared for the occasional failed print. Instead of letting this discourage you, take it as a learning opportunity. Figure out what went wrong—was it a failed adhesion to the build plate, incorrect temperature settings, or filament issues? Each misstep can teach you valuable lessons that contribute to your growth as a maker.
As with any hobby, patience and persistence are key to becoming a better 3D printer. Allow yourself to experiment, embrace the process, and don’t be afraid to take risks!
With these tips and tricks, minimizing frustrations and maximizing your creative output is within reach. The magic lies in the journey, so grab your filament, click print, and watch your ideas take form right before your eyes. Happy printing!