


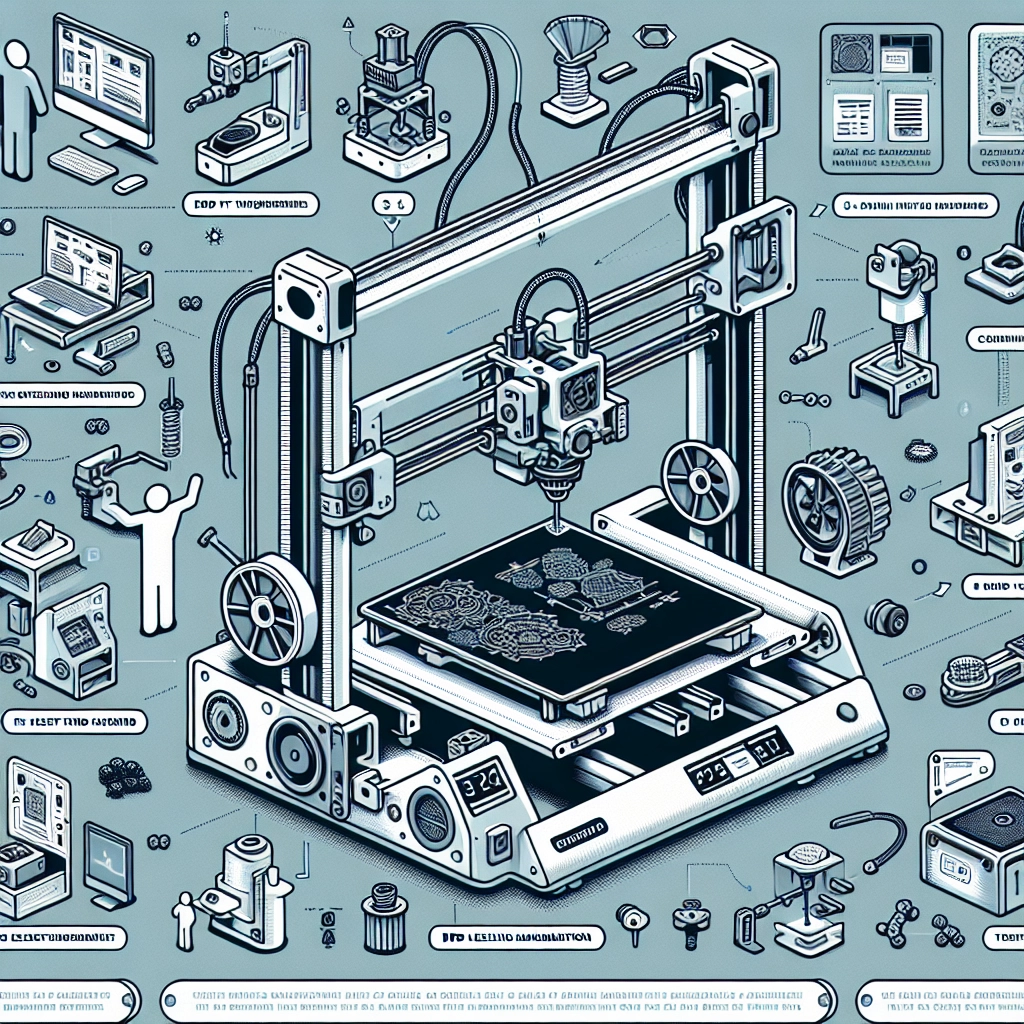
DIY Upgrades for Your Creality 3D Printer: Enhance Your Machine
If you’re like many 3D printing enthusiasts, your Creality 3D printer has likely become a beloved part of your workshop. It’s amazing how these machines can turn your ideas into reality with just a few clicks. However, as with any technology, there’s always room for improvement. Whether you want to enhance print quality, increase reliability, or just bring a little flair to your setup, here are some fantastic DIY upgrades for your Creality 3D printer that can take your printing game to the next level.
1. Upgrade the Build Surface
One of the simplest upgrades can have a big impact on your prints: changing the build surface. Many Creality printers come equipped with a stock glass or flexible surface that may work well but could be improved. Consider switching to a textured PEI sheet or a magnetic build plate. These options not only improve adhesion but also make it easier to remove prints without risking damage. Plus, a new surface can help minimize warping in your prints, giving you a much smoother experience.
2. Better Cooling Solutions
Cooling is key when it comes to achieving great print quality—especially for those intricate designs. Stock fans might not provide the best airflow, so consider upgrading your cooling setup. Look into adding an additional part cooling fan, or swapping out the stock fans for higher-quality, quieter models. You can also design or purchase ducting that improves the air directed to your prints. With better cooling, you’ll notice sharper details and improved overhangs in your designs.
3. All-Metal Hotend Upgrade
Hotends are often one of the first upgrades that seasoned 3D printing enthusiasts recommend. Switching to an all-metal hotend allows for higher temperature printing, meaning you can experiment with a wider variety of filaments. Materials like nylon or polycarbonate that require higher temperatures can expand your creative possibilities. Just make sure you check compatibility with your specific printer model, as some hotends might require a little tweaking to install.
4. Dual Z-Axis Upgrade
If your prints tend to suffer from wobbling or you notice uneven layers, a dual Z-axis upgrade might be the solution. By adding a second lead screw and stepper motor to your printer, you can drastically improve stability and ensure the print head moves more accurately. This helps in reducing layer inconsistencies and can also enhance the overall print quality.
5. Firmware Improvements
Believe it or not, upgrading your printer’s firmware can make a significant difference in its performance. Newer firmware versions often come with bug fixes, new settings, and enhanced features. For instance, many Creality printers can be updated to use Marlin firmware, which provides a more intuitive interface and additional customizable options. Just be sure to thoroughly read the instructions and precautions before diving in, as flashing firmware can be risky if done incorrectly.
6. Silent Stepper Drivers
Consider upgrading to silent stepper drivers if your printer tends to sound like a small jet engine. These drivers reduce the noise produced by the stepper motors, creating a much quieter printing experience. It’s an especially nice upgrade if your printer is in a shared space or you like to run prints overnight. The reduction in noise can make your space feel more peaceful and allow you to enjoy the process a bit more.
7. Bed-Leveling Assistance
Lastly, let’s talk about leveling, one of the most crucial aspects of 3D printing. Manual bed leveling can be a hassle, but it doesn’t have to be! Adding a BLTouch or similar auto-bed leveling sensor can save you countless hours of frustration. With auto-bed leveling, your printer will compensate for any inconsistencies in the build plate surface, allowing for easier and more reliable prints.
Upgrading your Creality 3D printer doesn’t have to be overwhelming. Each of these projects can be tackled individually or you can take on a couple at a time, based on your comfort level and interests. The DIY nature of these upgrades adds a personal touch to your 3D printing experience and can turn a good printer into a great one.
By taking the time to implement these enhancements, not only will you optimize your printer’s performance, but you’ll also deepen your understanding of how it works and how to troubleshoot any issues that arise along the way. So, roll up your sleeves and get ready to unlock the full potential of your Creality 3D printer—you might be pleasantly surprised at what you can create! Happy printing!