


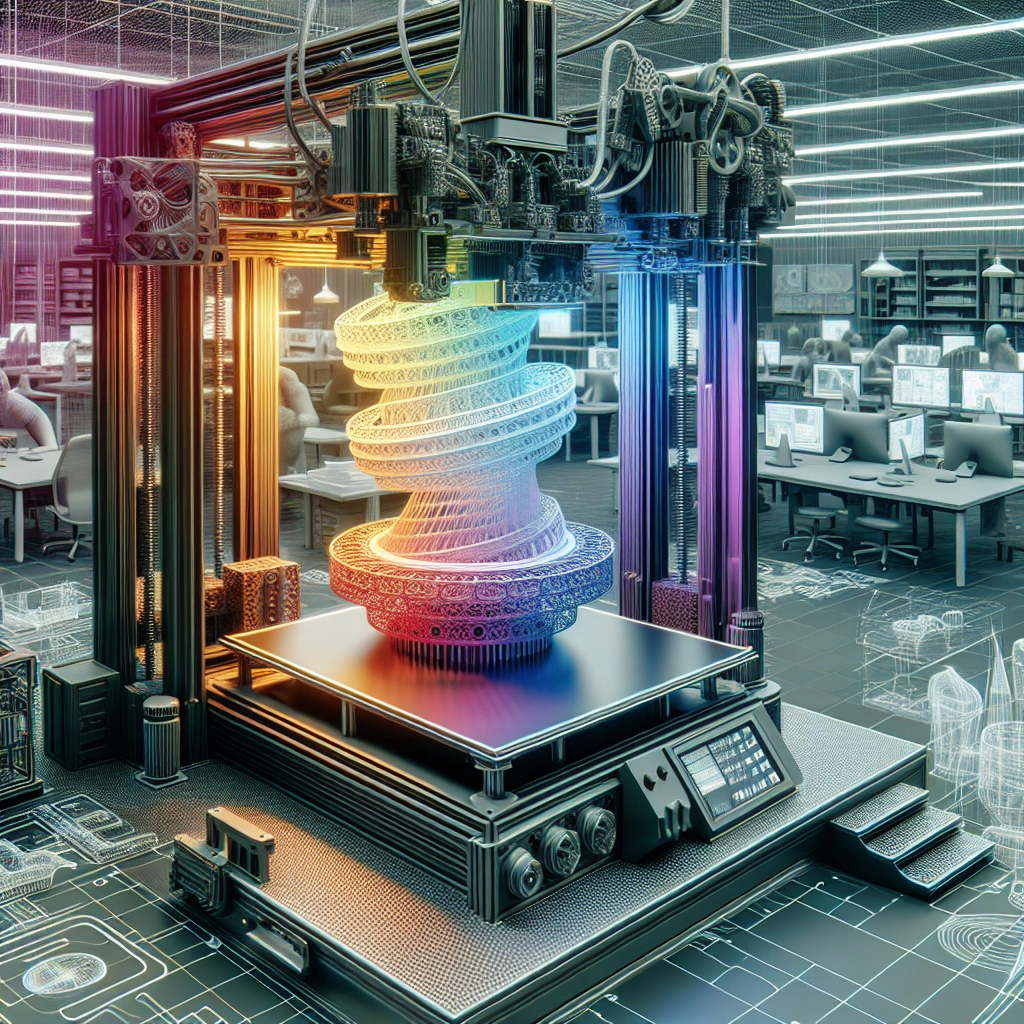
Creating Functional Parts with 3D Printing: Best Practices
3D printing has come a long way since its inception, evolving from a novel concept to a mainstream technology used across various industries. From creating prototypes to producing functional parts, this versatile technique has opened up a world of possibilities for designers, engineers, and hobbyists alike. If you’re considering diving into the realm of functional 3D-printed parts, you might find yourself wondering where to start. Fear not—let’s explore some of the best practices that will help you make the most of this amazing technology.
Choosing the Right Material
One of the most critical aspects of creating functional parts is selecting the right material. The material you choose will affect the part’s strength, flexibility, heat resistance, and durability.
- PLA (Polylactic Acid) is great for beginners because it’s easy to work with and offers good surface finish, but it doesn’t hold up well under heat, making it less suitable for functional applications.
- ABS (Acrylonitrile Butadiene Styrene) is more heat resistant and durable than PLA, which makes it better for functional parts, but it’s a bit trickier to print.
- For higher performance applications, consider materials like PETG or Nylon, which offer a combination of strength and flexibility. If you’re in need of parts that can withstand tough conditions, carbon fiber-infused filaments are also available, adding toughness to your prints.
Design Considerations
When designing a part for 3D printing, it’s crucial to factor in how the design will influence both the print quality and the functionality of the final product. Here are some design tips to keep in mind:
-
Simplicity is Key: Start with simple geometries. Complex shapes may require more intricate support structures, which can complicate the printing process and affect structural integrity.
-
Optimize for Orientation: The orientation in which a part is printed can significantly impact its strength. Parts printed vertically might be weaker along the layers compared to those printed flat. Experimenting with different orientations can lead to better results.
-
Use Supports Wisely: While supports can be a lifesaver for complex designs, overusing them can lead to marks and can affect your part’s overall finish. If possible, design your part in a way that minimizes the need for supports.
-
Incorporate Tolerances: If your part needs to fit with other components, remember to add tolerances into your design. A common rule is to allow a bit of extra space (0.1mm to 0.5mm) for moving parts.
Print Settings
Getting your print settings right is just as important as the design itself. Different printers and materials may require varying settings, but here are some general guidelines:
-
Layer Height: A smaller layer height will yield smoother finishes but will take longer to print. If you’re printing a part that needs functionality over aesthetics, a layer height of around 0.1 to 0.2mm should work well.
-
Infill: The density of your infill will affect the strength of the part. A higher infill percentage (around 50% or more for functional parts) will increase durability, while lower infill (10-20%) might suffice for prototyping.
-
Print Speed: Slower print speeds generally result in higher quality prints, especially when it comes to challenging designs. It’s a good idea to experiment, but a print speed of 40-60 mm/s is often a good starting point.
Post-Processing
Once your print is complete, you may want to consider post-processing methods. Sanding, painting, or even applying a heat treatment can enhance the part’s appearance and durability. Plus, you might want to use adhesives or other methods to assemble multiple parts if needed.
Testing and Iteration
3D printing is an iterative process. Once you’ve printed a part, put it through its paces! Testing functionality can help you identify areas for improvement. Don’t hesitate to go back to the drawing board, tweak your design, and reprint. This process not only enhances your skills as a designer but also results in better functional parts in the long run.
3D printing opens doors to endless possibilities in creating functional parts, and following these best practices can help ensure your projects are successful. Embrace the learning curve, experiment, and don’t be afraid to make mistakes—each failure is just a stepping stone toward mastering this incredible technology. With time, you’ll find yourself crafting not just parts, but solutions that can make a real impact in your projects or industry. Happy printing!