


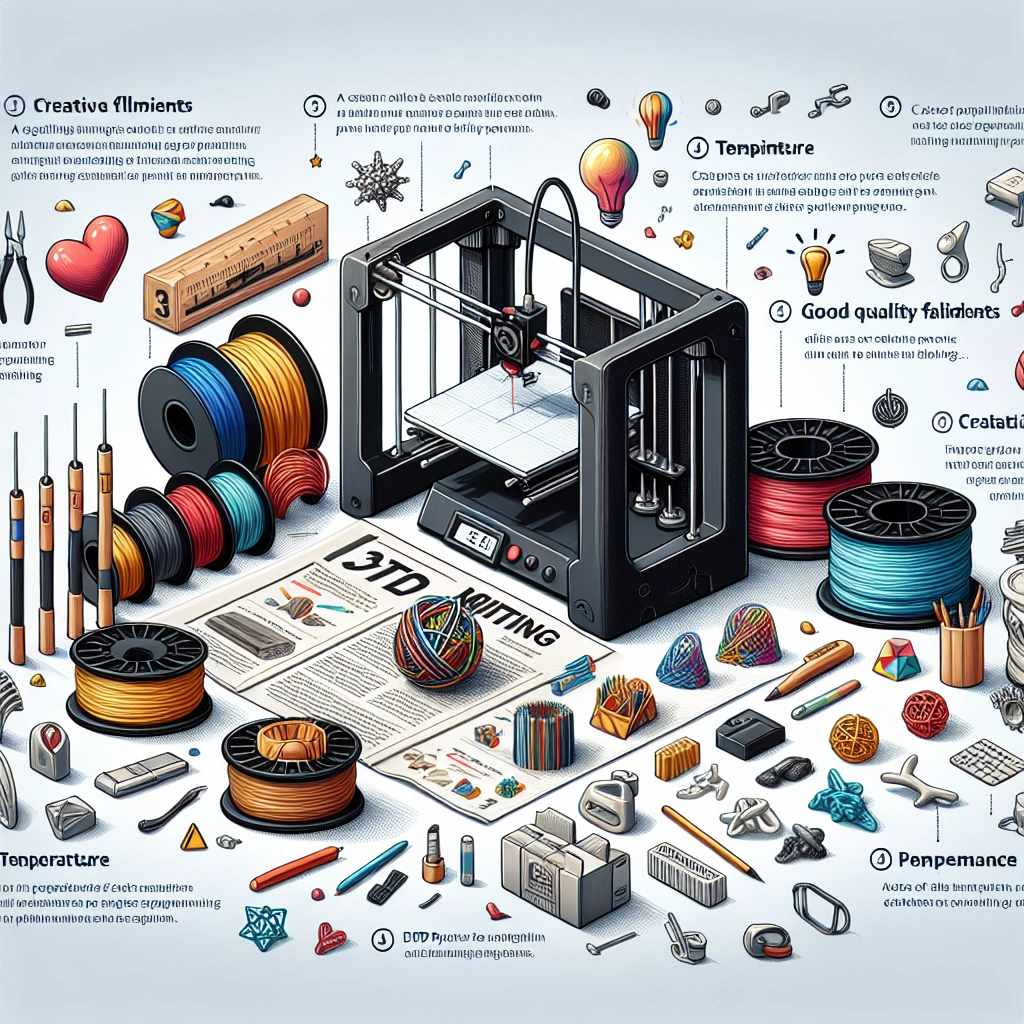
Creating with 3D Filaments: Tips for Beginners
Welcome to the fascinating world of 3D printing! If you’ve recently dipped your toes into this innovative technology, you’re likely discovering a universe where imagination knows no bounds. One of the key elements in this exciting realm is the use of 3D filaments. Whether you’re dreaming of creating custom toys, functional gadgets, or art pieces, the choices you make about materials can make a significant difference in your end result. Let’s explore some essential tips for beginners to make the most of working with 3D filaments.
Understanding Filament Types
Before you dive headfirst into your 3D printing adventure, it’s crucial to know the types of filaments available. The two most common plastics used in 3D printing are PLA (Polylactic Acid) and ABS (Acrylonitrile Butadiene Styrene).
PLA is an excellent choice for beginners. It’s biodegradable, easy to print, and available in a rainbow of colors. Plus, it emits a sweet smell when heated—bonus points for that! However, PLA isn’t ideal for high-temperature applications, so keep that in mind if you’re planning to make something that will be in direct sunlight or near heat sources.
ABS, on the other hand, is more durable and heat-resistant, which makes it a suitable option for functional parts like phone cases or automotive components. However, it does require a heated bed and is known for being a bit finicky. The fumes can be noxious, too, so good ventilation is a must.
Other specialty filaments like PETG, TPU (flexible), and nylon are also out there, each offering unique properties that can broaden your creative possibilities. As a beginner, sticking with PLA and ABS is a sound strategy until you feel comfortable exploring more advanced materials.
Preparing Your Printer
Now that you’ve selected your filament type, let’s talk about your printer. Make sure to calibrate your 3D printer correctly; this is the foundation for successful printing. Bed leveling is particularly crucial. If the print bed isn’t even, your projects might end up with adhesion issues or warping. Most printers have an auto-leveling feature, but if yours doesn’t, it’s worth learning to do it manually.
Another essential step is setting the right temperature for your filament. PLA generally prints well between 180-220°C, while ABS requires around 220-260°C. Don’t forget about the bed temperature too! A heated bed can help keep your prints attached during the printing process and decrease the chance of warping.
Slice Smart
Once you prepare your printer, it’s time to get your design ready for printing. This is where slicing software comes into play, converting your design into a language the printer can understand. TinkerCAD, Cura, and PrusaSlicer are user-friendly options for beginners.
Make sure you explore the settings available in your slicer. Layer height, infill density, and support structures can drastically affect the quality of your final print. For beginners, a layer height of around 0.2mm and a 20% infill density works great for a wide range of prints. As you get more comfortable, you can experiment with different settings for more specific needs.
Start Simple
With your filament loaded and your design sliced, it’s time to hit print. But let’s not get ahead of ourselves; as a novice, you might want to start with simpler designs. Look for existing models online on sites like Thingiverse or MyMiniFactory. Not only will this help you get accustomed to the process, but it’ll also spare you the frustration that often comes with tackling complex designs without the necessary skills yet.
Keep in mind that every print may not turn out perfectly, and that’s absolutely okay. Each failure is a chance to learn something new, whether it’s adjusting your temperature settings or learning to reorient your object to avoid supports.
Post-Processing
Once your print is complete, you might want to give it a little TLC. Depending on what you’ve made, this could involve sanding, painting, or even assembling multiple parts. For PLA, sanding can help smooth out rough edges, which is especially handy for aesthetic projects.
You may also want to experiment with different finishes. Applying a primer and paint can add a professional touch, and sealing your print can help protect it from environmental factors. Many creators find this stage to be the most enjoyable, transforming their printed objects into stunning completed works.
In the end, working with 3D filaments offers endless creativity and satisfaction. With a little time, patience, and practice, you’ll soon be crafting objects you’re proud to show off. Remember, every expert was once a beginner, and learning from each print—successes and failures alike—is what makes this journey so rewarding. So gather your tools, let your creativity run wild, and enjoy every moment in the world of 3D printing!