


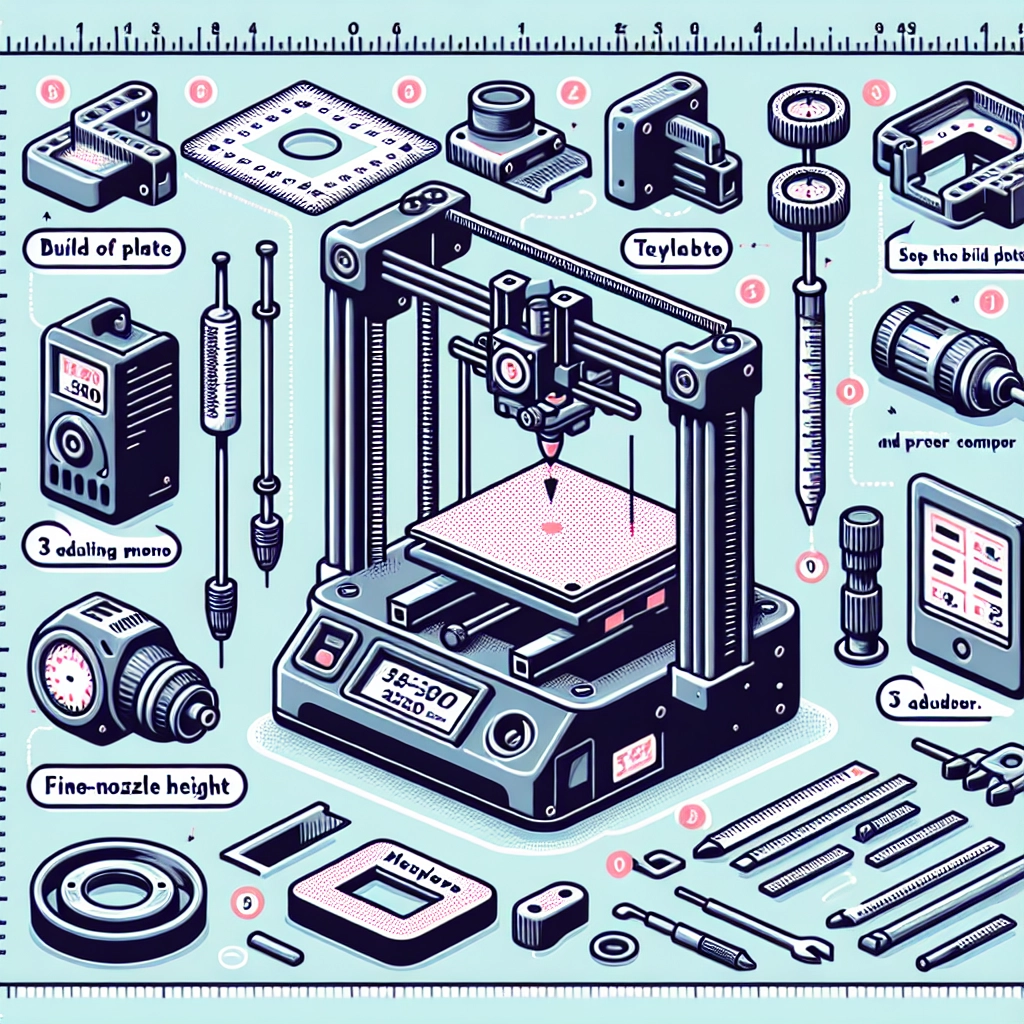
Step-by-Step Guide to Calibrating Your 3D Printer
If you’ve recently jumped into the world of 3D printing or are a seasoned enthusiast, you know that calibration can often make or break your printing experience. A well-calibrated printer can produce stunning designs, while a poorly calibrated one can lead to frustrating prints and wasted materials. Don’t worry! We’re here to guide you through the calibration process step by step. Let’s get started!
Why Calibration Matters
First things first, why do we need to calibrate our 3D printers? Over time, or even right out of the box, your printer can shift out of alignment. Things like temperature changes, mechanical stress, and even how your printer is stored can affect its precision. Proper calibration ensures that you get accurate dimensions, optimal layer adhesion, and generally high-quality prints.
Step 1: Gather Your Tools
Before diving into the calibration process, make sure you have the following tools handy:
- A digital caliper: This will help you measure your prints accurately.
- A ruler: Great for quick measurements.
- A piece of paper: Useful for leveling the bed.
- A wrench: To adjust the printer’s components.
- Your printer’s manual: Always a good reference!
Step 2: Level the Print Bed
One of the most critical aspects of calibration is leveling the print bed correctly. An unlevel bed can lead to uneven first layers and poor adhesion.
- Turn on your printer and home the printer head.
- Disable the stepper motors so the print head can move freely.
- Start at one corner of the bed and place a piece of paper between the nozzle and the bed.
- Adjust the bed height at that corner until you feel a slight drag when you pull the paper. Repeat for each corner and the center of the bed.
- Go back around and check again, as adjusting one corner can sometimes affect others. Keep leveling until each point feels consistent.
Step 3: Check Your Extruder Calibration
Next, let’s calibrate the extruder to ensure it’s feeding the right amount of filament.
- Mark a length of filament about 120mm from where it enters the extruder. This is where you’ll measure from.
- Using your printer’s control panel, set it to extrude 100mm of filament.
- After the extrusion, measure the distance from the entry point to your mark. If it’s less than 20mm, you’ll need to adjust the steps per mm in the firmware.
To adjust, you’ll use the formula:
New Steps/mm = (Current Steps/mm * (100/Extruded Length))
Example:
If your extruder is set to 100 steps/mm and it only extruded 90mm, you’d calculate:
New Steps/mm = 100 * (100/90) = 111.11 steps/mm
Enter this value into your printer’s firmware settings.
Step 4: Adjust Your Temperature
Temperature settings also play a significant role in print quality. The ideal temperature can vary depending on the type of filament you’re using.
- Start with the manufacturer’s recommended temperature for your filament type.
- Print a temperature tower – a small object that’s designed to print at different temperatures. This will help you find the perfect temperature for your filament by noting the quality of each layer.
- Adjust accordingly, aiming for a temperature that gives you the best layer adhesion and surface finish.
Step 5: Fine-tune Your Settings
Now that the basics are in place, it’s time for a little fine-tuning. This could involve adjusting parameters like print speed, layer height, and retraction settings in your slicer software.
- Reduce print speed for better quality or increase it if you’re mainly looking for faster prints.
- Test different layer heights to find a balance between quality and printing time.
- Tweak retraction settings to avoid stringing and messy prints. Start with a common retraction distance and adjust as necessary based on your prints.
Step 6: Run a Calibration Print
Once you’ve adjusted your settings, it’s time to put your printer to the test! Use a calibration print model, like a simple cube or a benchy boat. Pay attention to details like surface smoothness, dimensional accuracy, and any issues that might crop up.
If the print fails or doesn’t meet your expectations, take a step back and see if any of your previous adjustments can be tweaked.
Embrace the Process
Calibrating your 3D printer may seem daunting at first, but think of it as an ongoing journey—a chance to learn and improve your skills. Calibration will not only enhance your printing experience but also deepen your understanding of the machine itself. Once you find that sweet spot, the rewards are definitely worth the effort! Happy printing!