


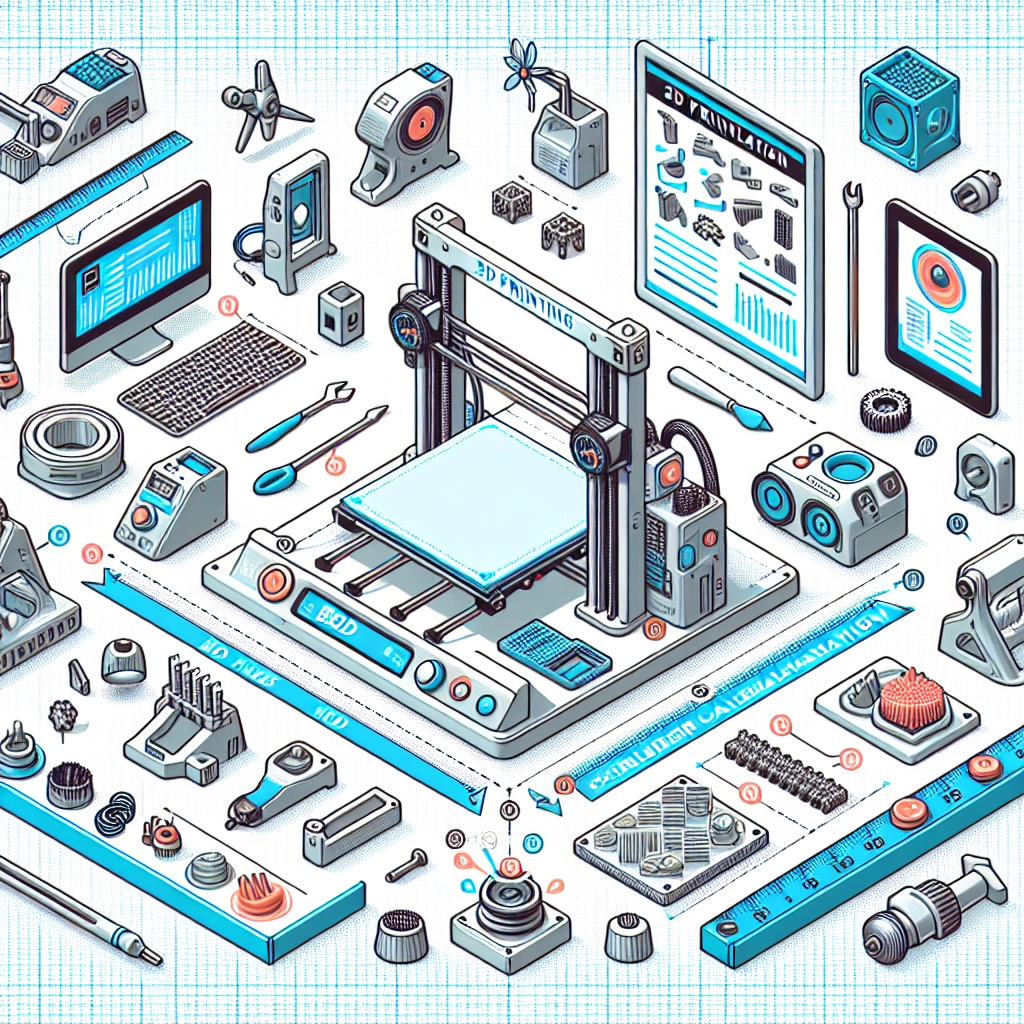
A Beginner’s Guide to 3D Printing Calibration Techniques
If you’re diving into the world of 3D printing, congratulations! You’re about to embark on a creative journey that’s not just about making cool models, but also about understanding the intricacies of how those creations come to life. One key aspect of successful 3D printing is calibration. But don’t worry; you don’t need a PhD in engineering to get it right. Let’s break down some essential calibration techniques that will set you on the right path to producing stunning prints.
Why Calibration Matters
Before we jump into the techniques, let’s chat about why calibration is such a big deal. Think of your 3D printer like a musical instrument. If it’s out of tune, the notes might sound off. In 3D printing, proper calibration ensures precise dimensions, better adhesion, improved surface finish, and fewer print failures. Trust us; a little calibration can go a long way in saving time and materials!
1. Bed Leveling
The foundation of any stable print is a well-leveled build plate, or bed. If your bed isn’t level, you might face issues such as warping or adhesion problems. There are two main methods to level your bed:
-
Manual Leveling: Most entry-level printers require you to adjust the bed manually. Basically, you’ll want to check the distance between the nozzle and the bed at various points (usually the four corners and the center). A piece of paper can help you gauge the gap. Slide the paper under the nozzle; you should feel a slight resistance when it’s at the right height.
-
Auto Bed Leveling: Some advanced printers include auto bed leveling systems, which use sensors to detect the distance from the bed to the nozzle. If you’re lucky enough to have a printer with this feature, follow the calibration routine provided by your printer.
Remember, even if you have auto bed leveling, it’s good practice to double-check the bed level occasionally to ensure optimal prints.
2. Flow Rate Calibration
Next up is flow rate, which is all about how much filament your printer extrudes. If your flow rate is too high, you could end up with blobs or stringing; too low, and your print might have gaps or weak spots. To calibrate your flow rate, you can perform a simple test:
- Mark and Measure: Start by marking a specific length on the filament (e.g., 100mm) and then set your printer to extrude that exact amount.
- Measure: After the extrusion, measure how much filament was actually used. Compare this to the 100mm you initially set.
- Adjustment: If your printer extruded more than 100mm, reduce your flow rate in the slicer settings. If it extruded less, increase it.
This simple adjustment can significantly enhance the quality of your prints.
3. Temperature Calibration
Ever notice how your prints can vary based on temperature? The ideal printing temperature can differ by filament type and even from brand to brand. To find the perfect temperature, follow these steps:
- Temperature Tower Test: Create a temperature tower model—basically, a series of small sections you can print at different temperatures (start around the manufacturer’s recommended range).
- Observe Results: After printing, examine each segment for stringing, layer adhesion, and overall finish. The temperature that gives you the best quality will be your sweet spot.
Also, remember that ambient temperature can influence printing, so be mindful of your workspace conditions!
4. First Layer Calibration
The first layer is where the magic happens, and getting this right can be the difference between a successful print or a frustrating failure. A well-adhered first layer is crucial. To achieve this:
- Z-Axis Offset: Adjust the height of your nozzle during the initial layers. If the nozzle is too high, the plastic won’t stick well to the bed. If it’s too low, it could clog or scratch the bed.
- First Layer Settings: Increase the bed temperature and slow down the speed of the first layer by 20%. This will help the filament stick better and lay down nicely.
Getting Cozy with Calibration
Now that you have a few calibration techniques under your belt, remember that patience is key. Calibration isn’t a one-time thing; as you experiment and try different materials or models, you’ll need to recalibrate periodically. Think of it as tuning your instrument—every little adjustment can lead to beautiful melodies (or in this case, prints).
As you get familiar with these calibration techniques, embrace the learning curve. Every hiccup is a stepping stone on your 3D printing journey. Enjoy the process, see the improvements in your prints, and don’t hesitate to share your triumphs and trials with the 3D printing community. Happy printing!