


How to Achieve Stunning Finishes on Your 3D Prints
If you’ve recently delved into the world of 3D printing, congratulations! You’re entering an exciting domain filled with possibilities. However, many newcomers quickly realize that getting those prints to look stunning can require more than just pressing "print." Whether you’re crafting intricate designs or prototypes, achieving a professional finish can elevate your work from good to jaw-droppingly great.
Here’s a friendly guide to help you achieve those stunning finishes on your 3D prints, turning your passion into pieces that truly stand out!
Choosing the Right Material
Before you even hit print, the material you select plays a crucial role in the final appearance of your print. While PLA is a popular choice because of its ease of use and vibrant colors, if you’re aiming for something more polished, consider materials like PETG or ABS. Each material has its own set of characteristics—PETG boasts clarity and gloss, while ABS allows for easier smoothing techniques through acetone vapor.
For highly detailed prints, opt for higher-resolution filaments. They may be slightly more expensive, but the results are often worth it. Remember that the right material not only affects the finish but can also impact how easy it is to achieve that perfect look later on.
Optimize Your Print Settings
One of the most critical factors influencing the surface quality of your prints is your printer settings. Take a moment to ensure you’re printing at an appropriate layer height. Lowering the layer height can greatly improve the smoothness of the final print, although it might increase your print time.
You also want to adjust your print speed. Faster speeds can lead to a rough surface, so if you’re working on a project where the finish is paramount, consider reducing the printing speed a bit. It’s all about finding that sweet spot where quality meets efficiency!
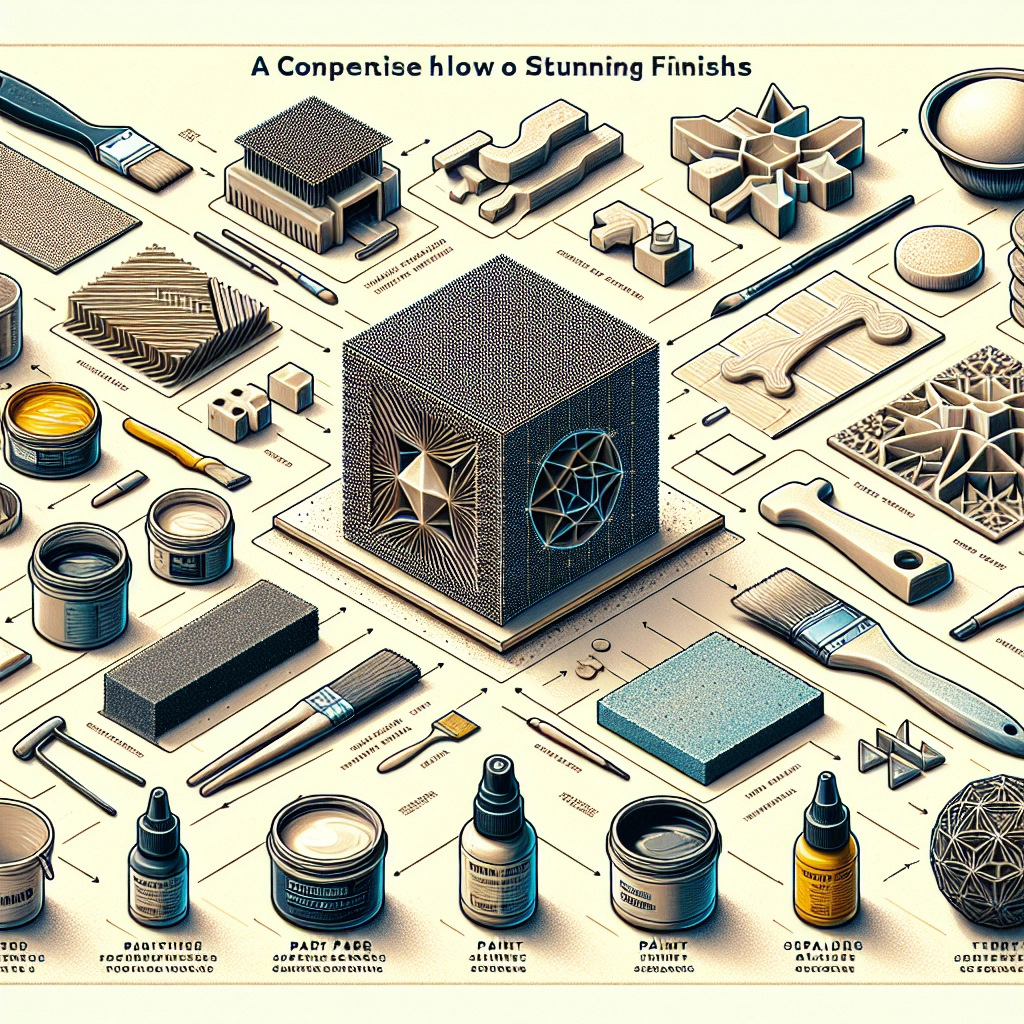
Post-Processing Techniques
Once your print is complete, the real fun begins. Post-processing is where you can transform that rough print into a polished masterpiece. Here are a few techniques to consider:
Sanding
Sanding is a time-tested method for achieving a smooth finish. Start with a coarser grit sandpaper to knock down the biggest imperfections, then gradually work your way up to finer grits for a glass-like appearance. Remember to sand lightly; it’s easier to take off material than to put it back on!
Filling
If your print has visible layer lines or defects, a filler can help create a smoother surface. Products like epoxy fillers can be mixed and applied to the print, then sanded down once cured. This method can give your piece a flawless look.
Priming and Painting
After sanding and filling, it’s time to paint! A good primer will help the paint adhere better and provide a more even base. Once the primer is dry, you can unleash your creativity with paints. For a glossy finish, consider using spray paint, which provides an even layer. Paintbrushes can also work for smaller details, allowing for precision. Keep in mind that acrylic paints tend to adhere well to most plastics.
Sealing
Finally, to keep your stunning finish intact, consider sealing your print. A clear coat can protect against scratches and wear, and give your piece a beautiful sheen. Select a finish that suits your aesthetic—whether that’s matte, satin, or glossy.
Experiment with Finishing Techniques
Don’t hesitate to experiment! Some finishes, like chemical smoothing, can lead to stunning results depending on your filament choice. Acetone works wonders with ABS, while some methods can bestow an incredible glass-like finish on certain materials. You could even try combining techniques, like sanding followed by a clear-cast resin pour for unique effects.
Know When to Pride Yourself
As you become more familiar with these techniques, remember that practice makes perfect. It’s okay if your first few prints don’t turn out exactly as you had envisioned—learning is part of the process. Share your journey with others, and don’t hesitate to gather feedback or tips from fellow makers.
Creating stunning finishes on your 3D prints is an art in itself, and with the right material selection, print settings, and post-processing techniques, you can elevate your creations to new levels. Each layer you print, sand, and paint brings you closer to a gorgeous final piece that showcases not only the capabilities of 3D printing but also your unique style and artistry. Keep pushing those creative boundaries, and soon you’ll achieve finishes that are truly breathtaking!