


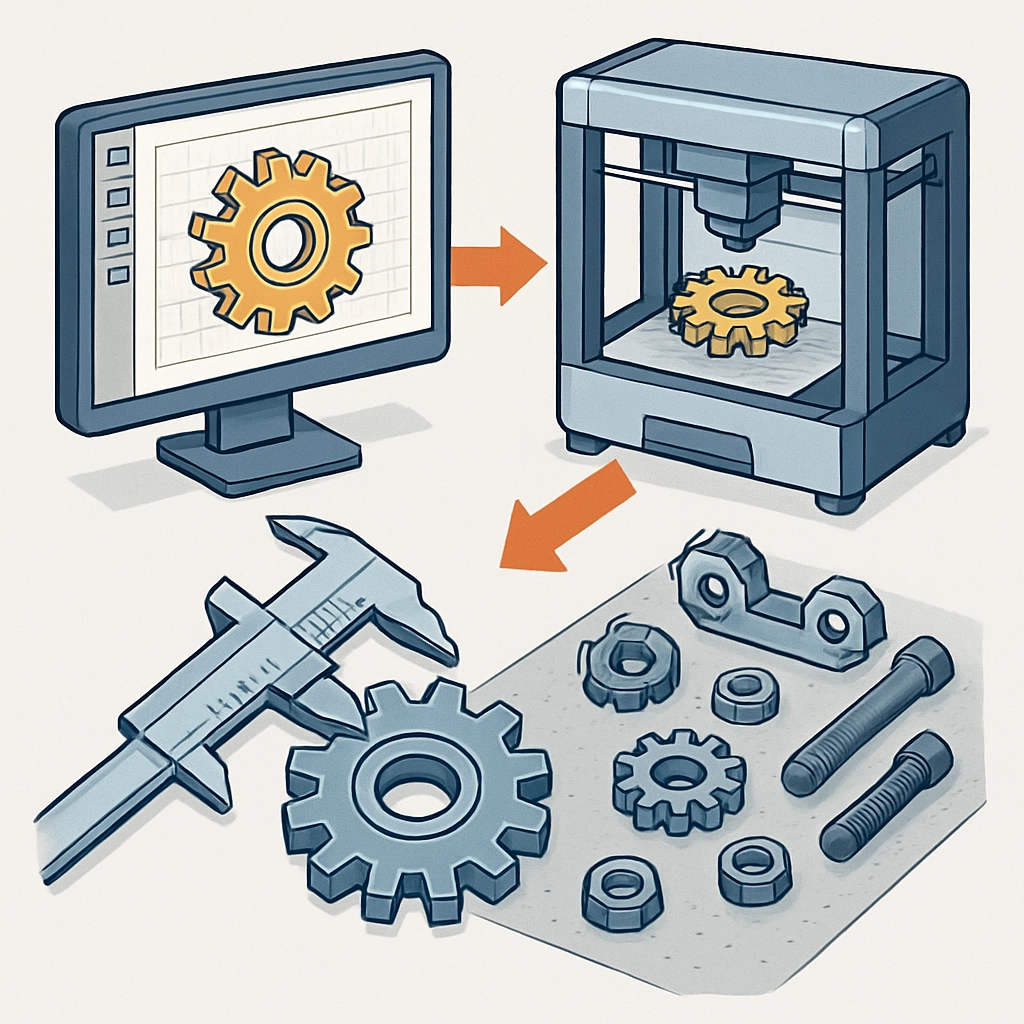
How to Create Mechanical Parts with 3D Printing
3D printing has revolutionized the way we think about design and manufacturing. With its increasing accessibility and versatility, it’s no wonder that hobbyists and professionals alike are turning to this technology to create everything from prototypes to end-use parts. If you’re interested in diving into this exciting world, creating mechanical parts with 3D printing is a great place to start. Let’s explore the process step by step!
Understanding 3D Printing Technologies
Before you jump into designing your mechanical parts, it’s important to familiarize yourself with the different types of 3D printing technologies available. The most common methods are:
-
Fused Deposition Modeling (FDM): This is the most widely used form of 3D printing, where thermoplastic filament is melted and extruded layer by layer to build a part. FDM printers are an excellent choice for creating durable mechanical parts, especially when using strong materials like ABS or PETG.
-
Stereolithography (SLA): This process uses a liquid resin that is cured by ultraviolet light. SLA can produce parts with incredible detail and smooth finishes, making it great for intricate mechanical components, but the materials are generally less durable compared to FDM.
-
Selective Laser Sintering (SLS): SLS uses a laser to fuse powdered materials together. This method produces strong parts that are often used in industrial applications. The downside is that SLS printers are typically more expensive and less suited for home use.
Understanding these options helps you choose the right technology for your specific project based on the required strength, detail, and complexity of your mechanical parts.
Designing Your Mechanical Parts
Once you’ve chosen your printing method, it’s time to design your mechanical part. There are numerous software options available for 3D modeling, ranging from beginner-friendly tools like Tinkercad to advanced programs like SolidWorks and Fusion 360. Here are some tips you might want to keep in mind while designing:
-
Think About Functionality: Consider how the part will be used. Will it require precise tolerances? Does it need to fit with other components? Keep these questions in mind during your design phase.
-
Use Proper Dimensions: Ensure that your measurements are accurate. Most 3D software allows you to input dimensions directly to maintain precision.
-
Optimize for Printing: Parts with complex geometries might require supports during printing, which can complicate the post-processing stage. Try to design with the printing process in mind. This means avoiding excessive overhangs and sharp angles where possible.
-
Prototyping First: If you are working on a complex design, consider printing a prototype before finalizing the part. This allows you to test fit and functionality without committing to a longer printing time.
Preparing for Printing
Once designed, prepare your model for printing by exporting it to a compatible format, usually STL or OBJ. Then, you’ll use slicing software such as Cura or PrusaSlicer. This software converts your 3D model into instructions that the printer understands. Here are some preparation steps:
-
Choose the Right Settings: Selecting the correct layer height, infill percentage, and print speed can significantly impact the strength and appearance of your part. For mechanical applications, you might want to increase the infill and decrease the print speed to enhance the overall durability and quality of the part.
-
Check the Orientation: The orientation of your part on the print bed can affect strength and aesthetics. For mechanical parts, you often want to print in a position that maximizes strength along the layers.
-
Slice and Save: After setting everything up, slice your model and save it to an SD card or send it directly to your printer if it supports a direct connection.
Printing Your Parts
With everything prepped, you’re ready to hit print! Depending on your printer and the size of your part, this process can take anywhere from a few hours to several days. Be sure to monitor your print for any issues such as warping or filament jams.
Once printed, you’ll need to do some post-processing. This can include removing any support structures, sanding surfaces for smoother finishes, or even painting your part if desired.
3D printing your mechanical parts can be a rewarding and educational experience. Not only do you get hands-on with technology that many industries are turning to, but you also gain the satisfaction of seeing your design come to life. The possibilities are nearly endless, whether you’re creating new tools, custom components for a project, or even just exploring your creative side. As you gain experience, you’ll develop techniques and preferences that tailor to your specific needs, making each project better than the last. So grab your filament, fire up your printer, and let your imagination run wild!