


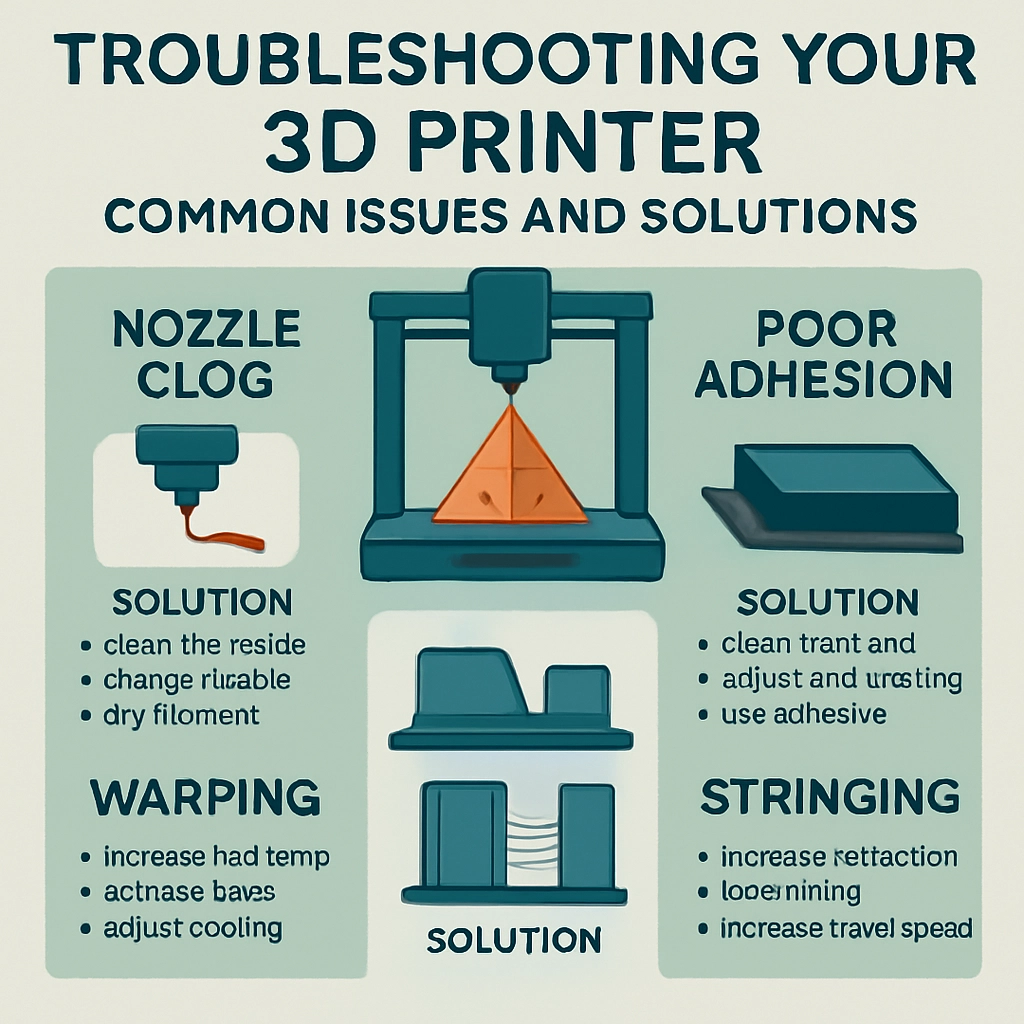
Troubleshooting Your 3D Printer: Common Issues and Solutions
3D printing is one of those fantastic technologies that feels like something out of a sci-fi movie, and it’s become more accessible than ever. But like all technology, it’s not without its hiccups. If you’re the proud owner of a 3D printer, chances are you’ve faced some issues along the way. Don’t worry—you’re not alone! Understanding typical problems and their solutions can save you time, money, and a few headaches. Let’s dig into some common issues you might encounter and how to resolve them.
Poor Adhesion to the Build Plate
One of the most prevalent issues with 3D printing is the model not sticking to the build plate. When your creation decides it doesn’t like the surface it’s supposed to stick to, it can ruin your entire print.
Solutions:
-
Level the Bed: This is often the culprit. If your bed isn’t level, some areas might be too far from the nozzle while others are too close, causing inconsistency in adhesion. Spend some time leveling that bed. Many printers have an auto-level function, or you can do it manually with a piece of paper to gauge the distance.
-
Clean the Build Surface: Dust, grease, or leftover filament residue can prevent proper adhesion. Use isopropyl alcohol to clean the surface of the build plate before starting a print.
-
Use Adhesives: If all else fails, you might try using some adhesives. A glue stick, painter’s tape, or even hairspray can work wonders in helping your model stick.
Warping
Warping is when the edges of your print lift away from the build plate, creating an unsightly, misshapen model. It’s particularly common with ABS and other high-temperature filaments.
Solutions:
-
Increase Bed Temperature: Higher bed temperatures can reduce the chances of warping. Check the recommended settings for your filament and adjust as needed.
-
Enclose the Printer: If possible, use an enclosure for your printer. A controlled environment helps maintain temperature stability, reducing warping.
-
Utilize Rafts or Brims: Adding these can provide additional adhesion and stability during the print, helping prevent warping.
Stringing
Those pesky strands of plastic that resemble cobwebs or hair can be incredibly annoying. This usually happens due to excessive oozing during travel movements.
Solutions:
-
Adjust Retraction Settings: Increasing the retraction distance and speed can help combat stringing. Doing a few test prints is a good way to find that perfect balance.
-
Cool Down: Sometimes, lowering the printing temperature can reduce stringing. Try decreasing the temperature by 5-10 degrees and see if that helps.
-
Use a Different Filament: Some filaments are inherently stringier than others. If you continue to have issues, consider switching to a less stringy option.
Under-extrusion
Under-extrusion shows up as gaps and inconsistencies in your print where not enough filament is being extruded. This can give your model a rough finish or even cause it to fail completely.
Solutions:
-
Check the Filament Path: Ensure there’s no blockage in the feeder or nozzle. A clogged nozzle can lead to under-extrusion. If you suspect a clog, try cleaning or replacing the nozzle.
-
Increase Extrusion Multiplier: Adjust your slicing software settings to increase the extrusion rate. Doing this may remedy the issue but keep a close eye on potential over-extrusion as a side effect.
-
Inspect the Filament: Sometimes, it’s the filament that’s the problem. If it’s old, damaged, or absorbing moisture, it can lead to under-extrusion. Storing your filament properly can help avoid this issue.
Layer Shifting
Layer shifting occurs when the print layers don’t align properly, which can happen for a multitude of reasons, ranging from mechanical issues to incorrect slicing settings.
Solutions:
-
Tighten Belts: If your printer’s belts are loose, that could lead to shifting. Check your belts and make sure they have the correct tension.
-
Check Movement Limits: Ensure that nothing is blocking the printer’s movement. Sometimes wires or other distractions can cause the print head to run into snags.
-
Adjust Print Speed: Slowing down the print speed can improve accuracy, especially on larger prints where precision is crucial.
3D printing is a learning journey filled with both triumphs and problems. Every issue presents an opportunity to learn more about your machine and how to improve your printing. When you encounter a problem, take a deep breath and remember that troubleshooting is part of the process. With a little patience and experimentation, you can resolve these common issues and get back to the fun of creating your next masterpiece! Happy printing!