


How to Optimize Your Print Settings for Different Filaments
Getting into 3D printing can feel like diving into a vast ocean of possibilities, especially when it comes to the sheer variety of filaments available. From PLA to PETG and filament combinations that are just shy of wizardry, each type has its own unique characteristics and considerations. Optimizing your print settings can make a huge difference in the quality, durability, and overall success of your prints. So, if you’re looking to fine-tune your 3D printing skills and explore various materials more effectively, you’ve come to the right place!
Understanding Different Filament Types
Before we jump into the nitty-gritty of optimization, let’s take a quick look at some commonly used 3D printing filaments.
-
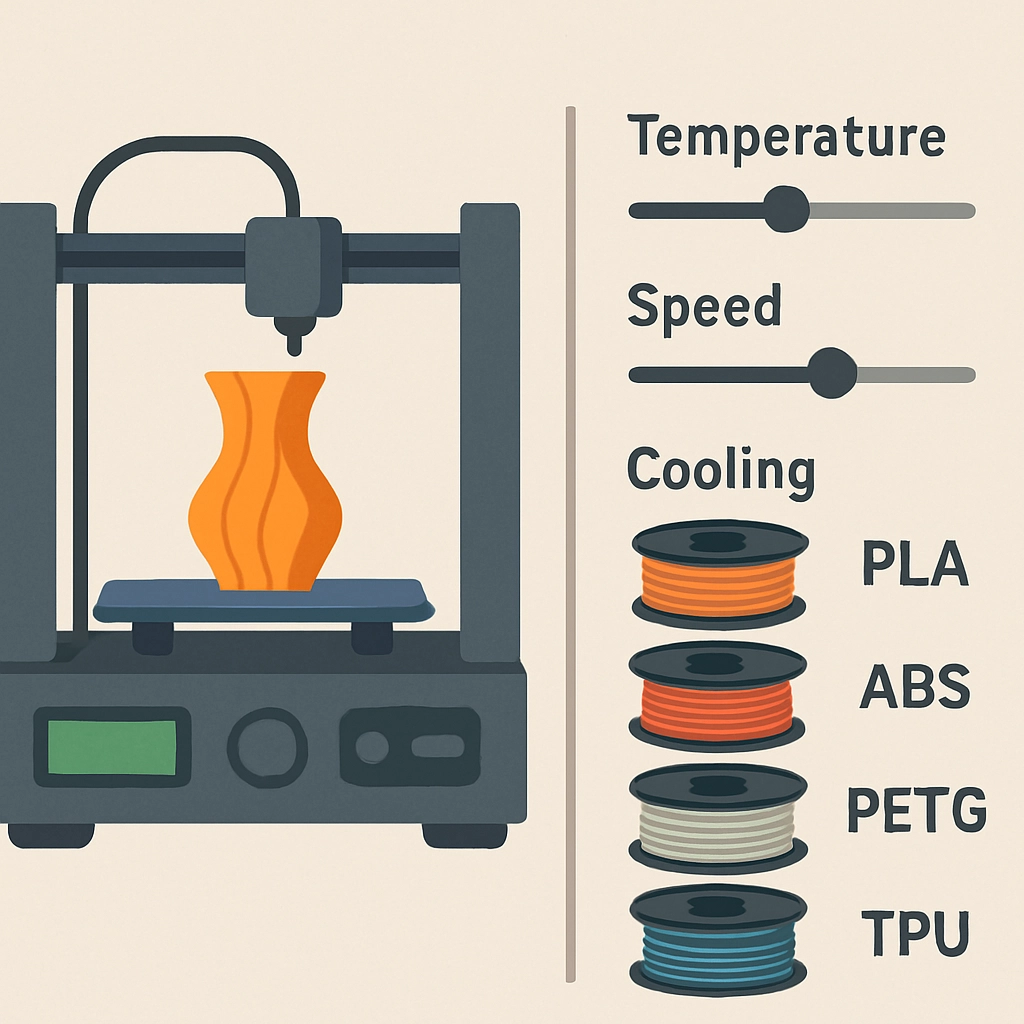
PLA (Polylactic Acid): This is the go-to filament for beginners. It’s easy to print with, biodegradable, and comes in a dizzying array of colors. However, it’s not the best for functional parts as it can be brittle and less heat-resistant.
-
ABS (Acrylonitrile Butadiene Styrene): A strong, impact-resistant option great for functional parts, but it can emit fumes when printing. Plus, it tends to warp, so bed adhesion is crucial.
-
PETG (Polyethylene Terephthalate Glycol-Modified): This is fantastic for functional prototypes. It’s strong and has better temperature resistance than PLA, yet easier to print than ABS. It can also be tricky with stringing.
-
TPU (Thermoplastic Polyurethane): This flexible filament is used for prints that need to bend or stretch. Printing with TPU requires slower print speeds and often a direct drive extruder for consistent results.
-
Nylon: Known for its strength and flexibility, nylon is a little more advanced and absorbs moisture easily, so it’s best stored properly.
Now that you have a basic understanding of the different filaments, let’s dive into how you can tweak your print settings for each.
Adjusting Temperature
One of the most significant factors in successful 3D printing is temperature. Each filament requires a particular range to melt and flow properly.
-
PLA: Usually printed around 190 to 220°C. If you’re facing issues with adhesion or layer separation, consider bumping the temperature up slightly.
-
ABS: A hotter print at around 220 to 250°C helps with adhesion and reduces the risk of warping. Using an enclosed printer can also help keep temperatures stable.
-
PETG: Print at 220 to 250°C. A good tip here is to experiment with fan speeds; 100% cooling can cause unwanted stringing, so dial it down a bit.
-
TPU: Since this is a flexible filament, you might consider lower temperatures, typically around 200 to 220°C, but pay attention to specific recommendations, as every brand can differ.
-
Nylon: Generally requires higher temperatures, 230 to 260°C, and a good heated bed is almost a must.
Bed Adhesion
Getting your part to stick to the print bed is often half the battle. Different filaments behave differently when it comes to adhesion.
-
PLA: Generally sticks well to most surfaces, but using a heated bed at around 50°C can help.
-
ABS: This one needs a good bed coating (like glue or hairspray) and a heated bed set to around 90-110°C to prevent warping.
-
PETG: This filament adheres well but can also be a bit sticky. A heated bed at around 70-80°C with a layer of glue stick works wonders.
-
TPU: A good first layer is vital, so keep your bed around 60°C. BuildTak surfaces work well for TPU.
-
Nylon: Best printed on a heated bed at around 70-100°C, and using a PVA glue can help with adhesion.
Speed and Cooling
Speed settings can also greatly impact your results.
-
PLA: Great for fast prints—start with 60-100 mm/s.
-
ABS: Slowing down to 40-60 mm/s can help minimize warping.
-
PETG: A sweet spot is about 40-60 mm/s for better layer adhesion without stringing.
-
TPU: Go slow, around 20-30 mm/s, so the material can flow more precisely.
-
Nylon: Like PETG, it prefers slower speeds—about 30-50 mm/s.
Finally, don’t neglect cooling! PLA loves it, while ABS and PETG generally prefer minimal cooling. TPU and nylon also do better with less, so pay attention to your prints’ needs.
Wrapping it All Up
Optimizing your print settings for different filaments is like learning a new recipe—practice makes perfect! Start with your printer’s recommended settings and adapt from there as you gain experience. Don’t be afraid to experiment; every material can behave differently based on various factors, including your printer’s individual quirks.
In the end, enjoying the journey of 3D printing often means learning from each print—successful or not. So, gear up, tweak those settings, and let your creativity run wild! Happy printing!