


How to Prepare Your Files for 3D Printing
3D printing has transformed how we think about design and production. Whether you’re a hobbyist eager to create something from your imagination or a small business looking to prototype your next big idea, understanding how to prepare your files for 3D printing is crucial. With a little know-how, you can avoid common pitfalls and ensure your prints come out just the way you envisioned. So grab a comfy seat, and let’s dive in!
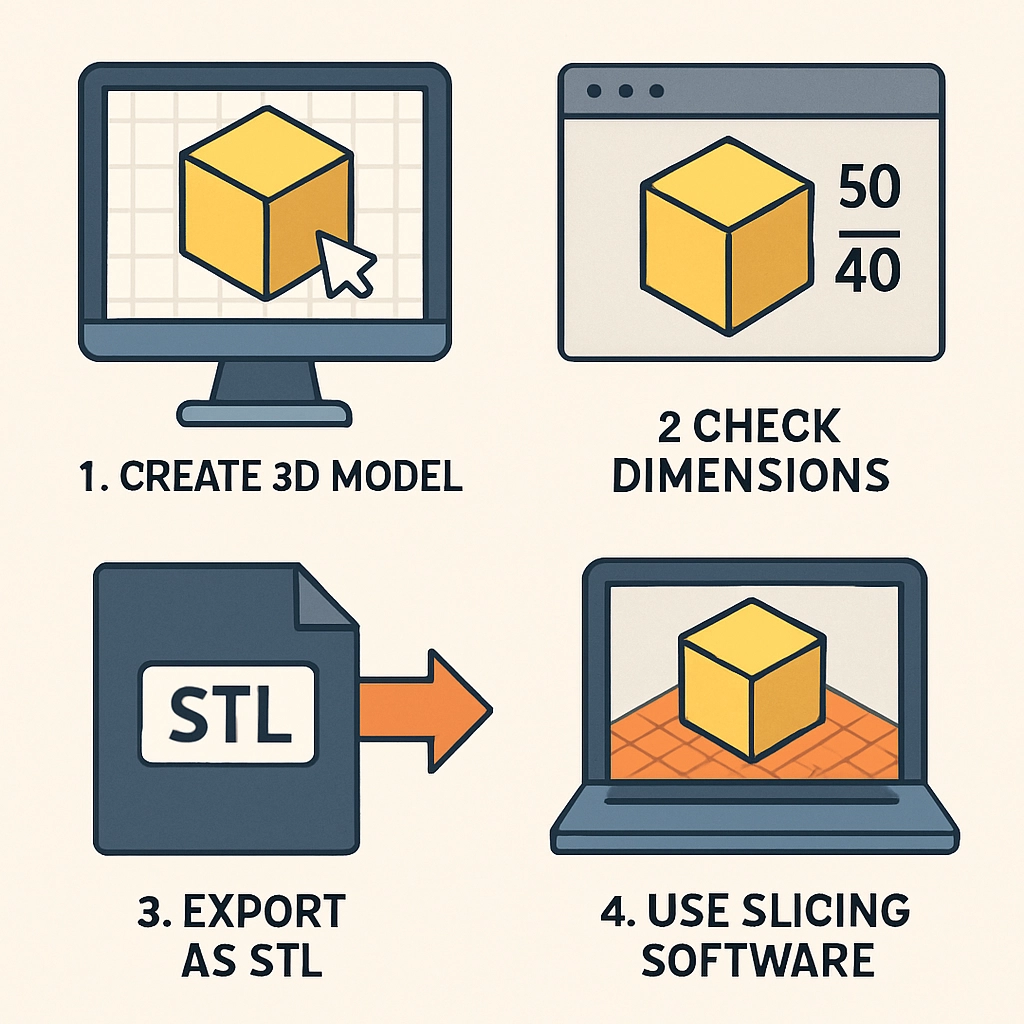
Understand Your 3D Model
Before you even think about hitting print, you need to start with a solid 3D model. Most printers use STL (Stereolithography) files, but there are additional formats you might encounter like OBJ or AMF. If you’re creating a model from scratch, software like Blender, Tinkercad, or Fusion 360 can help you design precisely what you want. If you’re downloading pre-made models from sites like Thingiverse or MyMiniFactory, make sure to check their compatibility with your printer.
Keep it Simple and Scalable
While it might be tempting to create intricate designs, beginners should remember that simplicity often wins. If you’re not yet familiar with the capabilities of your printer, start with a few basic shapes before moving on to more complex models. Additionally, consider how large your model will print. Most printers have specific build areas, so always check the dimensions of your design against your printer’s capabilities.
Optimize Your 3D Model
Now that you have your 3D model, it’s time for a bit of optimization. This step is essential for smoothing out any potential issues that might arise during printing. There are a few key things you’ll want to address:
Scale and Orientation
Scaling your model in the design software is the first step. Ensure that the model is the right size for your intended use. After scaling, think about the orientation. How you orient your model on the build plate can impact the quality and strength of your print. Consider which angle minimizes supports or enhances stability.
Clean it Up
Next, check for any errors within your model. Sometimes, models can have issues like non-manifold edges or holes. Software like Meshmixer or Netfabb can automatically fix these problems. Additionally, simplify the mesh where possible. A high polygon count can lead to longer slice times and unnecessary strain on your printer.
Choose the Right Slicing Software
Once your 3D model is optimized and ready to go, the next step is slicing. Slicing software transforms your model into a set of instructions that your 3D printer can understand. Popular options include Cura, PrusaSlicer, and Simplify3D.
Settings Matter
Don’t skip this part! The settings you choose will greatly affect the final print. Pay attention to layer height, print speed, infill density, and support structures. Lower layer heights can result in better detail but will take longer to print, while higher speeds can decrease quality. Find the balance that works best for your printer and material.
Moreover, if you’re printing a complex shape, consider using supports for overhangs. While some printers handle these effortlessly, others can fail without extra support. The slicing software will let you preview where supports will be placed, so it’s a good opportunity to adjust if necessary.
Test and Iterate
Having completed your slicing, save the file to your chosen medium—be it a USB stick for your printer or over-the-air with Wi-Fi connections. Now comes the moment of truth: print your model!
But remember, it’s okay if the first print doesn’t come out perfectly. 3D printing often involves a fair bit of trial and error. Use your first prints as learning experiences. Note what worked, what didn’t, and make adjustments accordingly.
Keep Learning
As you dive deeper into the world of 3D printing, you’ll discover that there’s always more to learn. Don’t hesitate to seek out resources, whether it’s forums, YouTube tutorials, or even local maker spaces. Engaging with a community can foster creativity and provide valuable support.
3D printing is a journey of creativity, innovation, and some good old-fashioned trial and error. By understanding the intricacies of preparing your files—from creating your model to optimizing your print settings—you’ll position yourself for success in this fascinating field. So keep tinkering, keep learning, and before you know it, you’ll have creations that not only function but showcase your unique vision! Happy printing!