


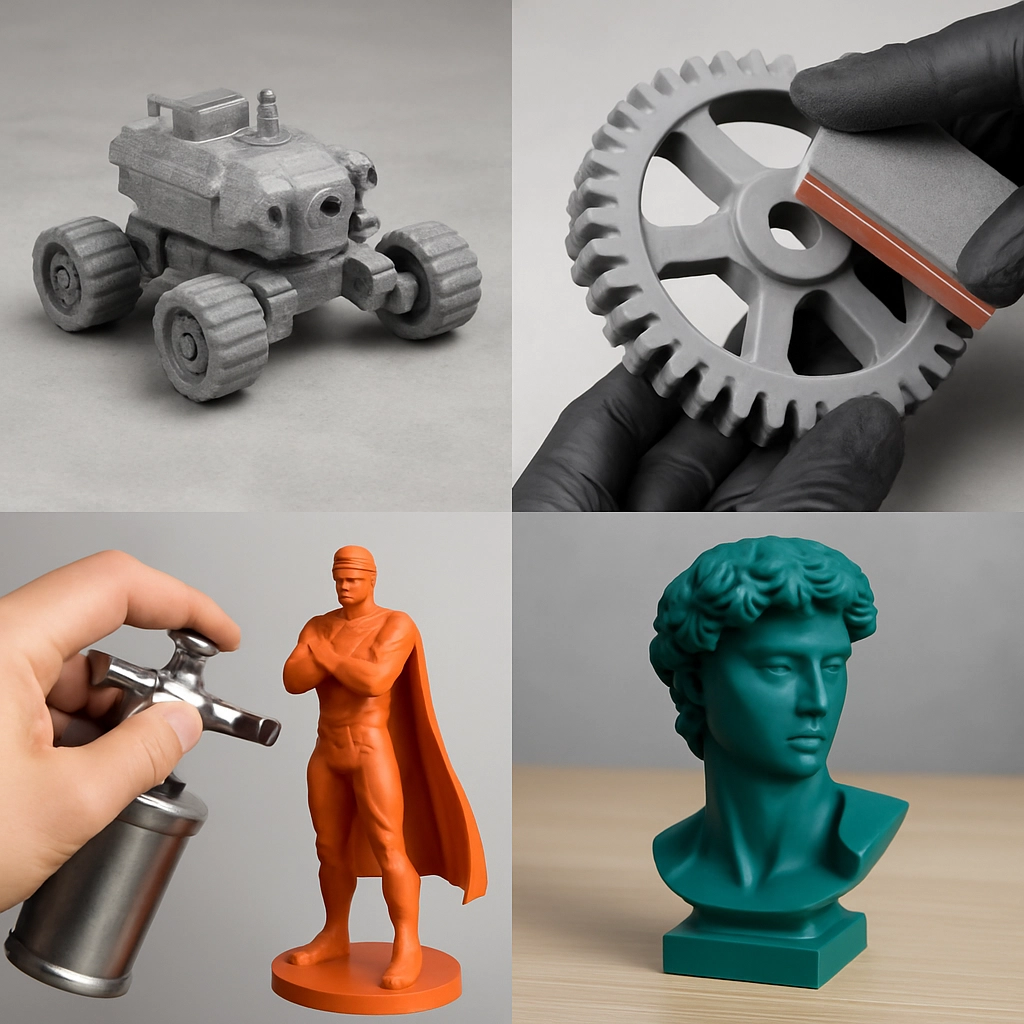
The Best 3D Print Finishing Techniques: From Bambu Lab to Creality
3D printing has come a long way, allowing creators to bring their wildest ideas to life with layers of melted filament transformed into intricate designs. But let’s face it—while the printing process itself can be exciting, the finish often leaves something to be desired. If you’ve ever pulled a print from the bed only to be met with those annoying layer lines or rough surfaces, you know what I’m talking about. Luckily, there’s a world of finishing techniques to help elevate your prints to gallery-worthy masterpieces, whether you’re rocking a Bambu Lab or a Creality printer.
1. The Basics of Preparation: Cleaning and Removing Supports
Before diving into the fanciest finishing techniques, let’s talk about the groundwork: post-processing cleanup. After your print has cooled, the first step usually involves removing any support material. This can be a bit tedious, but it’s crucial for achieving a smooth look. Tools like snips, hobby knives, or even a simple fingernail can help.
Additionally, give your print a good wash with some warm soapy water to remove dust or oils that might be lurking around. This simple step sets you up for success with any finishing technique you choose.
2. Sanding: The Tried-and-True Method
Sanding is a classic finishing method that can make a world of difference. It’s like giving your print a spa day! Start with a coarse grit (around 120-220 grit) to remove any major imperfections, and then work your way up to finer grits (up to 1000) for a smooth finish.
For best results, consider using a wet sanding technique. This involves using water to lubricate the sandpaper as you work. It helps reduce dust, prevents the sandpaper from clogging, and can achieve a super smooth surface.
Just a friendly reminder: patience is key! Take your time to avoid sanding away too much material, especially on intricate designs.
3. Priming: A Game Changer for Aesthetic Appeal
If you’re looking to paint your model, priming is an essential step. A good primer can seal those tiny layer lines and create a more uniform surface for paint adhesion. Spray primers work wonderfully; just ensure you apply several thin coats rather than trying to slather it on in one go.
Applying a primer not only helps the paint adhere better but can also highlight details in your print. Plus, with brands like Rust-Oleum or Tamiya in the mix, you’re bound to find a finish that suits your style.
4. Painting: Unleash Your Inner Artist
Once the priming is done, it’s finally time to break out the paint. Acrylic paints are popular for their vibrant colors and ease of use. A good airbrush set can make a huge difference, providing a smooth finish that a spray can might not achieve. However, traditional paintbrushes work just fine for small details or controlled areas.
Remember to start with lighter colors and build up for depth, considering dry brushing techniques to really make those details pop. Pro tip: keep a damp cloth handy for quick cleanups or adjustments!
5. Specialty Finishes: Approaching the Professional Level
After you’ve nailed the basics, why not push your skills further? There’s a range of specialty finishes you can explore.
Epoxy Resin Coating: For a glassy, glossy finish, consider applying an epoxy resin. It’s perfect for tabletop gaming miniatures or any decorative piece. However, you do need to be cautious—prep work is essential, and good ventilation is a must since fumes can occur.
Vapor Smoothing: If you have access to a vapor smoothing setup, this method works wonders, especially for ABS prints. This technique uses acetone to melt the outer layer, smoothing out imperfections. Just remember, it’s generally a good idea to work outdoors or in a fume hood due to the fumes produced.
6. Advanced Techniques: For the Bold
For those who feel daring, consider diving into advanced techniques like hydrographics or even electroplating for unique metallic finishes. These methods can be time-consuming, but the results are nothing short of stunning.
Wrapping It Up
In the world of 3D printing, finishing techniques are the cherry on top that transform a good print into a great one. Whether you’re optimistically using your Bambu Lab to create intricate models or firing up your Creality for practical prints, these methods will help you refine and elevate your creations. It’s all about experimentation, discovering what works best for you and your style. So grab those sanding blocks, paints, or even some epoxy, and dive into the exciting adventure of 3D print finishing. Your best work is just around the corner!