


How to Set Up and Start Printing with Creality Printers
So, you’ve decided to dive into the world of 3D printing, and you’ve chosen a Creality printer—great choice! Known for their reliability and affordability, Creality printers are a fantastic gateway to this exciting hobby. Whether you’re just getting started or returning after a break, setting up your printer can feel a bit daunting. But fear not! I’m here to walk you through the setup and give you a head start on your printing journey.
Unboxing Your Printer
First things first—let’s unbox that beauty! When your Creality printer arrives, find a clean, spacious area to set it up. Carefully open the box and remove the printer components. You should find the following:
- The printer itself (probably in several pieces)
- A power supply
- Some tools (like a wrench and screwdriver)
- A USB stick (loaded with helpful files)
- Filament guide and user manual
Remember to check for any damage from shipping. If anything looks amiss, you may want to reach out to the retailer or Creality for assistance.
Assembly Time
Now, let’s get to the fun part—assembly! Most Creality printers come with clear instructions, but here are some general tips to make it smooth sailing:
- Follow the Instructions: Yes, I know. It’s tempting to go rogue, but sticking to the manual ensures you don’t miss any steps.
- Keep Fasteners Handy: Make sure to keep all screws and bolts organized. It’s easy to lose small parts, and trust me, a missing screw can throw a wrench in your plans.
- Connect the Wires: Pay close attention to the wiring connections. It can be tempting to skip this step, but proper wiring is critical. Most printers will have color-coded cables that make this easier.
- Double-Check Everything: Before your first power-up, take a moment to check that everything is secure and connected correctly. This little precaution can save you a lot of headaches later!
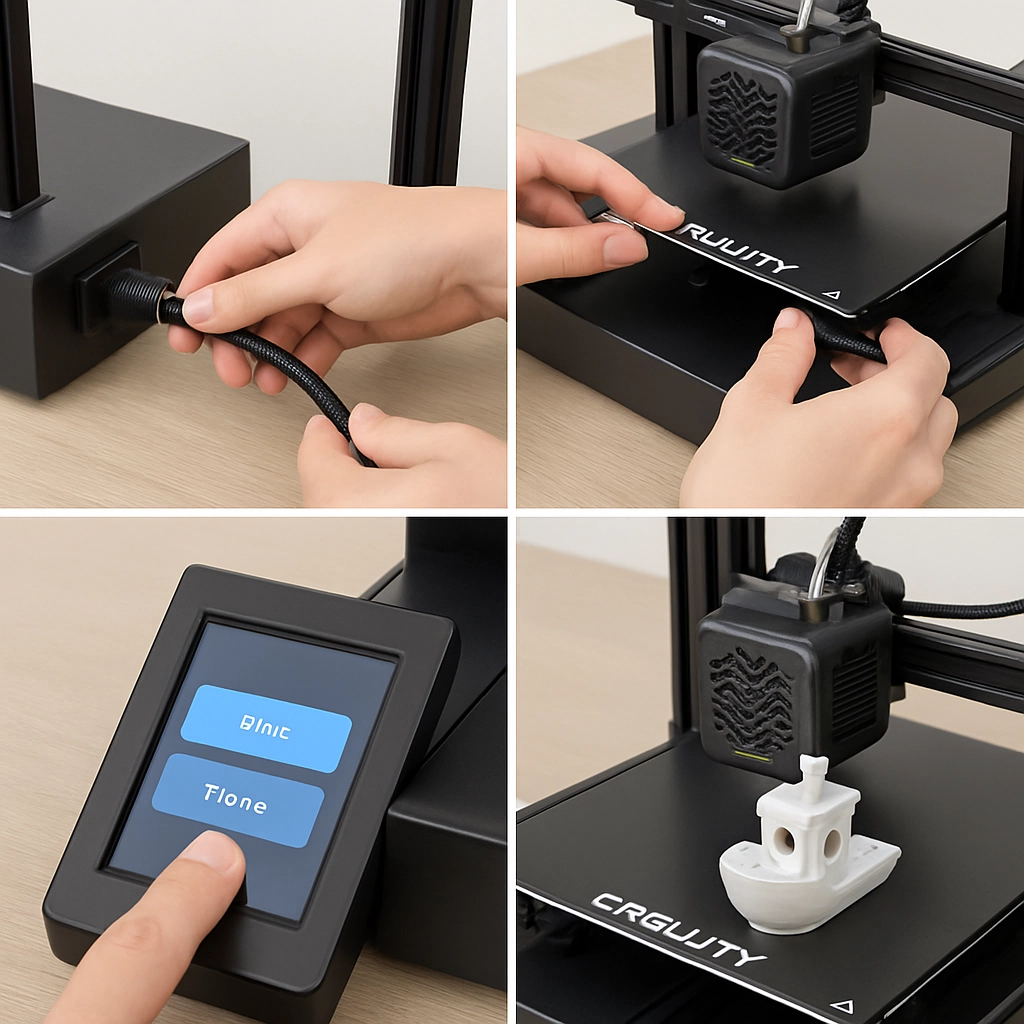
First Power-Up
Once everything is in place, it’s time to plug in your printer and power it up! Most Creality models will undergo a preliminary self-test. Watch for unusual sounds or errors on the display screen—if something seems off, it’s better to troubleshoot now than later.
After your printer has powered on, you’ll likely want to level the bed. Proper bed leveling helps ensure your first prints stick well and turn out beautifully. Many Creality printers offer both manual and automatic bed leveling options. If you’re new to this, the manual method usually involves adjusting screws at each corner of the print bed until the nozzle is the same distance across the surface.
Loading Filament
With the bed leveled, it’s time to load your filament! Creality printers often use PLA for beginners, which is easy to work with and doesn’t require a heated bed. Here’s how to load the filament:
- Preheat the Nozzle: Going into the settings, preheat your nozzle to around 200°C for PLA.
- Insert the Filament: Once the printer is preheated, simply insert the filament into the extruder until you feel some resistance, and then push it through.
- Extrude a Little: To ensure proper flow, extrude a small amount of filament. This can usually be done right through the printer’s interface.
Slicing Your First Model
Now that you’ve got your printer all set, it’s time to prepare your first model! There are several slicing software options you can choose from, with Creality’s own slicer or customer favorites like Cura and PrusaSlicer.
- Choose Your Model: Popular resources for 3D models include Thingiverse and MyMiniFactory. Find a simple print to start with—perhaps a small model or even a calibration cube.
- Adjust Settings: In your slicer software, you’ll need to adjust some basic settings, like layer height, print speed, and infill. If you’re unsure, many slicers have preset profiles for Creality printers that can guide you.
- Export Your File: Once you’re happy with your settings, export the file to your USB stick or directly to your printer.
Printing Time!
With everything prepared, it’s time to hit “print”! Load the USB stick into the printer, select your model, and watch the magic happen. This moment can be so exhilarating—seeing your design come to life layer by layer.
Don’t forget to check on your print periodically, especially if it’s your first run. Things can sometimes go awry due to a loose filament or bed adhesion issues, but troubleshooting becomes easier with practice.
Setting up and starting to print with a Creality printer is an exciting process filled with learning moments. Remember, the world of 3D printing is as vast as it is rewarding. With every print, you’ll gain experience that leads to more complex and rewarding projects. So roll up your sleeves, embrace the process, and happy printing!