


The Art of Post-Processing Your 3D Prints
So, you’ve just finished a print and are marveling at what your 3D printer has accomplished. It’s a thrilling moment! But hold on—don’t put that print on the shelf just yet. The magic of post-processing is about to elevate your creation to an entirely new level. Whether you’re a hobbyist or a seasoned pro, understanding the art of post-processing can enhance your 3D prints significantly. Let’s dive into some popular methods and tips to help you make your creations shine.
Why Post-Processing?
You might be wondering why you should bother with post-processing at all. After all, a printed model can look pretty good fresh off the printer! However, post-processing not only enhances the appearance but also improves durability and overall quality. Techniques such as sanding, painting, and smoothing can reduce visible layer lines, remove support structures, and create a more polished look. Plus, it’s a way to truly make the piece your own and tailor it to your vision.
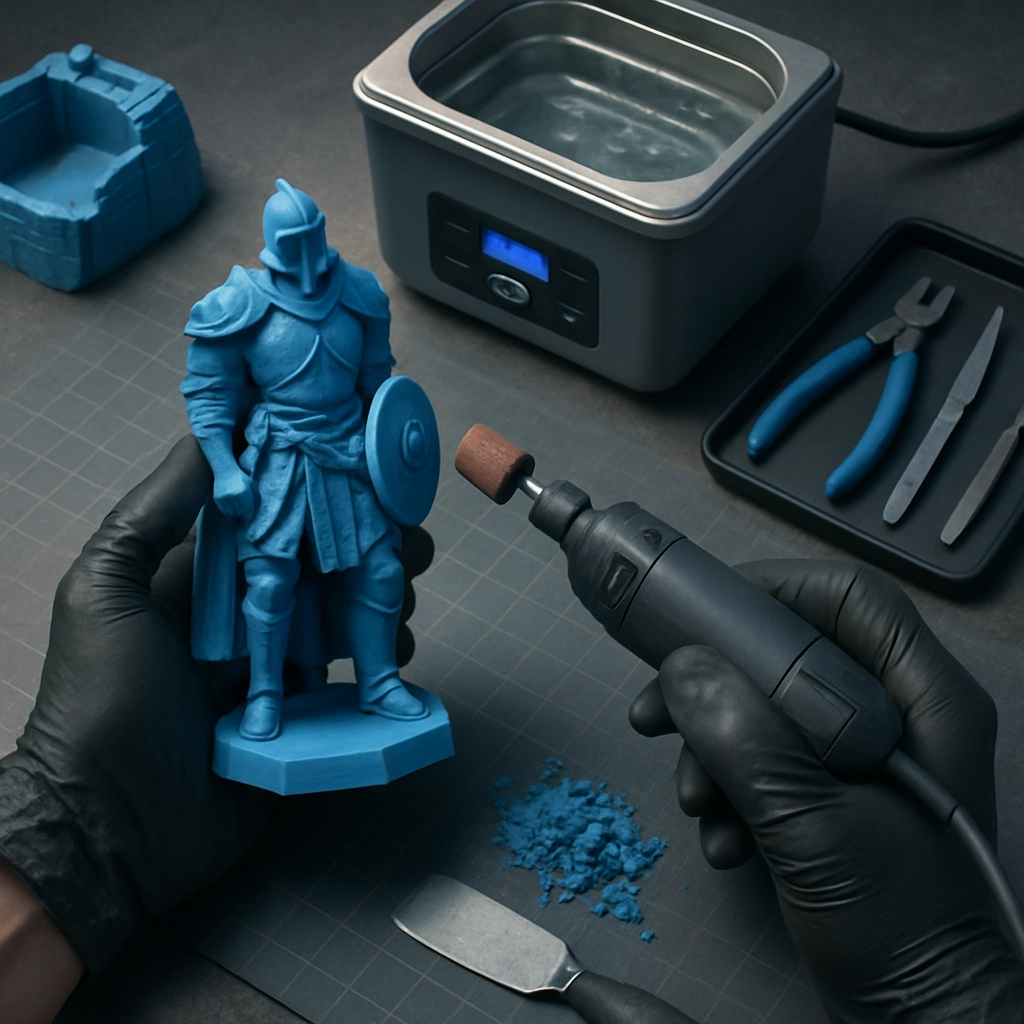
Getting Started: Tools of the Trade
Before you start, it’s essential to gather your tools! Depending on your chosen techniques, you might need:
- Sandpaper (various grits)
- Files for fine detail work
- Heat gun or acetone (depending on the material)
- Paints (acrylic, spray paint, etc.)
- Primer for paint adhesion
- Glue for assembling parts
- Rubbing alcohol for cleaning
A well-stocked toolkit can make all the difference in achieving the results you want!
Sanding and Smoothing
One of the most common techniques for post-processing is sanding. It’s relatively straightforward—you simply use sandpaper to smooth out rough edges and layer lines. Start with a coarse grit (around 100) and gradually move to finer grits (up to 2000) for a silky finish.
If your model has intricate details, you might want to use files to avoid accidentally sanding off details you want to keep. Some folks also swear by methods like using a heat gun on certain plastics (like ABS) to gently melt away imperfections, hence smoothing the surface.
Acetone Vapor Treatment
This technique is specifically advantageous for ABS prints. When exposed to acetone vapor, the surface of the ABS print softens and fuses together, effectively smoothing out those pesky layer lines. To do this safely, fill a container with a small amount of acetone and elevate your print above it, letting the vapor work its magic. Just be careful—this is a potent chemical and should be handled with care in a ventilated space!
Painting Your Masterpiece
Once you’ve finished smoothing, it’s time to apply some color! Acrylic paints are a fantastic choice since they adhere well to most materials and come in an array of colors. Before painting, it’s wise to apply a primer. This step ensures that the paint sticks properly and helps the colors pop.
For more extensive projects or those requiring a professional finish, consider using spray paint. It can provide a smooth, even coat that’s difficult to achieve with a brush.
Assembly and Gluing
If your print consists of multiple parts, post-processing isn’t just about individual pieces; it’s about bringing it all together. Depending on the material, you can use super glue or specialized plastic adhesives to join parts seamlessly. It’s often best to do a little sanding on the surfaces that will be glued together to ensure a strong bond.
Finishing Touches
After you’ve painted and assembled your model, don’t forget the final touches! Whether it’s adding decals, applying a glossy finish, or even using matte varnish to give it that perfect look, small details make a big impact. Consider adding a display base, too—the right backdrop can really elevate your piece.
The Art of Customization
Ultimately, post-processing is all about personalization and storytelling. It’s your chance to infuse your style into the print, transforming a simple object into a work of art. Whether you go for a hyper-realistic look or a whimsical, colorful creation, the world is your oyster.
So, the next time you finish a print, resist the urge to simply admire it as is. Embrace the art of post-processing and unlock its potential. With a little time and creativity, your creations can evolve into stunning pieces you’ll be proud to display and show off to friends and family. Happy printing, and even happier crafting!