


Common 3D Printing Issues and How to Troubleshoot Them
3D printing is a fantastic hobby and a powerful technology, but it’s not without its challenges. Whether you’re a seasoned pro or just dipping your toes into the 3D printing world, you might encounter some problems along the way. With a dash of patience and a bit of know-how, most issues can be fixed on the spot. Let’s take a look at some common 3D printing issues and how to troubleshoot them like a pro.
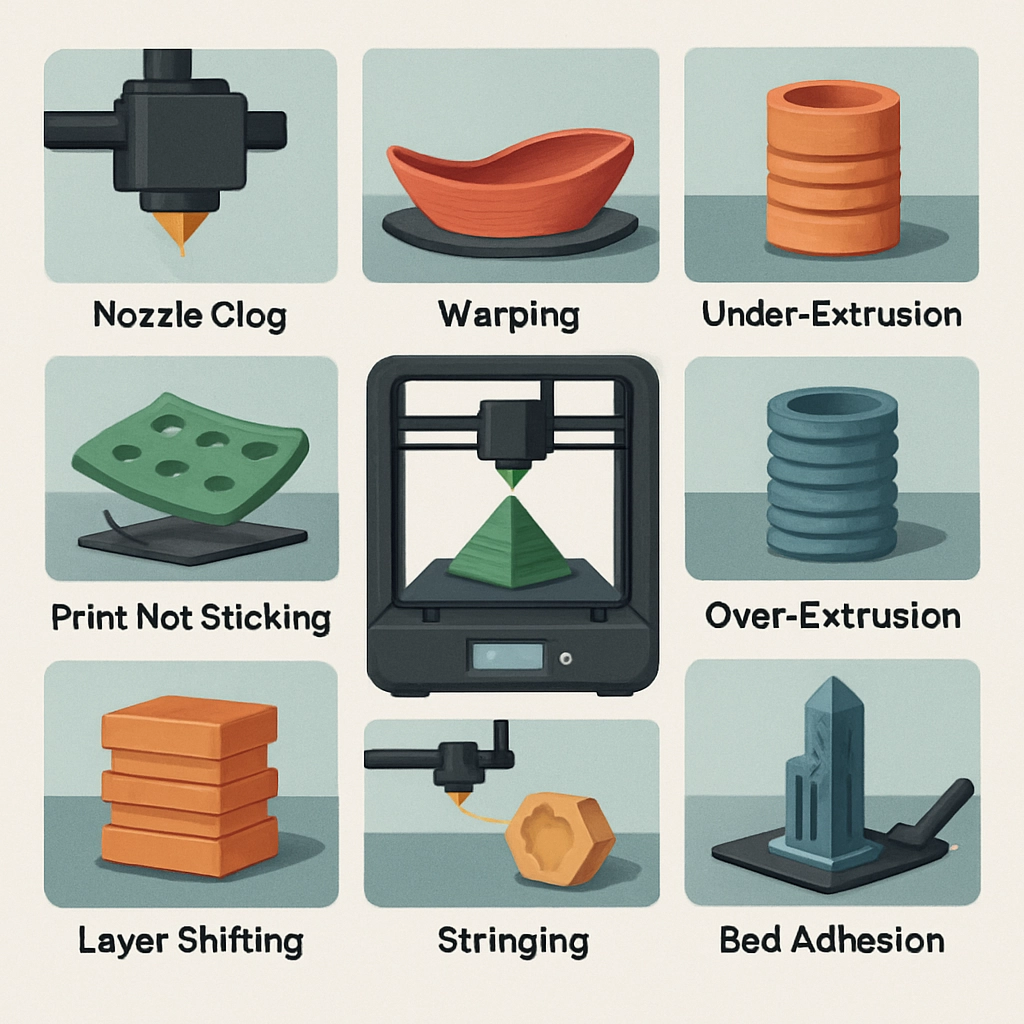
1. Poor Adhesion to the Build Plate
One of the most frustrating issues is the failure of prints to adhere to the build plate. Nothing is worse than watching a 3D print start well, only to see it lift and warp halfway through. To troubleshoot this, first ensure the bed is level. You can check this with a piece of paper; if it slides easily under the nozzle, it’s too far away. A good rule of thumb is to have the nozzle close enough to the bed that it lightly drags a piece of paper without tearing it.
Also, try using adhesive aids. Apply some glue stick, painter’s tape, or specialized 3D printing adhesive to help your print stick. Additionally, consider adjusting your print temperature depending on the material. PLA, for instance, doesn’t require high bed temperatures, while ABS often benefits from a heated bed to keep warping at bay.
2. Stringing and Oozing
When you notice fine strands of plastic connecting different parts of your print, you’re dealing with stringing or oozing. This is particularly common with materials like PLA and PETG. The good news is that it’s typically an easy fix!
First, try adjusting your printer’s retraction settings. Increasing the retraction distance or speed can help pull the filament back into the nozzle and minimize oozing. You can also lower the print temperature slightly, as a cooler temperature can help reduce the amount of melted filament that seeps out. Lastly, a good cleaning of your nozzle can sometimes work wonders—debris can lead to inconsistent extrusion and contribute to stringing.
3. Layer Issues or Misalignment
Layering issues can manifest in several ways—gaps between layers, visible seams, or an overall smudgy appearance. These problems could be due to a few factors: inconsistent extrusion, mechanical misalignment, or temperature fluctuations.
Start by checking your extrusion. If your filament isn’t feeding smoothly, ensure there are no clogs in the nozzle and that your filament is properly loaded. You may also need to calibrate your printer’s flow rate. This is usually a simple adjustment in the slicer settings.
If you suspect misalignment, check the belts and rails for any signs of wear and tear. Loose belts can lead to poor layer alignment, so make sure everything is tightened up correctly. You might need to re-tighten those belts to reduce wobble.
4. Warping and Cracking
Warping occurs when the edges of a print lift off the bed as it cools, while cracking can happen during or after the print. The primary culprit is typically related to temperature changes.
To combat this, consider using a heated bed, which can help maintain temperature during the printing process. If you’re using materials prone to warping, like ABS, an enclosure can help keep the heat in and maintain a stable printing environment. If your filament comes with recommendations for print temperature ranges, be sure to stick to those guidelines for optimal results.
5. Inconsistent Extrusion
Inconsistent extrusion can lead to gaps, blobs, and overall quality issues with your print. First, make sure your filament is dry—moisture can cause bubbles and irregular extrusion. If the filament is fine, you might want to check for clogs in your nozzle. Running a cold pull (a cleaning method using high temperature and slow retraction) can help free any blockages.
Finally, if you’re still struggling, calibrating your steps per millimeter can help. This ensures the printer moves the correct distances and extrudes the right amount of filament, leading to a much smoother printing experience.
Embracing the world of 3D printing can sometimes feel like a roller coaster ride. Learning to troubleshoot problems as they arise will not only improve your prints but also deepen your understanding of the technology. With practice and a little trial and error, you’ll find yourself conquering each issue that comes your way. Remember, every hiccup is just a step towards becoming a more skilled printer, and the satisfaction of watching your beautifully crafted prints come to life makes every tweak worthwhile!