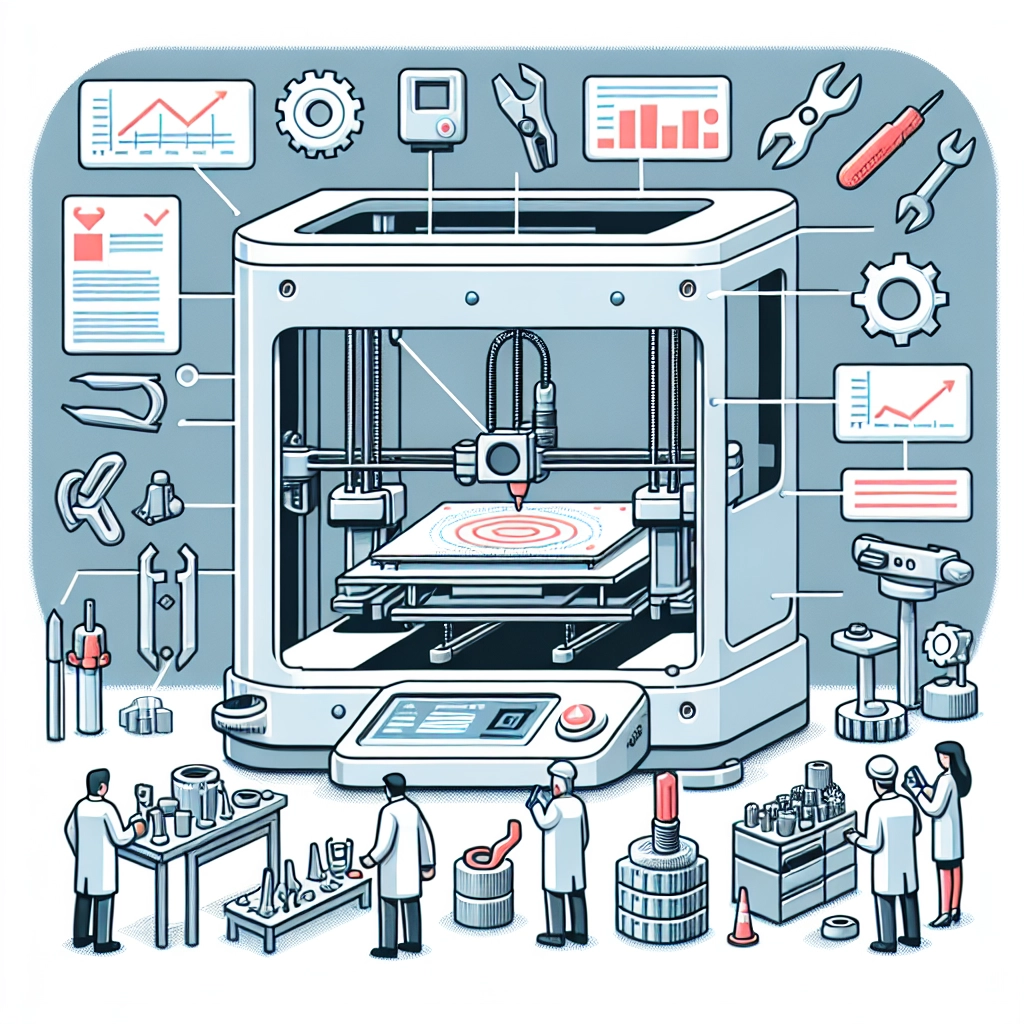
How to Calibrate Your 3D Printer for Optimal Results
Ah, the wonders of 3D printing! It’s exciting, isn’t it? The idea that you can create anything from intricate jewelry to functional prototypes right in your living room or workshop is nothing short of magical. However, the journey to perfect prints often starts with one crucial step: calibration. If you’ve ever experienced a print that fails halfway through, warps, or simply doesn’t stick to the bed, you know how vital this step is. So, let’s dive into the world of 3D printer calibration to help you achieve those pristine prints you’ve been dreaming of!
Why Calibration Matters
First off, let’s talk about why calibration is important. A 3D printer is a complex piece of machinery that relies on precise movements and settings. Even small discrepancies can lead to major issues down the line. Calibration ensures that your printer’s hardware and software are in sync, which means better adhesion, more accurate dimensions, and reduced print failures. Think of it as ensuring that your car’s tires are inflated just right before hitting the open road—you need everything working harmoniously for a smoother ride!
Tools You’ll Need
Before you start calibrating, you’ll need a few tools and materials at your disposal:
- Digital Caliper: For precise measurements of your prints.
- Ruler or Measuring Tape: Useful for measuring larger distances.
- Leveling Tool: A simple spirit level can help ensure your print bed is level.
- Filament: Your choice of filament material for testing (PLA is often a good choice for beginners)!
- Basic Software: Familiarize yourself with your slicing software (like Cura or PrusaSlicer) for adjustments.
Step-by-Step Calibration Process
1. Level Your Print Bed
The first step in calibration is leveling the print bed. An unlevel bed can result in poor adhesion and uneven prints. Here’s how to do it:
- Start with the printer heated to your typical printing temperature.
- Use your leveling tool to check if the bed is level by placing it in various spots.
- Adjust the bed corners according to your printer’s instructions until they are equally spaced from the nozzle. Aim for a piece of paper to slide between the nozzle and bed with slight resistance.
2. Check your Extruder Calibration
Next, it’s time to check if your extruder is delivering the right amount of filament. This is crucial for ensuring your prints have the right density.
- Measure 100mm of filament from the entry point of the extruder.
- Command your printer to extrude 100mm of filament.
- Measure how much filament has actually been extruded once the command is completed. If it’s more or less than 100mm, you’ll need to adjust your extruder steps per millimeter in your firmware or slicing software.
3. Set Your Nozzle Height
The nozzle height relative to the print bed is essential for first-layer adhesion. The first layer often dictates the success of your print.
- Most printers have a Z-offset setting you can adjust. A good starting point is around 0.2mm away from the bed.
- To find the sweet spot, print a single-layer object (like a square attached to a raft). Adjust the Z-offset based on how well the filament adheres.
4. Fine-Tuning Retraction Settings
Sometimes, stringing and oozing can mar the beauty of your prints. Retraction settings can help control this.
- Start with retraction distances of around 1mm to 2mm and speeds of about 30mm/s.
- Print a test model with features that show stringing to assess how well your adjustments work. Tweak as necessary until you have that sweet balance.
5. Temperature Calibration
Different filaments have ideal temperature ranges. Too hot and your prints may be stringy; too cold, and they might not adhere properly.
- Conduct a temperature tower test print: this gradually increases temperature and helps identify the best setting for your filament.
- Once you find the sweet spot, make sure to input this temperature into your slicing software settings.
Consistent Testing and Adjustment
Don’t forget that calibration isn’t a one-and-done deal. Factors like filament type, environmental conditions, and printer wear over time can necessitate periodic checks and adjustments. Regularly testing and fine-tuning your settings will ensure your prints remain consistent.
With practice, calibration will become quicker and more intuitive for you. Once you’ve mastered it, you’ll be hard-pressed to go back to prints that just don’t cut it. The satisfaction of pulling off a flawless print makes all the effort worthwhile! Enjoy the journey and happy printing!