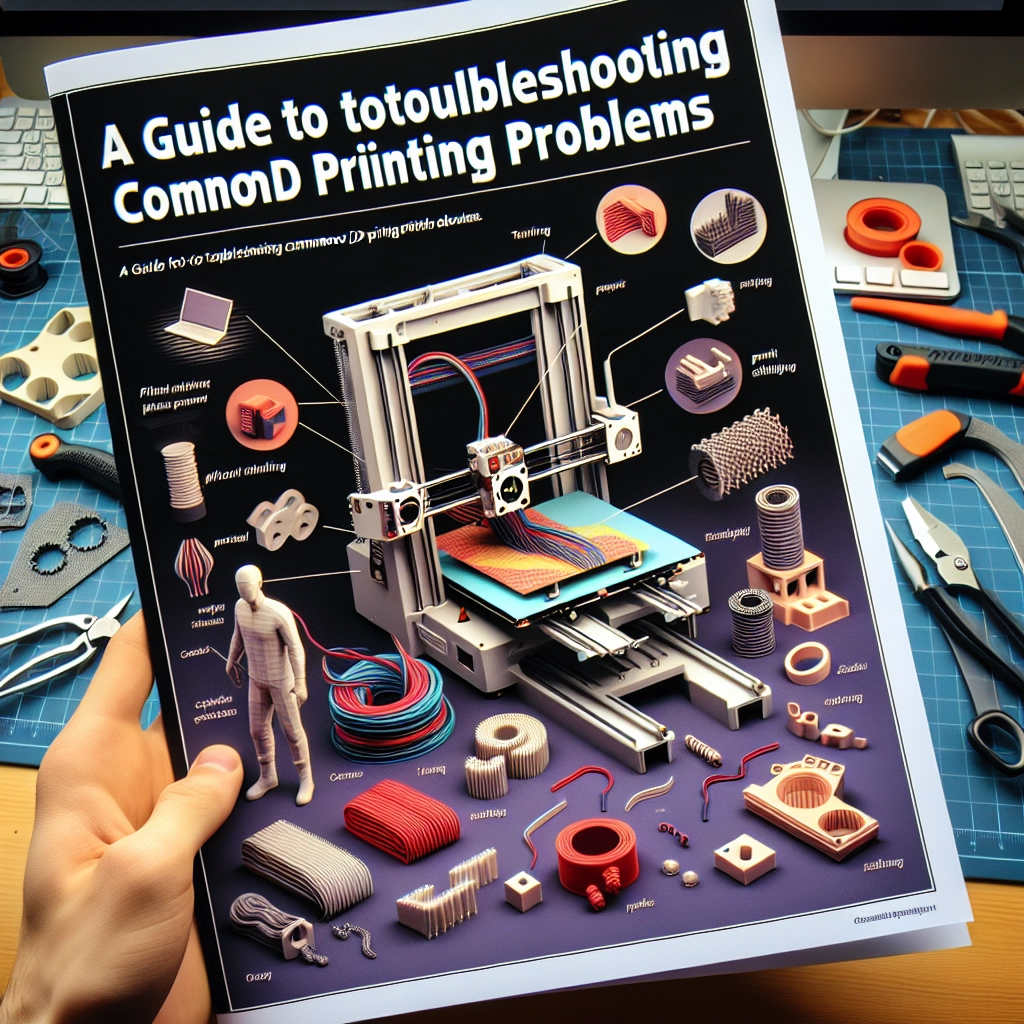
A Guide to Troubleshooting Common 3D Printing Problems
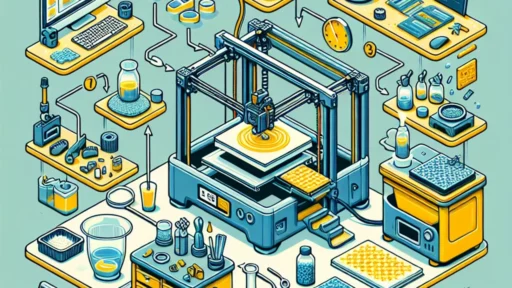
3D printing is an exhilarating venture that lets you bring your wildest designs to life, whether it’s whimsical toys, intricate models, or practical gadgets. But let’s be honest: sometimes things don’t go as planned. You press that “print” button with high hopes, and then… well, reality can be a bit of a letdown. Fear not! Debugging your print is part of the adventure, and with a little guidance, you can get back on track. Let’s dive into some of the most common 3D printing problems and how to troubleshoot them like a pro.
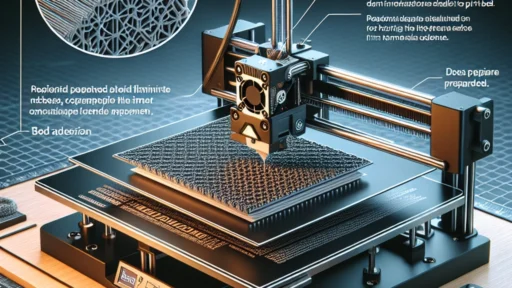
1. The Print Doesn’t Stick to the Bed
One of the most prevalent issues beginners face is adhesion—or the lack thereof. If your print doesn’t stay put, you could end up with a messy pile of filament and a lot of frustration.
What to Try:
- Level Your Bed: A perfectly leveled print bed is crucial. Use a piece of paper to gauge the distance between your nozzle and the bed. Adjust until it’s just right.
- Clean the Build Surface: Filaments often leave residues that interfere with adhesion. Wipe down the print bed with isopropyl alcohol to give it a clean slate.
- Adjust Temperature Settings: Sometimes the solution lies in the temperature. Ensure your print bed heater is set to the recommended temperature for your filament, usually somewhere between 60-80°C for PLA.
2. Warping
Ah, warping—the nemesis of many a 3D printer enthusiast. It can lead to corner lift or even complete prints coming undone after they’ve been started.
What to Do:
- Temperature Control: Similar to adhesion issues, temperature plays a vital role. Print with a heated bed and consider using an enclosed printer to reduce drafts.
- Use a Brim or Raft: Adding a brim or raft in your slicing software can provide extra surface area for your print to adhere to, minimizing warping.
- Try Different Filaments: If you’re working with materials prone to warping (like ABS), it might be time to experiment with alternatives like PETG, which generally has better adhesion.
3. Stringing
If your finished print looks like it’s covered in silly string, then you’re experiencing stringing. This happens when the nozzle oozes plastic during movements.
To Fix It:
- Increase Retraction Settings: Retraction distance and speed can often fix stringing. Try increasing these values in your slicing software.
- Adjust Printing Temperatures: Sometimes, lowering the temperature can help. If it’s too hot, the filament oozes out more. Start with small adjustments.
- Use “Z Hop”: If your slicing software allows it, enable Z-hop to raise the nozzle off your print when moving across gaps, which can help prevent stringing.
4. Layer Separation
You might notice your print peeling apart at the layers, which can look quite alarming when it happens, especially on tall prints.
How to Address It:
- Print Speed: Slowing down the print speed can enhance layer adhesion, allowing each layer to bond better with the one below it.
- Temperature Adjustments: Like many issues, layer separation can often be fixed with the right temperature—experimenting with print and bed temperatures can yield different results.
- Material Choice: Certain materials adhere to each other better than others. If layer separation continues to be an issue, consider using filaments that have strong inter-layer adhesion.
5. Nozzle Clogs
A blocked nozzle can bring your printing to a screeching halt, resulting in interrupted prints and aggravating errors.
Here’s What to Do:
- Manual Clearing: Heat the nozzle and try to push filament through manually. If that doesn’t work, you may need to use a cleaning filament or even a small needle to clear the blockage.
- Regular Maintenance: Establish a routine for cleaning your nozzle and extruder every few prints or so. It can save you a lot of hassle down the line.
- Check the Filament Quality: Poor quality filaments can lead to clogs. Make sure you’re using reliable material and storing it properly to prevent moisture absorption.
3D printing can be a tough nut to crack, but that’s all part of the charm. Troubleshooting is a skill you’ll develop over time, and each mistake leads to growth and knowledge. So don’t be discouraged when things go awry; every problem solved brings you closer to mastering your 3D printer. Happy printing, and may your creations be both plentiful and spectacular!