



DIY 3D Printer Upgrades: Enhancing Your Machine’s Capabilities
3D printing has taken the world by storm, with hobbyists, engineers, and creatives all jumping on the bandwagon. But while the satisfaction of finishing a project is unmatched, sometimes our machines can feel a bit limited. If you’re like me, always looking for that extra edge or trying to push the boundaries of your printer’s capabilities, then you’re in luck! There are plenty of DIY upgrades you can implement to enhance your 3D printing experience.
1. Better Extruder Performance
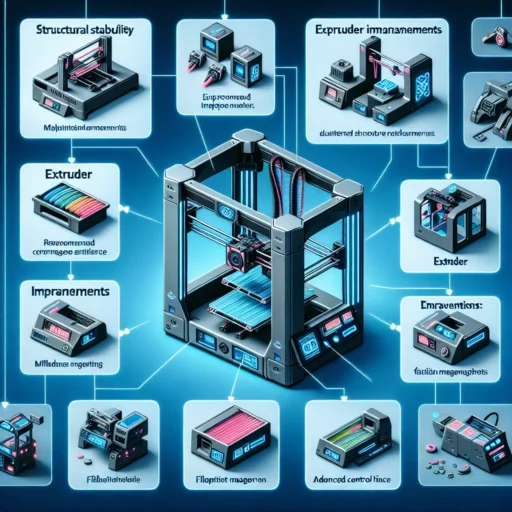
One of the first places I recommend starting your upgrades is with the extruder. A high-performance extruder can make a world of difference in print quality and consistency. If you’re still using a stock Bowden extruder, consider switching to a direct drive system. Direct drive extruders can provide better retraction control and are great for flexible filaments.
Upgrading to a metal extruder can also be a good move. These are often more reliable than the stock plastic ones and can withstand higher temperatures, which means you’ll have more freedom to explore different filament materials.
2. Hotend Upgrade
Speaking of extruders, the hotend is another critical component for improved performance. Many stock hotends simply can’t keep up with higher printing speeds or certain advanced materials, like nylon or carbon-fiber-infused filaments. Consider upgrading to an all-metal hotend. These can handle higher temperatures, allowing you to experiment with a wider variety of filaments without worrying about clogs or jams.
Just make sure when you do this upgrade to also check your heater cartridge and thermistor, as they may need to be replaced or upgraded as well to match the new hotend’s specifications.
3. Print Surface Magic
If you’ve struggled with print adhesion, you’re not alone! Upgrading your printer’s build surface can greatly improve print success rates. Options like a PEI sheet or glass bed are popular choices. PEI sheets offer great adhesion while also being easy to clean, while glass can provide a nice, flat surface for prints to stick to.
For those really tricky materials, you might consider a heated bed if you haven’t done so already. This helps to reduce warping, especially with larger prints.
4. Stability Matters: Frame and Feet
An often-overlooked aspect of 3D printing is the importance of a stable frame. If your printer rattles or vibrates while operating, it could lead to poor print quality. Upgrading the feet of your printer with rubber or silicone dampeners can reduce vibrations significantly.
You might also want to reinforce your frame if you notice any flex. Structural rigidity can lead to more precise prints, especially with intricate designs.
5. Enhanced Cooling System
A solid cooling system helps ensure that your prints look crisp and clean. If you’re relying on a single cooling fan, it might be time to upgrade to a dual-fan setup. This can help cool down prints more evenly, making it beneficial for overhangs and bridging.
Additionally, consider adding a part cooling fan that directs airflow more specifically to the print head, rather than the increased ambient cooling that can sometimes throw off layer adhesion.
6. Quality of Life Additions
Once your printer is chugging along smoothly, you might want to look into quality-of-life features that could enhance your printing experience. For instance, adding an automatic bed leveling sensor, like a BLTouch, can save you the hassle of manual calibration. This feature not only ensures that your prints start off on the right foot, but it can also save you precious time.
Another neat addition is a filament sensor that pauses the print job when it detects that you’re running low on filament. It’s a small upgrade that can save you from the heartbreak of realizing you just ran out halfway through a print!
7. Software Adjustments
Lastly, don’t forget about the power of your software! Upgrading your firmware to the latest version can provide additional features or improvements that make a significant difference to your printing experience. Popular options like Marlin and Klipper are great places to start. Experimenting with your slicer settings can also reveal new capabilities for your prints.
Final Thoughts
Upgrading your 3D printer doesn’t have to be an overwhelming task; even small changes can lead to significant improvements in performance and output quality. Whether you decide to tackle just one upgrade or go for a full overhaul, each step you take will enhance your machine’s capabilities.
With endless possibilities at your finger-tips, your journey into the world of 3D printing can be as multifaceted as your imagination. So roll up your sleeves, gather your tools, and let the creation begin!


