

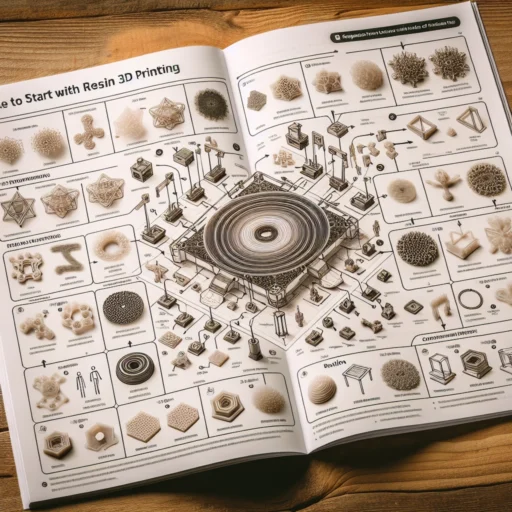

Getting Started with Resin 3D Printing: A Complete Guide
If you’ve ever been fascinated by the intricate details and smooth finishes of resin 3D printing, you’re not alone. This technology has transformed the landscape of manufacturing, prototyping, and even artistic expression. While it might seem a bit daunting for beginners, you’re about to discover that getting started with resin 3D printing can be a rewarding journey with a bit of guidance. So, roll up your sleeves and let’s dive into everything you need to know to set up your very own resin printing operation!
What is Resin 3D Printing?
At its core, resin 3D printing, also known as Stereolithography (SLA) or Digital Light Processing (DLP), uses UV light to cure liquid resin into solid objects. Unlike traditional filament-based 3D printing, which extrudes plastic filament layer by layer, resin printing involves dipping a build platform into a vat of resin and building up the model layer by layer using a light source. This process allows for incredibly high precision and finer detail, making it ideal for things like miniatures, jewelry, and prototypes.
Choosing Your Resin Printer
When you’re ready to embark on your resin printing adventure, the first step is choosing the right printer. There are quite a few options to consider, and they can vary significantly in price and features. Here are a few things to keep in mind:
- Print Size: Consider what you plan to print. If you’re interested in larger models, opt for a printer with a bigger build volume.
- Printing Technology: SLA printers use lasers for curing, while DLP printers use digital projectors. Both have their advantages, so think about what suits your needs.
- Budget: Prices can range from a few hundred to a few thousand dollars. Set a budget considering not just the printer but also necessary accessories and materials.
Gathering Materials
Once you have your printer, it’s time to gather your materials. You’ll need:
- Resin: There are many types of resin available. Standard resins are great for general-purpose printing, while specialty resins (like flexible or castable resins) can create unique items. Be sure to choose one compatible with your printer.
- Personal Protective Equipment (PPE): Safety first! Always use gloves, goggles, and a mask when dealing with resin. It’s a sticky substance and can be harmful if it comes into contact with your skin or if you breathe in fumes.
- Cleaning Supplies: Isopropyl alcohol (IPA) is a go-to for cleaning prints, while paper towels and a dedicated container will help with the messy disposal of used materials.
Setting Up Your Printer
Setting up a resin printer is relatively straightforward. Here’s a basic outline:
- Unpack and Assemble: Carefully unpack your printer and follow the manufacturer’s instructions for assembly. Ensure everything is secure.
- Level the Build Plate: This is crucial for producing quality prints. Most printers come with a leveling process that ensures your print bed is perfectly aligned with the resin vat.
- Fill the Resin Vat: Pour your chosen resin into the vat. Be careful not to overfill—leave some space so that the resin can move freely during the printing process.
Designing or Downloading Your Model
Now comes the fun part: printing your design! You can either create your own 3D models using software like Blender or Tinkercad or download pre-made models from sites like Thingiverse or MyMiniFactory. However, keep your printer’s limitations in mind when designing or selecting models—certain geometric shapes may be challenging to print without proper supports.
Slicing Your Model
Before you can hit print, you’ll need to slice your model. Slicing software converts your 3D model into a format the printer can understand, creating a set of instructions for it to follow. Many resin printers come with their own slicing software, but you can also use third-party options that offer additional features.
The Printing Process
Once your model is sliced, it’s time to start printing! Place the build plate in the resin vat, select your file, and start the print. Depending on the complexity of your model, the printing process can take anywhere from a couple of hours to an entire day. During this time, it’s wise to keep an eye on the printer to ensure everything is running smoothly.
Post-Processing
After printing, your model won’t be ready just yet. You’ll need to wash off excess resin, usually with isopropyl alcohol, and cure the model under UV light (most printers come with a curing station). This step solidifies your model and helps enhance its structural integrity.
Embrace the Learning Curve
In the world of resin 3D printing, patience is key. You may hit a few snags along the way—failed prints, curing issues, and more. But don’t get discouraged! Each challenge is an opportunity to learn and improve your skills. Join online communities or forums where you can share your experiences and pick up tips from more seasoned users.
3D printing with resin opens up a world of creative possibilities, and while the learning curve may be steep initially, the end results are well worth the effort. Whether you’re making intricate miniatures, jewelry, or prototypes for your next big idea, resin printing allows your creativity to shine. So, gather your gear, fire up your printer, and enjoy every moment of the exciting journey ahead!


