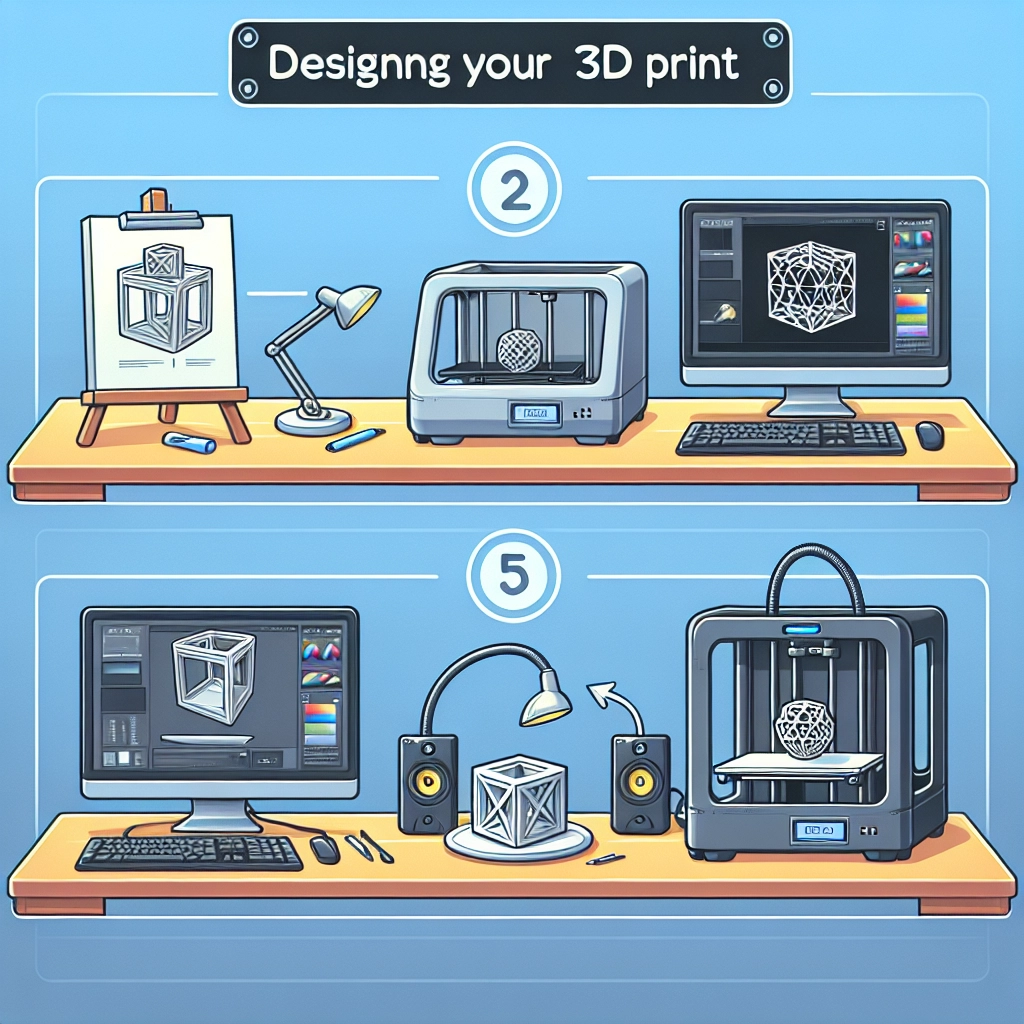
Designing Your First 3D Print: A Step-by-Step Approach
If you’ve ever marveled at the capabilities of a 3D printer, you might have dreamt of creating your own design to bring to life. Whether you’re a hobbyist, an artist, or just curious, diving into the world of 3D printing can feel daunting at first. Good news, though! With a bit of guidance, you can turn your ideas into tangible creations in no time. Let’s walk you through a step-by-step approach to designing your very first 3D print!
Step 1: Get Inspired
Before you jump into the design software, take some time to gather inspiration. Browse through platforms like Pinterest, Thingiverse, or even Instagram to see what others have created. Note things that catch your eye, whether it’s a quirky coffee mug, functional home decor, or even a replacement part for your favorite gadget. Jot down ideas, sketch them out, or save images to reference later. Remember, inspiration can strike from anywhere—a walk in the park, a favorite book, or a moment spent daydreaming.
Step 2: Choose Your Design Software
With inspiration in hand, it’s time to select a design software that best suits your skill level and project needs. If you’re a complete newbie to design, consider user-friendly options like TinkerCAD or ** sculptGL**. TinkerCAD offers an intuitive, drag-and-drop interface that’s perfect for beginners. If you’re feeling adventurous and want to explore more complex features later, programs like Fusion 360 or Blender could be great choices. While they may have a steeper learning curve, they open up a pool of advanced possibilities once you’re comfortable.
Step 3: Start Building
Now for the fun part—creating your design! Let’s say you want to create a simple keychain. In your chosen software, start with a basic shape, like a rectangle. Adjust the dimensions to your liking; remember, it’s a keychain, so it shouldn’t be too big! Then, consider adding a hole for the keyring. Use the tools in the software to extrude, subtract, or combine shapes until you achieve your desired look. Most programs allow you to view your design in 3D, giving you a sneak peek of your end product.
Step 4: Test and Refine
Once you have a rough draft of your design, it’s time to assess it critically. Think about its functionality—does the hole for the keyring have enough clearance? Is it sturdy enough to survive the daily grind? This stage might involve a few back-and-forth adjustments. Don’t hesitate to tweak dimensions, add or remove features, or even start over if necessary. Remember, this is part of the creative process. Sometimes, your best ideas come from trial and error.
Step 5: Prepare for Printing
When you’re happy with your design, it’s time to export your work for printing. Most design software allows you to export your model as an STL (stereolithography) file, which is widely used in 3D printing. After exporting, you’ll need to slice your model using slicing software like Cura or PrusaSlicer. This software prepares your model for the printer by generating the necessary G-code, which tells the printer how to build your design layer by layer.
Step 6: Start Printing
Now that you have your G-code and your 3D printer ready, it’s time to hit that print button! If this is your first time printing, keep an eye on the process. Make sure that the printer is calibrated correctly and that the bed is leveled. Depending on the complexity of your design and the speed of your printer, your keychain might take anywhere from minutes to hours to complete. Enjoy the anticipation!
Step 7: Post-Processing
The printing is just the beginning. Once your design is finished, you might find thin wisps of filament or minor imperfections. Take a moment to carefully remove these. You can use sandpaper or a craft knife for tidying up edges if needed. If you’ve designed a more intricate piece, consider painting, priming, or adding other finishing touches to make it truly yours.
As you hold your completed 3D print, reflect on how much you’ve learned through the process. Designing and printing your first piece can be both exciting and rewarding. Each design is a stepping stone to the next one—whether it’s a more complex project or simply improving your skills. Remember, practice is key, and every creation brings you one step closer to being a seasoned designer. So, go ahead; unleash your creativity and let your ideas come to life, one layer at a time!