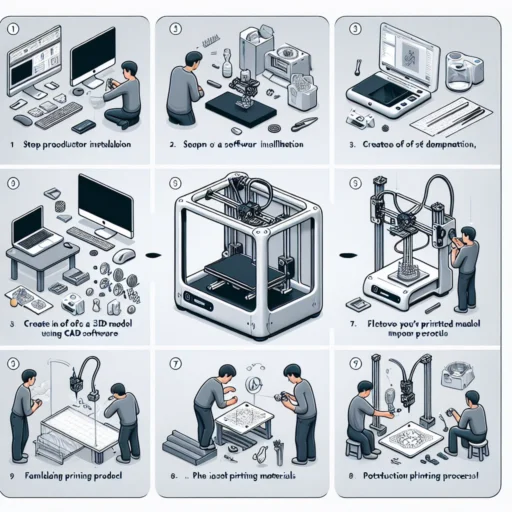
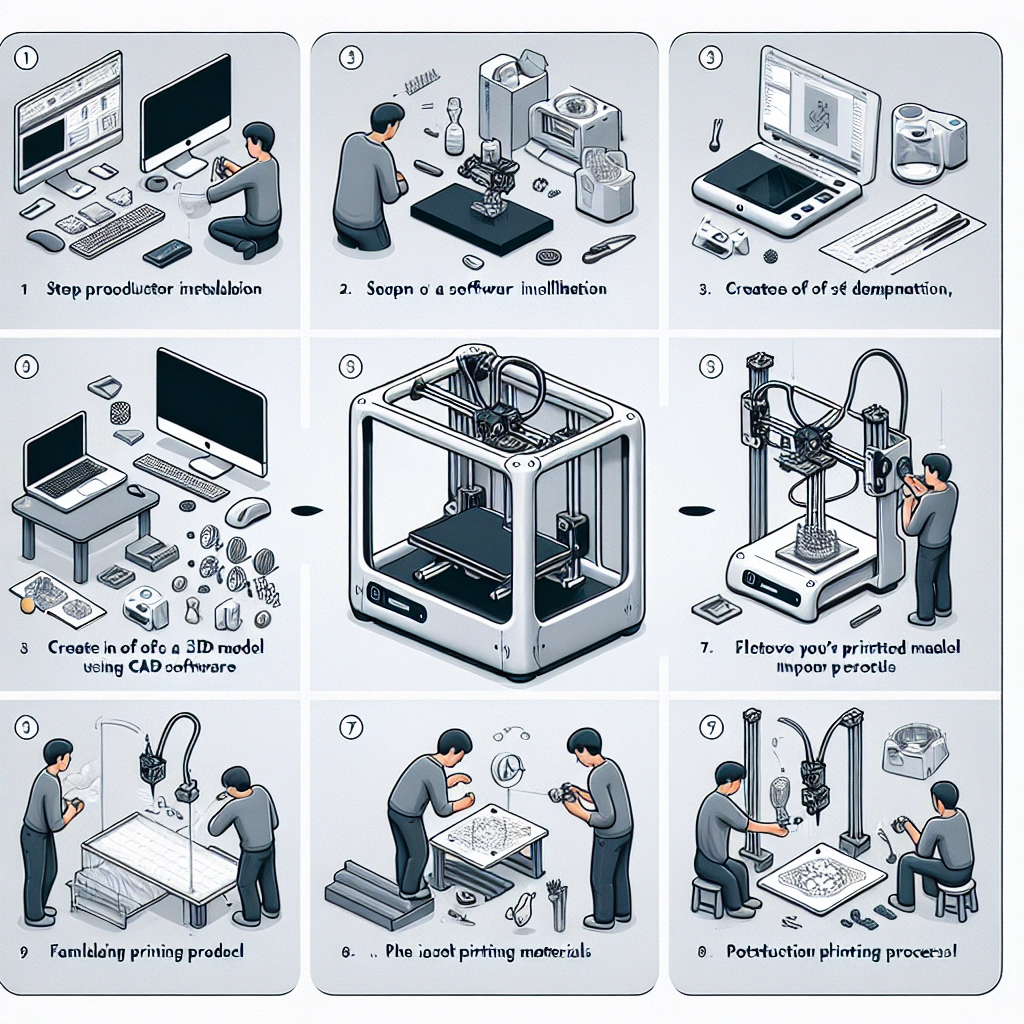
Step-by-Step Guide to Your First 3D Print
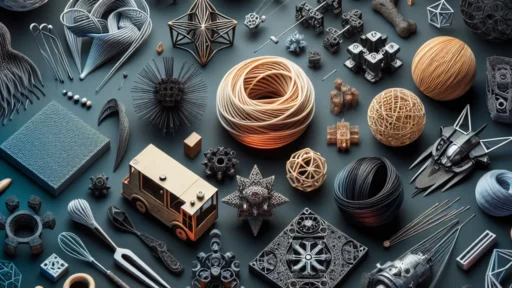
If you’ve ever marveled at the incredible things 3D printers can create or daydreamed about bringing your digital designs to life, you’re not alone. Whether you’re an artist, designer, engineer, hobbyist, or simply someone who loves to tinker, the world of 3D printing awaits you. Let’s embark on this exciting journey together and guide you through your very first 3D print. Ready? Let’s go!
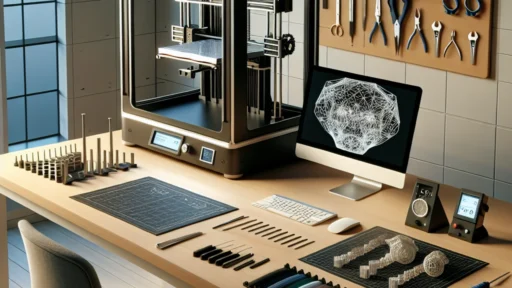
Step 1: Gather Your Materials
Before diving in, make sure you have access to the essential components:
- 3D Printer: If you don’t own one, many local libraries or makerspaces offer access to 3D printers for a small fee or even free.
- Filament: This is the material your 3D printer will use. The most common types are PLA and ABS. PLA is great for beginners due to its ease of use and lower printing temperature.
- Slicing Software: This is essential for converting your 3D model into a format that the printer can understand. Popular options include Cura and PrusaSlicer. These programs will help you set up your print by allowing you to adjust size, resolution, and infill.
- 3D Model: You can either design your own model using software like Tinkercad or Blender, or you can download pre-made models from sites like Thingiverse or MyMiniFactory.
Step 2: Preparing Your 3D Model
Once you’ve got your model ready, it’s time to prepare it for printing:
- Open your slicing software: Start by importing your 3D model file (usually in .STL or .OBJ format).
- Scale the Model: Ensure the size is appropriate for your printer and the purpose of the print. Every printer has a maximum build volume, so keep that in mind!
- Check Orientation: The orientation of your model affects the print’s strength and finish. Depending on your design, rotating it might help reduce the number of supports needed.
- Set Printing Parameters: This is where you’ll decide the print quality, layer height, and infill. For a first print, you might stick to a layer height of around 0.2mm and an infill of 20%, which balances speed and strength.
Step 3: Slice the Model
Once you’ve adjusted the parameters, hit the slice button. The software will convert your 3D model into G-code, which is the language your printer understands. After slicing, save the G-code file to an SD card or USB drive, depending on how your printer connects.
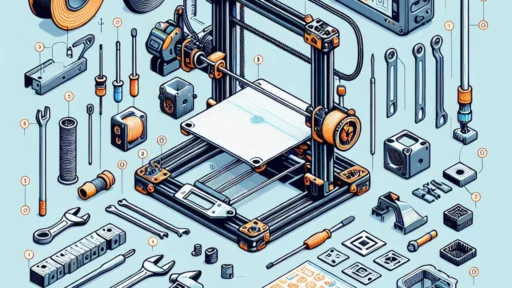
Step 4: Get Your Printer Ready
Now, it’s time for some hands-on action:
- Calibration: Ensure your printer is calibrated properly. This can include leveling the print bed and making sure the nozzle height is just right.
- Load Your Filament: If you haven’t already, load the filament into the printer. Follow your printer’s instructions, as it can vary between models.
- Preheat the Printer: Most printers require you to preheat to the optimal temperature for the filament you’re using. For PLA, this is usually around 200°C for the nozzle and 60°C for the bed.
Step 5: Start Printing!
Insert your SD card or USB drive into the printer and select your G-code file. Hit print, and watch the magic unfold! It can be mesmerizing to see a creation slowly emerge from seemingly nothing. Just remember, printing can occasionally lead to unexpected results, so keep an eye on it, especially during the first few layers.
Step 6: Post-Processing
Once your print is completed, allow it to cool down before carefully removing it from the print bed. You might want to do a bit of clean-up which could include:
- Removing Supports: If your model required supports, these can be removed with pliers or by hand.
- Sanding: To give your print a smoother finish, you can sand it lightly or apply a primer if you’re planning to paint it.
- Painting and Finishing: If you’re feeling adventurous, go ahead and add some color or additional details to personalize your print further.
Step 7: Celebrate Your Accomplishment!
Take a moment to admire your hard work and creativity. Share your print with friends or online communities; there’s nothing like showcasing what you’ve made. Plus, you’ll put yourself on a path toward learning more about the incredible world of 3D printing.
Your first print is just the beginning of what can be an exciting and fulfilling hobby. Each print is a chance to experiment, troubleshoot, and grow your skills. So, dive right in, explore new designs, and who knows? You might find your next passion project or even create the next big thing! Happy printing!