


How to Find Your Perfect 3D Print Settings
3D printing is an incredible blend of art and science that brings the imagination to life. But as anyone who has ventured into this realm knows, it’s not just about hitting "print" and waiting for the magic to happen. Finding the perfect 3D print settings can sometimes feel like an elaborate scavenger hunt. So, how do you sift through the myriad of settings to find what’s just right for your project? Let’s dive into some essential tips that will set you on the right path.
Understand the Basics
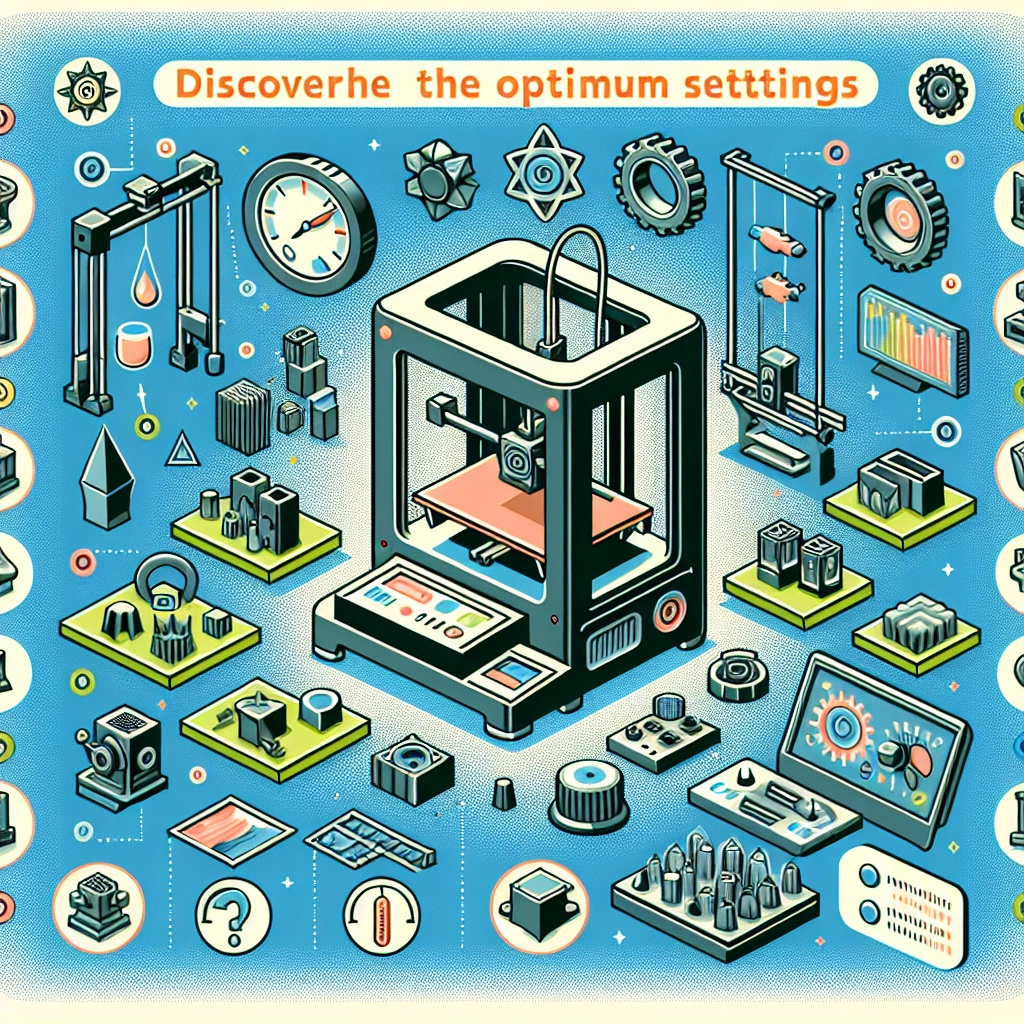
Before diving into advanced settings, it’s crucial to grasp the fundamentals of 3D printing. Your primary variables include layer height, print speed, temperature, infill, and support structures. Here’s a brief look at each of these:
- Layer Height: This dictates the thickness of each printed layer. A smaller layer height results in finer detail but increases print time.
- Print Speed: Faster speeds can save time, but they may compromise print quality, leading to issues like stringing or poor adhesion.
- Temperature: Filament types have specific temperature ranges for optimal printing. Too hot can cause oozing, while too cool may lead to layer adhesion problems.
- Infill: This refers to how solid the interior of the print will be. More infill means stronger prints, but it also increases time and material use.
- Support Structures: Necessary for certain overhangs, but they can be tricky to remove if not set correctly.
Know Your Filament
Different types of filament react uniquely during the printing process. For instance, PLA is generally forgiving and prints well at a lower temperature, while ABS requires a heated bed to reduce warping. If you’re working with a lesser-known filament or a specialty one (like nylon or PETG), make sure to consult the manufacturer’s guidelines. This step can save a lot of headaches down the line!
Start with a Good Profile
Many slicer programs come with preset profiles for popular filaments, which can serve as an excellent starting point. A good profile offers a balanced approach to quality and speed, making adjustments easier as you get more comfortable. You can always tweak settings like layer height or print speed based on the results you see.
Conduct Test Prints
Here’s where the magic truly begins! Once you’ve got a baseline profile in place, print small test models (like calibration cubes or benchy boats) to evaluate the print quality. These compact shapes provide a wealth of information regarding layer adhesion, detail, and any errant printing flaws.
After each test, take notes—record anything worth mentioning, whether it’s that perfect layer height or the temperature that caused a bit of warping. Make one change at a time, so you clearly understand what adjustments lead to improvements.
Utilize Community Knowledge
The 3D printing community is vibrant and full of helpful tutorials, forums, and social media groups. Websites like Thingiverse, Reddit, and dedicated Facebook groups are excellent platforms to ask questions and share experiences. Often, fellow makers will have tackled the same challenges you’re facing, and their insights can provide shortcuts to success.
Embrace Iteration
Finding your perfect print settings isn’t a one-and-done scenario. It’s more of a journey that involves tweaking and refining as you go along. Don’t be discouraged if something doesn’t turn out right on the first try. Each failure is a lesson learned, and each victory is all the more satisfying.
Think About the Environment
What’s your printing environment like? Are you printing in a temperature-controlled space? Do you have a well-calibrated printer? Often, the same settings will yield different results based on external factors. Make sure to keep your printing area tidy and consistent. A little bit of preventative maintenance can go a long way in achieving consistent results.
Final Thoughts
Finding your perfect 3D print settings can initially feel overwhelming, but remember that it’s also a wonderfully rewarding process. With a little bit of patience, a pinch of experimentation, and a dash of creativity, you’ll soon discover the sweet spot that yields beautiful prints every time. The key is to enjoy the process, learn from each print, and don’t hesitate to lean on the community for guidance. Happy printing!