How to Use 3D Printing to Create Custom Parts and Prototypes
Have you ever had an idea that needed a little boost from the physical world? Or perhaps you’ve found yourself in a situation where you need a specific part that just isn’t available on the market? Enter the wonderful world of 3D printing! This innovative technology has opened up a whole new realm of possibilities for DIY enthusiasts, inventors, and professionals alike. If you’re curious about how to harness the power of 3D printing to create custom parts and prototypes, you’re in the right place. Let’s dive in!
Understanding 3D Printing Basics
Before we get our hands dirty with the details, let’s take a moment to understand what 3D printing actually is. At its core, 3D printing is a process that creates three-dimensional objects from a digital file. Whether you need durable plastic components, intricate designs, or even metal parts, there’s probably a 3D printing technique that fits your project.
The process generally involves three steps: designing your model, slicing it, and then printing. Most commonly, you’ll come across Fused Deposition Modeling (FDM), which uses thermoplastic filament, and Stereolithography (SLA), which utilizes resin. Choosing the right method depends on your project’s specific needs, but both offer incredible versatility.
Design Your Custom Part
The first step is to bring your idea to life through design. This is where your imagination and creativity come into play. There are several user-friendly software options out there, such as Tinkercad, Fusion 360, and SketchUp, that cater to different skill levels—from novice to pro.
When you’re designing, keep in mind the functionality of the part, the materials you’ll be using, and any limitations of the printer itself. Don’t worry if you’re not a professional designer; there are countless online tutorials and resources that can help you get started. Additionally, numerous websites offer pre-made templates that you can customize to suit your needs.
Slicing Your Model
After you’ve created your digital masterpiece, the next step is slicing. This process converts your 3D model into a format that the printer understands, breaking down your design into thin horizontal layers. Software like Cura or PrusaSlicer is great for this, allowing you to adjust settings like layer height, print speed, and infill density.
Take your time to experiment with these settings. For example, if you want a sturdy part, a higher infill percentage is the way to go, while a lower one will save time and material but might compromise strength. Prototyping often involves trial and error, so don’t get discouraged if your first try isn’t perfect!
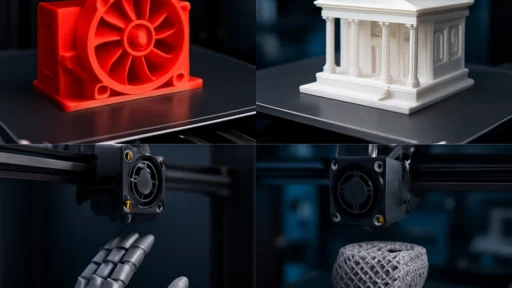
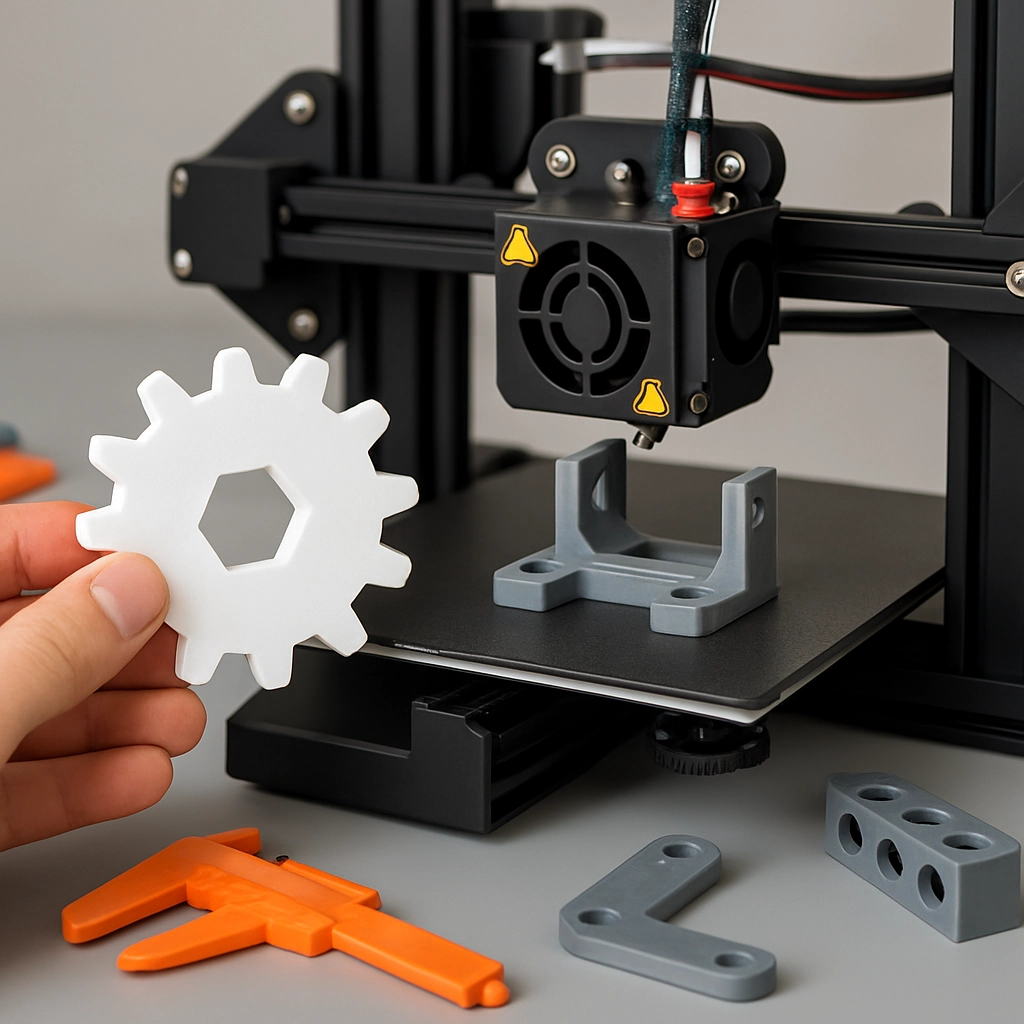
Printing Your Prototype
Finally, it’s time to print! Make sure your 3D printer is calibrated correctly—nothing’s worse than a last-minute hiccup. Depending on the complexity of your design and the type of material you’ve chosen, printing can take anywhere from a few minutes to several hours. Keep an eye on the process if you’re able to; it can be both exciting and educational to watch your creation come to life layer by layer.
Once the printing is done, you might need to do some post-processing. This could involve removing supports, sanding rough edges, or even applying paint or finishing treatments to enhance the aesthetic of your prototype.
Testing and Iterating
Now that you have your custom part in hand, it’s time to put it to the test! Use it in the context you designed it for and see how it performs. Did it meet your expectations? Are there any areas for improvement?
Prototyping is a cyclical process. Don’t hesitate to go back to the drawing board, make necessary adjustments to your design, and reprint as needed. Many inventors go through numerous iterations before arriving at the perfect fit, and that’s all part of the journey!
Unlocking Endless Possibilities
The beauty of 3D printing lies in its endless possibilities. From crafting unique gifts and tools to prototyping new inventions, the sky’s the limit. Whether you’re a hobbyist looking to explore your creativity or a professional seeking to streamline your product development, 3D printing can be an incredibly valuable tool.
So, roll up your sleeves and let your imagination run wild! With a little bit of time, creativity, and persistence, you can turn your ideas into tangible creations. And who knows? The prototype you design today could be the next big thing in your field tomorrow!