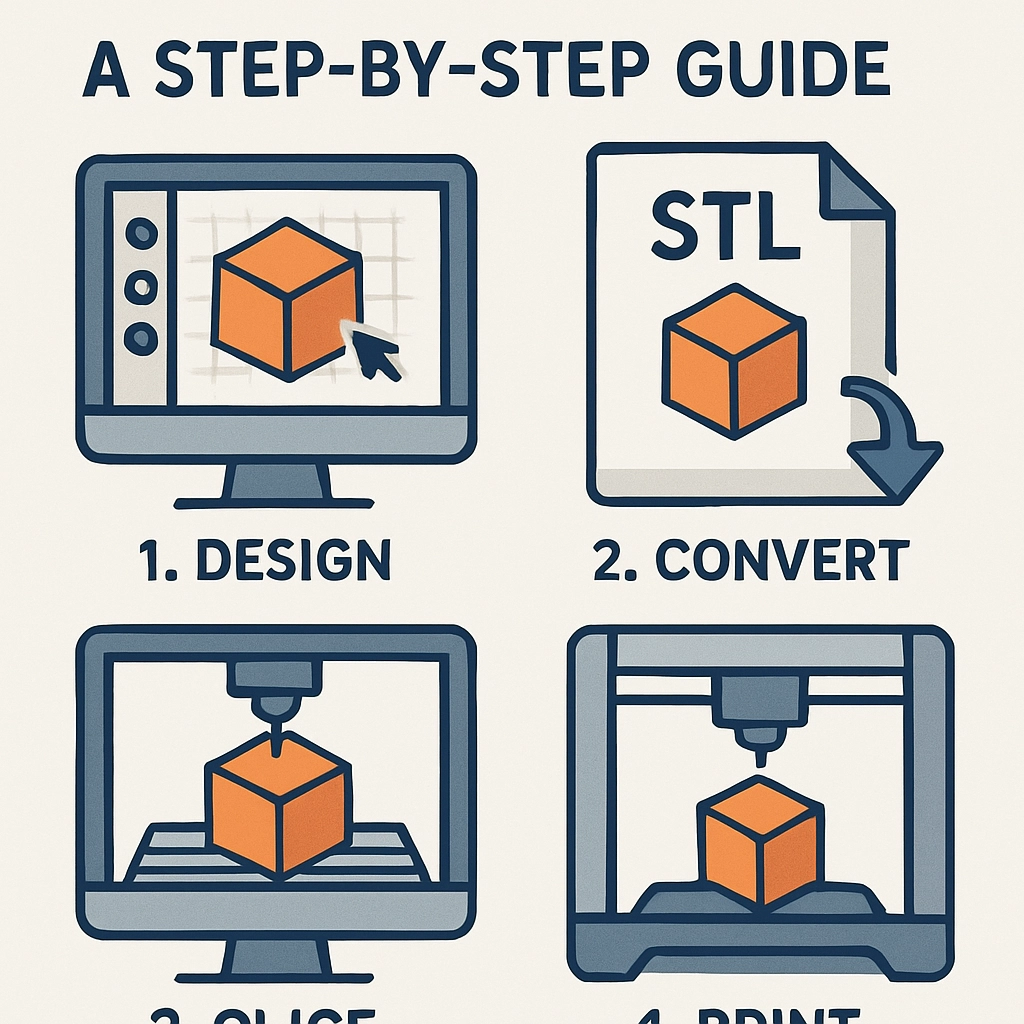
How to Create Models for 3D Printing: A Step-by-Step Guide
3D printing has become a thrilling frontier in both personal projects and professional applications, making it easier than ever to turn your creative ideas into physical reality. Whether you’re looking to design your own action figures, create functional prototypes, or produce intricate pieces of art, getting started with 3D modeling can seem daunting. But fear not! I’m here to guide you through the process step by step.
Step 1: Choose Your Software
First things first, you’ll need a 3D modeling software. There’s a plethora of options out there, so it’s a bit like choosing your favorite ice cream flavor—what suits your style? If you’re a total newbie, you might want to start with user-friendly options like Tinkercad or SketchUp. They have simple interfaces and plenty of tutorials to get you up and running.
For those who feel ready to dive deeper, consider programs like Blender, which is more advanced but offers endless customization options. If you’re looking for something more industry-standard, Fusion 360 or SolidWorks might be your go-to choices, especially for functional parts.
Step 2: Conceptualize Your Model
Before you jump into the software, take the time to sketch out your idea. Grab a piece of paper (or your favorite drawing app) and put down some rough designs of what you’re envisioning. This not only helps you clarify your thoughts but also gives you a solid plan when you start modeling.
Think about the purpose of the model. Is it purely decorative, or does it need to serve a specific function? This will inform decisions about dimensions, structural integrity, and overall complexity.
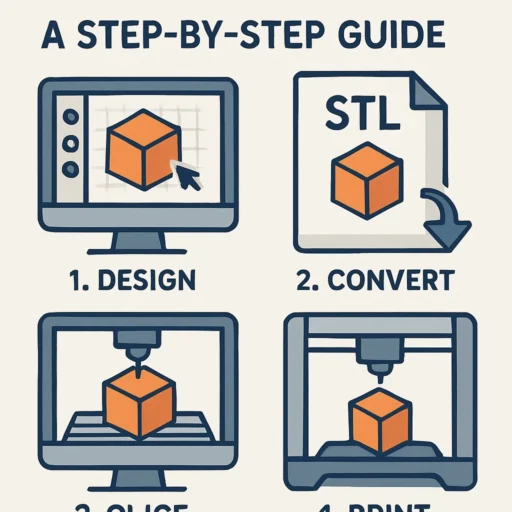
Step 3: Start Modeling
Now that you have your software ready and ideas sketched out, it’s time to start building your model. Open your chosen software, and let’s get into it!
-
Basic Shapes: Begin with simple shapes such as cubes, spheres, and cylinders. This is the foundation of your model. Remember, almost every complex model can be formed by combining basic shapes.
-
Modify and Sculpt: Use tools within your software to stretch, squish, or mold these shapes into the design you’ve envisioned. Most modeling programs have features like extrusion, lofting, and bending that can help refine your model precisely.
-
Add Details: Once you have the basic structure, it’s time to incorporate finer details. This could be anything from adding textures, engraving text, or fine-tuning edges. Don’t be afraid to experiment—this is part of the fun!
Step 4: Prepare for Printing
With your model complete, it’s crucial to check if it’s ‘print-ready’. Here’s how:
-
Scale: Ensure your model is at the correct size. Most software lets you scale objects easily.
-
Check for Errors: Use tools like Netfabb or Meshmixer to analyze your model for holes or non-manifold edges that might cause issues during printing.
-
File Format: Export your model in a format that your 3D printer or slicing software can read, typically as an STL or OBJ file.
Step 5: Slice Your Model
Before printing, you’ll need to slice your model. This means converting it into a series of layers that the printer can understand. Use slicing software like Cura or PrusaSlicer to do this.
In the slicer, you can adjust printing settings such as layer height, infill density, support structures, and printing speed. Each of these settings will impact the quality and strength of your final print.
Step 6: Print It Out!
With your sliced model ready, the next step is to load it onto your 3D printer. Follow your printer’s guidelines to ensure everything is set up correctly. Load your filament, configure the printer settings, and hit that print button!
As your model emerges layer by layer, get ready for the excitement of seeing your digital creation come to life.
Step 7: Post-Processing
Once your model is printed, it might need a little TLC. Depending on what you’re creating, you can clean it up with sanding, painting, or assembling multiple parts. This is where your model really transforms—adding finishing touches can elevate it from a good print to a great one.
Creating models for 3D printing is an exhilarating journey that combines creativity and technology. Whether you’re crafting something for fun, for a practical purpose, or to solve a problem, the skills you build along the way will serve you well. Remember, practice makes perfect! So don’t shy away from experimenting, and most importantly, enjoy each step of the process. Your imagination is your limit, and who knows? Your next model could pave the way for the next big thing in the 3D printing world!