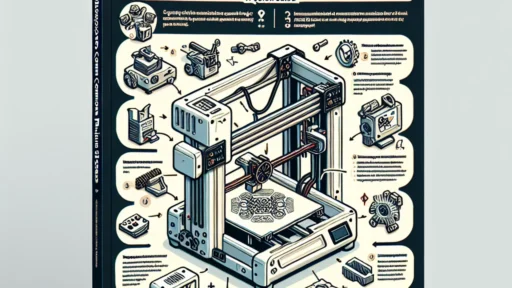
Creating Functional Parts with Your 3D Printer: Tips and Techniques
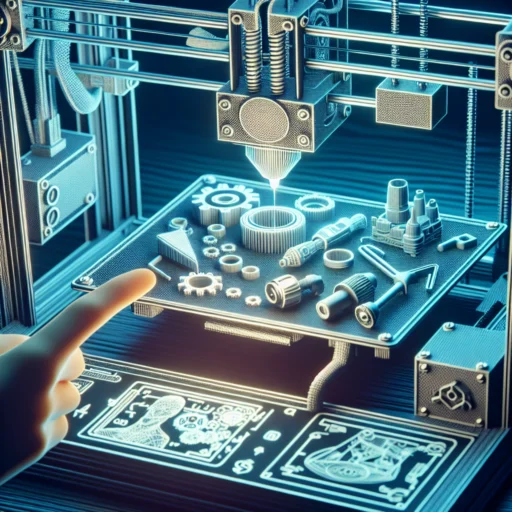
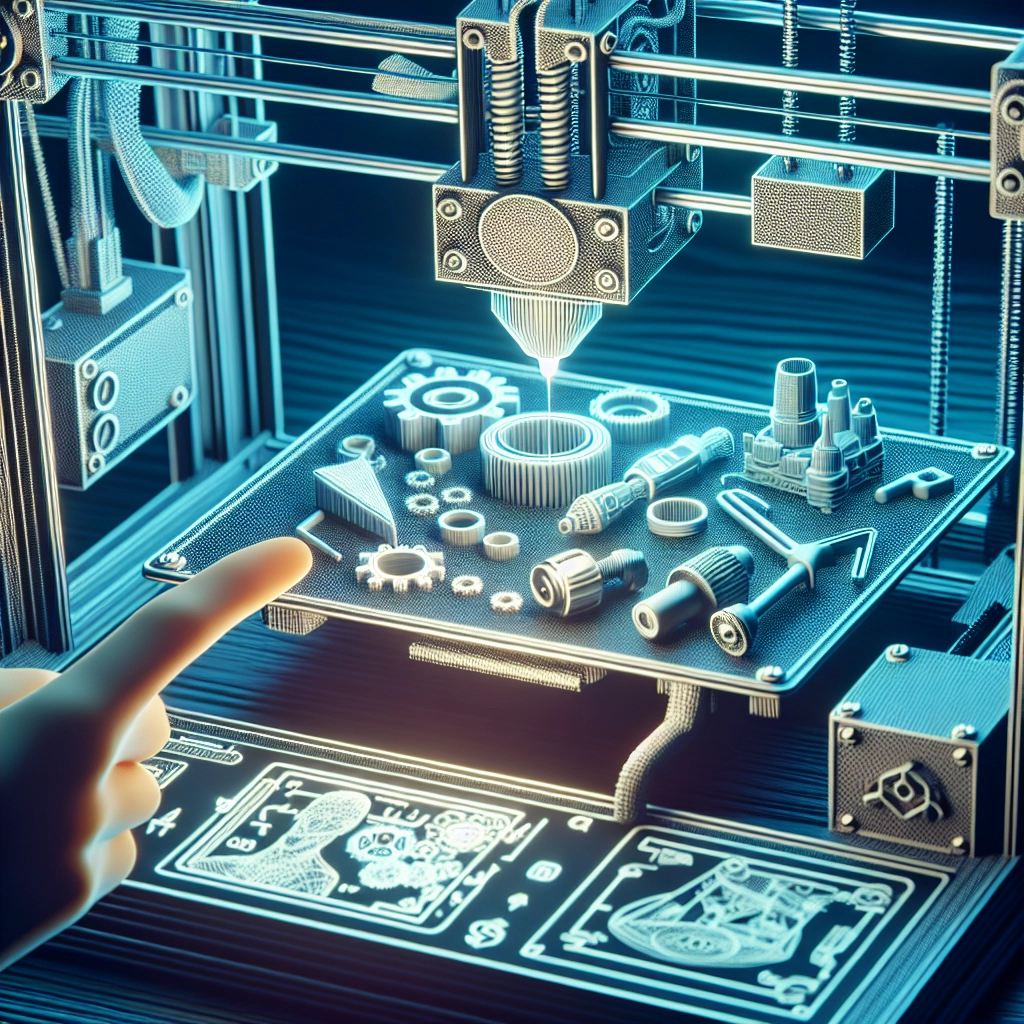
If you’ve recently jumped into the world of 3D printing, you might be brimming with excitement at the prospect of creating everything from decorative art pieces to functional parts for your home or workshop. While 3D printing can sound like magic, successfully printing functional items does require a bit of know-how and preparation. Thankfully, I’m here to guide you through some tips and techniques that’ll help you level up your printing game!
Understanding Your Printer and Materials
Before you hit that print button, it’s crucial to understand the capabilities of your 3D printer. Every printer has different specifications and intended uses, whether it’s a budget end machine or a high-end professional model. Are you using an FDM (Fused Deposition Modeling) printer or a resin printer? Each has its pros and cons and, importantly, a variety of compatible materials.
When it comes to materials, it’s not just about what looks good or is cheap—it’s about functionality! For functional parts, consider using:
- PLA: Great for prototypes and non-load bearing applications. It’s easy to print but not very heat-resistant.
- PETG: A more durable option than PLA, it’s impact-resistant and can handle higher temperatures.
- ABS: More robust than PLA, it’s good for parts that might see wear and tear but can warp easily during printing.
- Nylon: Super strong and durable, but requires careful temperature settings and often a print bed adhesion solution.
Choosing the right filament based on the functional purpose of your part is crucial, so do a little homework on material properties before deciding what to print.
Design Matters
Now that you know what can go into your printer, let’s talk about design. Whether you’re creating something from scratch with CAD software or modifying an existing design, think about:
-
Fit and Tolerance: Functional parts often need to fit with other parts or mechanisms, so consider how the pieces will fit together. Depending on the precision of your printer, plan for tolerances to ensure a snug yet movable fit.
-
Strength: Identify areas that may be subject to stress and reinforce them in your design. Adding fillets or chamfers can help disperse loads and reduce points of failure.
-
Layer Orientation: Understand that on-layer strength is different than off-layer strength. Designing parts to print in a way that minimizes stress along the layer lines can greatly improve your part’s durability.
Consider tools like Fusion 360, TinkerCAD, or FreeCAD for design. Many online repositories also offer designs that you can modify to suit your needs.
Optimization for Printing
Once your design is ready, it’s time to prepare it for printing. This includes setting up your slicing software properly. Here are some tips:
-
Layer Height: A lower layer height generally improves detail but can significantly increase print time. A layer height of 0.2mm is a good starting point for functional parts to balance quality and speed.
-
Infill Patterns: Use an appropriate infill percentage based on the object’s intended use. For functional parts, 20% to 30% infill is usually a safe bet, but increase it if the part undergoes a lot of stress.
-
Supports: If your design includes overhangs, plan for supports. Deciding if you want supports can save time in post-processing, but always check how easy they are to remove after printing.
Test, Test, Test!
Before committing to that final print, it’s wise to create test prints. Even if you’re using designs that are well-known, variations in printer settings can lead to unexpected results. Small scale prints can help you identify potential issues like layer adhesion or warping before you invest time and materials into larger pieces.
Post-Processing
After your part is printed, post-processing can make a world of difference in functionality and aesthetics. Sanding, smoothing, or even applying sealants can improve the durability and finish of your part. If you’re working with ABS, consider acetone vapor bath treatments for a polished look.
Creating functional parts with a 3D printer can be incredibly rewarding and a game-changer for makers, inventors, and DIY enthusiasts alike. With these tips and a bit of practice, you’ll not only see improvement in your prints but also gain confidence in your crafting abilities. Whether it’s a handy tool or a customized bracket, the possibilities are endless—so get out there and start printing!


