Designing for 3D Printing: Tips for Success
Ever had a brilliant idea that you just couldn’t wait to bring to life? Designing for 3D printing can turn those ideas into tangible objects, and it’s an exciting process that’s becoming more accessible than ever. From intricate model designs to practical prototypes, the possibilities seem endless. But let’s be real—getting started can feel a bit overwhelming. No worries! Here are some tips that can help ensure your 3D printing journey goes smoothly.
Understand the Basics of 3D Printing
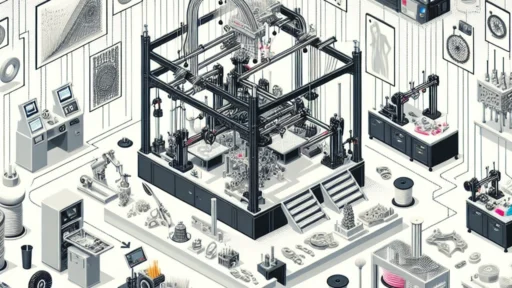
Before diving into design, it’s important to grasp the fundamentals of 3D printing. This technology works by taking a digital 3D model and turning it into a physical object by layering materials. There are various methods, like FDM (Fused Deposition Modeling) and SLA (Stereolithography), each with its unique characteristics. Understanding the specifics of the 3D printer you’ll be using is essential. For instance, FDM printers are great for detailed designs but can struggle with overhangs without proper support. SLA, on the other hand, offers precision but may require more post-processing.
Choose the Right Software
Selecting the right design software is key. There are numerous programs out there, ranging from user-friendly options like Tinkercad to more sophisticated tools like Fusion 360 and Blender. If you’re a beginner, Tinkercad is a fantastic starting point as it uses a drag-and-drop interface that simplifies the design process. For more advanced users, Blender provides powerful features for complex designs, though it does have a steeper learning curve.
Keep It Simple
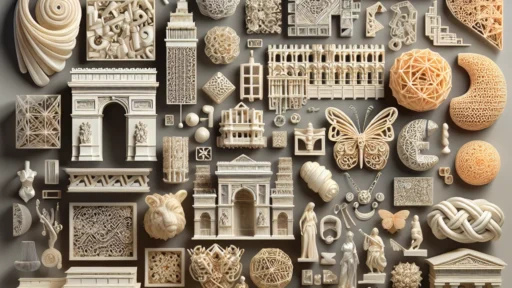
One of the best pieces of advice for successful 3D design is to keep things simple—especially if you’re just starting. While it might be tempting to create intricate models with lots of details, it’s often easier to begin with basic shapes. Not only will simpler designs print more reliably, but they also provide a foundational understanding of how 3D printing works.
As you gain confidence, you can gradually introduce more complexity. Just keep in mind that the more intricate the design, the higher the chance something could go wrong during the printing process.
Consider the Specifications of Your Printer
Different 3D printers have varying build sizes, nozzle diameters, and layer heights. Always consider your printer’s specifications when designing your model. For instance, if your printer’s maximum build size is 200x200x200 mm, you’ll want to ensure your design fits within those limits. Additionally, smaller nozzle sizes can print finer details, but they may also increase print time. Knowing your printer’s capabilities can guide design decisions and help avoid disappointment.
Pay Attention to Wall Thickness
Wall thickness is crucial in 3D design. If walls are too thin, they may not hold up structurally when printed. Conversely, thick walls can use excessive material and cause unnecessary weight. A good rule of thumb is to aim for a minimum wall thickness of around 3mm, depending on the printer and the material used. This balance will help provide durability without compromising the design.
Embrace the Power of Supports
Overhangs are the nemesis of many designers, but fear not! Support structures can save the day. When your design features angles exceeding 45 degrees, it’s a good idea to plan for supports. Most slicing software can automatically generate support structures, or you can design your model to include features that minimize the need for them. Just remember that while supports can help print those tricky sections, they can also leave marks on your finished product, so consider how you’ll remove them.
Test and Iterate
Designing for 3D printing is rarely a one-and-done process. Testing and iteration are essential components of successful design. Start with smaller print runs to test your designs, allowing you to make adjustments based on how the prints turn out. Each failure or success is a learning opportunity—don’t shy away from experimenting with different materials or settings.
Don’t Forget About Post-Processing
Lastly, prepare for some post-processing work. Many prints benefit from sanding, painting, or assembling multiple parts to achieve the desired finish. This is where your creativity can really shine. Adding finishing touches can transform a good print into a stunning piece of art, so embrace the full journey from digital design to physical masterpiece.
3D printing is a captivating blend of art, science, and technology. By grasping the ins and outs of design, understanding your tools, and embracing both the challenges and successes along the way, you’ll open up a world of possibilities. So, whether you’re designing a functional gadget, a piece of artwork, or a fun toy, remember to iterate, enjoy the process, and let your imagination run wild! Happy printing!