How to Create Your Own Filament Recipes at Home
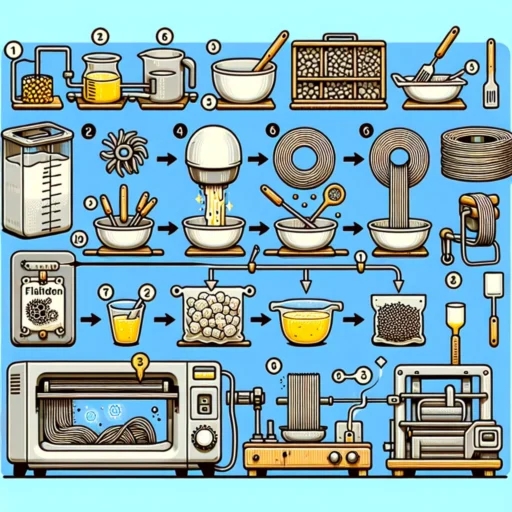
If you’re a 3D printing enthusiast, you’ve probably explored the exciting world of filament flavors. It’s like being a chef in your own fab lab, cooking up unique blends of materials to achieve that perfect print. Whether you’re looking to customize the color, texture, or strength of your filament, creating your own recipes can open up a whole new realm of possibilities. Here’s a friendly guide to help you embark on this creative journey.
Understanding the Basics
Before diving into crafting your own filament, it’s essential to know what you’re working with. At its core, 3D printing filament is a thermoplastic material that melts when heated and solidifies upon cooling. The most common types include PLA, ABS, PETG, and ASA, each with its own unique properties. For our fun experiments, we’ll primarily focus on PLA, which is a great material for beginners due to its ease of use and availability.
Ingredients You’ll Need
To create your own filament recipes, you’ll need some fundamental materials and tools. Here’s a simple list to get you started:
-
Base Filament: Start with a high-quality base filament (like PLA). This will form the foundation of your recipe.
-
Additives: To alter properties or aesthetics, consider additives like color pigments, natural materials, or even specialty additives such as carbon fiber or nylon.
-
Filament Extruder: This is crucial! You’ll need a filament extruder, which can be handheld or a larger desktop model. Some people get crafty and build their own!
-
Cooling System: Filament needs to cool properly as it extrudes. Make sure you’ve got a way to manage this to ensure smooth filament.
-
Scale: For consistency, invest in a digital scale to measure your ingredients accurately.
Crafting Your Recipe
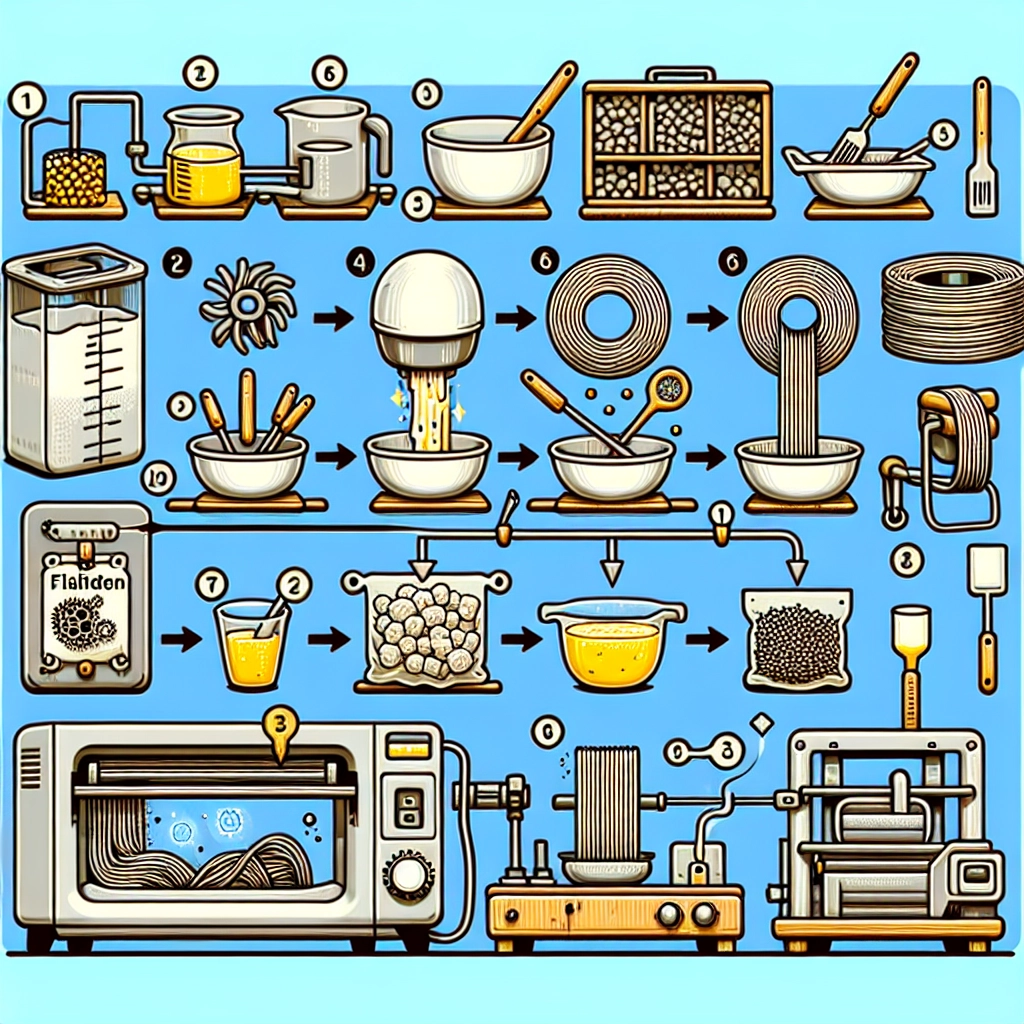
Now comes the fun part! Here’s a simple, yet effective approach to developing your own filament recipes:
Step 1: Start Small
When starting out, don’t overwhelm yourself by attempting complex formulations. Begin with a small batch. A good starting point would be to mix 100 grams of base filament with a small amount (around 5-10g) of your chosen additive. This method allows you to experiment without wasting resources.
Step 2: Experiment with Ratios
Adjusting the ratios of your base filament and additives can drastically change the resulting filament. Here are a few experiments you can try:
-
Color Variations: Mix in different color pigments. Start with a small amount, mixing thoroughly, and see how it turns out after extrusion. You can even combine multiple colors!
-
Textured Filament: Wanna add some pizazz? Try adding materials like wood or metal powder. This can give your prints a unique feel and look.
-
Functional Additives: For added strength or flexibility, consider incorporating specialty materials like carbon fiber or rubber granules.
Step 3: Control the Extrusion Temperature
Each filament type has its optimal extrusion temperature—for PLA, it’s generally around 190-220°C. Keep an eye on how temperature affects your new blend. Adjust accordingly until you achieve the desired melt flow. If it’s too hot, you might end up with ooze or inconsistencies. Too cold? Leaky print warnings—all things you’ll want to avoid!
Step 4: Test and Tweak
Once you’ve created a batch, it’s time to print! Start with a simple design to test how your new filament performs. Observe its cooling properties, layer adhesion, and overall print quality. Don’t be afraid to tweak your ingredients! If the filament didn’t quite perform as you hoped, note exactly what you did and adjust for the next attempt.
Safety First!
Always remember, working with heated plastic and additives can come with safety concerns. Ensure you’re in a well-ventilated area, wear appropriate safety gear, and follow guidelines related to the materials you use.
Final Thoughts
Creating your own filament recipes can feel like both art and science, blurring the lines between the two. Embrace the adventure of experimenting and allow each creation to teach you something new about the materials you love. With practice, you’ll get a feel for how different ingredients interact and learn to customize filaments tailored to your unique projects and printing needs.
So roll up your sleeves, don your lab coat, and get ready to unleash your creativity! Happy printing!


