How to Design Your Own 3D Models for Printing
The world of 3D printing is like a magic box where your creativity can literally take shape. There’s something incredibly satisfying about turning a digital idea into a tangible object. Whether you’re a hobbyist, artist, or someone just looking to explore new technologies, designing your own 3D models can seem a bit overwhelming at first. But don’t worry! I’m here to guide you through the basics of 3D modeling for printing in a way that’s fun and approachable.
Understanding the Basics
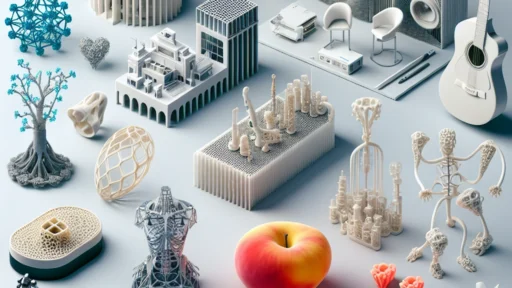
Before you dive headfirst into design software, let’s clarify what 3D modeling actually means. Simply put, it’s digitally sculpting an object so it can be printed in three dimensions. You can create anything from simple shapes—like the famed “bunny” designs you see on every 3D printing site—to intricate works of art. The first step is familiarizing yourself with the various modeling software options available, each having its own learning curve and specialties.
Choosing the Right Software
There’s a plethora of software out there, catering to different skill levels and needs. Here are a few popular options to consider:
-
Tinkercad: Perfect for beginners, Tinkercad is a free, web-based application that makes 3D modeling as easy as pie. Its basic shapes and intuitive drag-and-drop interface help you build designs quickly, and the lessons they offer can have you creating in no time.
-
Blender: Moving up a notch, Blender is a comprehensive open-source program favored by many professional designers. It does have a steeper learning curve, but it offers incredible capabilities for sculpting, texturing, and rendering detailed models.
-
Fusion 360: Ideal for engineering and industrial design, Fusion 360 combines modeling with simulation, allowing you to create mechanically precise designs. It’s not free, but many students and educators can obtain it at a reduced cost or even for free.
-
SketchUp: This user-friendly design tool is great for architectural and interior modeling. There’s even a free version available, making it accessible for those just starting out.
Once you’ve decided on the software, set aside some time for practice. Most platforms have excellent tutorials available, so utilize those resources to get comfortable with the tools.
Designing Your Model
Now for the fun part! Start with something simple, like a keychain or a small trinket. Here are a few tips to ensure your first design is a success:
-
Think Easy to Start: Opt for a model with no intricate moving parts. Your first project should focus on getting you comfortable with the software.
-
Use Reference Images: If you’re working from a design you love, pull up reference images to get proportions and angles right. It’ll help guide your creativity and ensure that your final product has the visual appeal you want.
-
Create Supports: Remember that 3D printers build objects layer by layer. Designing your model with thoughtful features will help minimize the need for supports during printing, reducing wasted material and printing time.
-
Test Scale and Dimensions: Use the software to play around with the size and scale of your object, especially if you’re designing something to fit into a specific space or alongside other pieces.
-
Keep an Eye on Wall Thickness: Generally, parts that will give your model structural integrity should have a wall thickness of around 1-3mm. This can vary based on the type of material you plan to use for printing, so check for guidance specific to your printer and filament.
Exporting Your Model
Once you’re happy with your design, the next step is exporting it in the right format for printing. Most 3D printers are compatible with STL (Stereolithography) files. This format contains the 3D model in a way that the printer can understand, so make sure to save it accordingly.
3D Printing Your Model
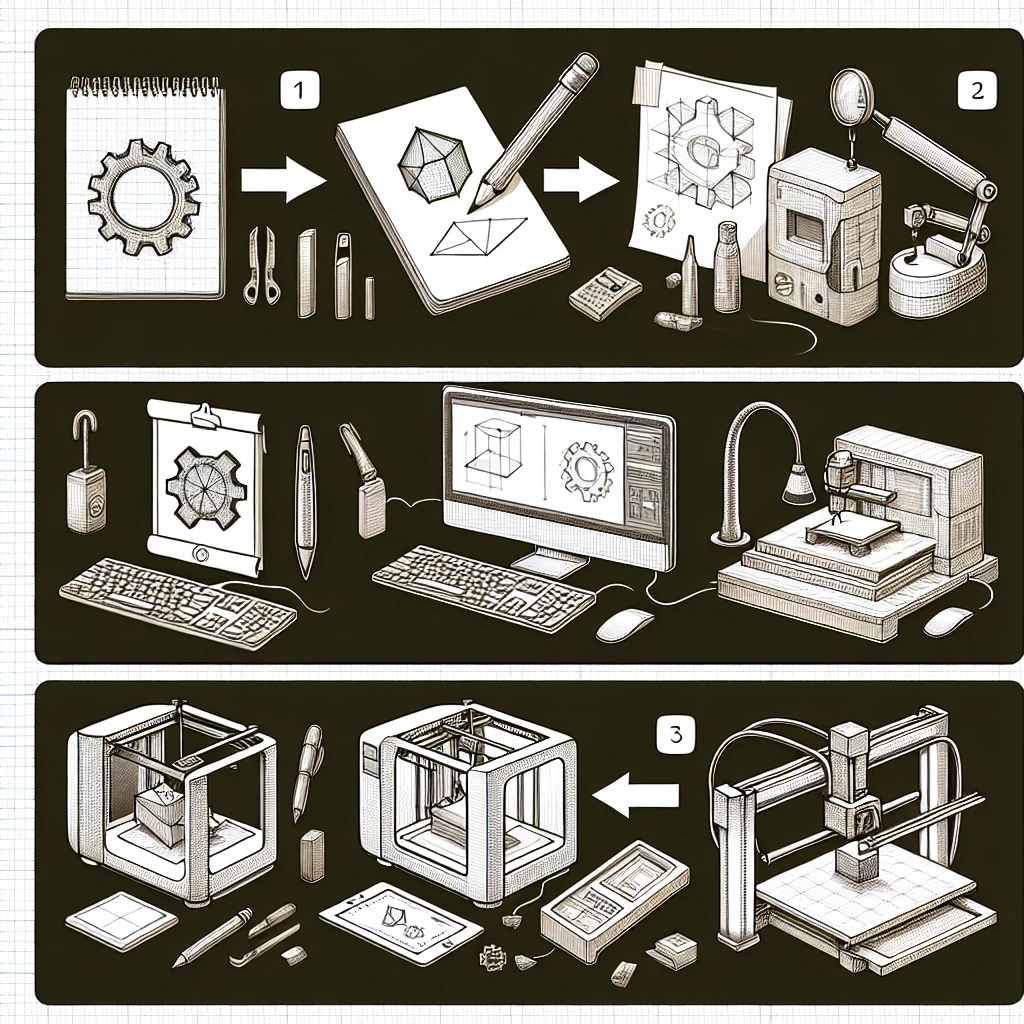
With your model ready and saved as an STL file, it’s time to bring it to life! Load your file into a slicer software, which prepares the model for the 3D printer. Make adjustments for settings like layer height, speed, and infill percentage based on the printer and material you’re using.
Embrace the Learning Process
As you navigate your 3D modeling and printing journey, patience is your best friend. Every designer starts somewhere, and each model you create will push your skills further. Don’t hesitate to experiment, make mistakes, and learn from them. 3D printing is as much about the process as it is about the final printed product.
Eventually, as you grow more confident, you might find yourself crafting intricate designs, which can be shared or sold within creative communities. So grab that software, let your imagination flow, and watch as your ideas take form in three dimensions—who knows where it might lead you!