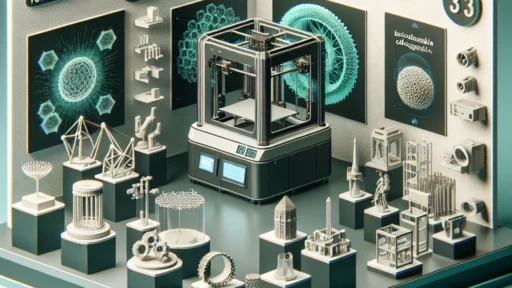
Tips for 3D Printing with PETG Filament
If you’ve dipped your toes into the world of 3D printing, you might have already heard of PETG filament. It’s become quite the popular choice among hobbyists and professionals alike, and not without good reason! PETG (Polyethylene Terephthalate Glycol-Modified) is known for its impressive strength, flexibility, and chemical resistance. But as with any material, printing successfully with PETG can come with its own set of challenges. Let’s dive into some practical tips to help you get the best results from your PETG prints!
1. Get Your Settings Right
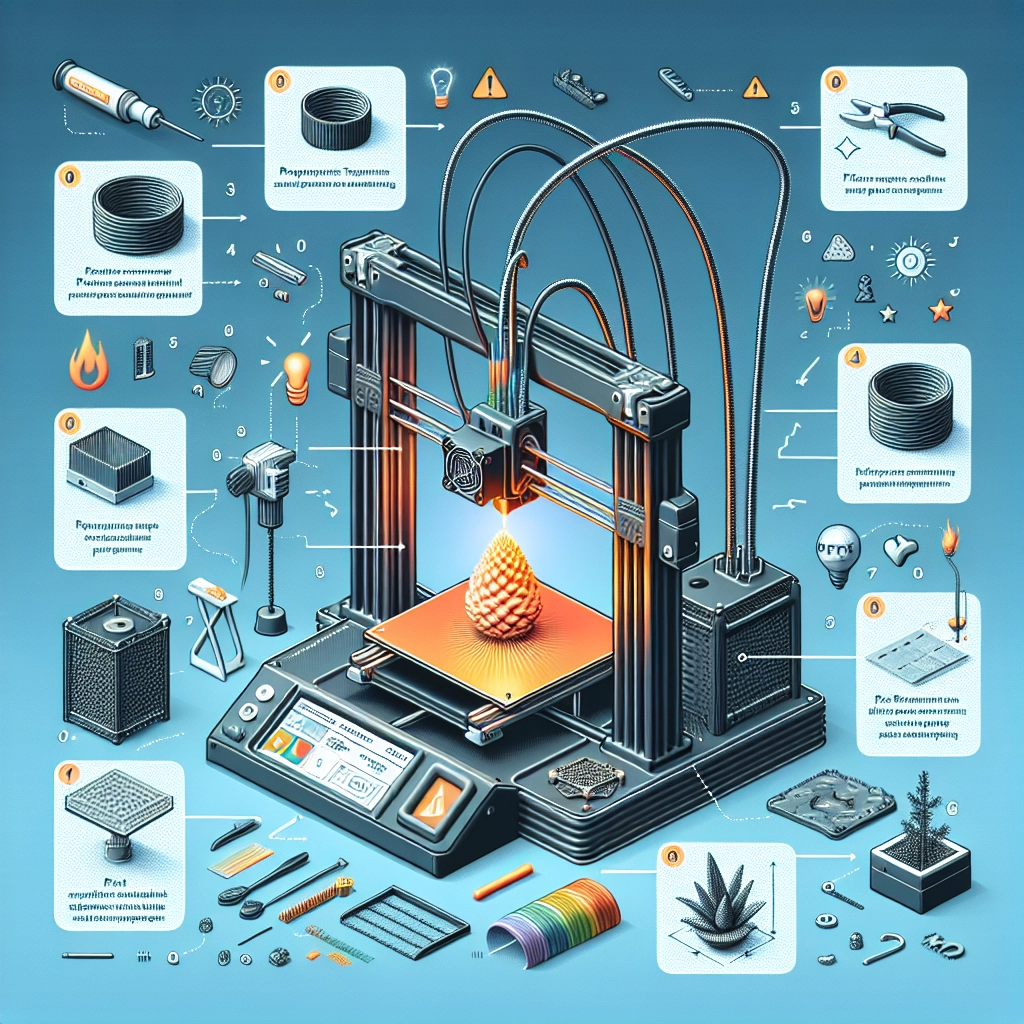
When printing with PETG, finding the right settings can make a huge difference. Start with a nozzle temperature of around 230-250°C. You might need to do some tweaking here based on your specific printer and the brand of filament you’re using—every printer is a bit different! If you notice stringing, which is common with PETG, incrementally lower the temperature until you find a sweet spot that works for your setup.
In terms of bed temperature, aim for about 70-80°C. A heated bed helps with adhesion and minimizes warping. Using a silicone mat or PEI sheet can improve the first layer adhesion even further.
2. Mind the Print Speed
The speed at which you print can significantly affect the outcome of your project. For PETG, a slower speed usually yields better results. Consider starting around 30-50 mm/s. This slower pace allows for better layer adhesion and minimizes issues like stringing and oozing. As you get the hang of it, you might be able to experiment with slightly faster speeds, but it’s best to err on the side of caution, especially when you’re first starting out.
3. Stay Clean and Dry
One of the critical aspects of achieving great prints with PETG is ensuring that your filament stays clean and dry. PETG is hygroscopic, meaning it absorbs moisture from the air, which can lead to bubbling and poor print quality. Store your filament in a cool, dry place, ideally in a vacuum-sealed bag with silica gel packs. If you suspect your filament has absorbed moisture, it can be helpful to dry it in an oven set to a low temperature (around 60°C) for a few hours.
4. Fine-Tune Cooling
Cooling plays a vital role when working with PETG. Unlike PLA, PETG doesn’t require as much cooling, but you still need to keep it cool enough to avoid stringing and improve the overall finish. A cooling fan set to about 50% is a good starting point. You may need to adjust this based on your specific project and the details involved though, particularly if you’re printing intricate features or overhangs.
5. Layer Adhesion Matters
Thanks to its excellent layer adhesion, PETG is perfect for functional parts. However, to unlock its full potential, you might want to tweak your settings to enhance this feature. Try adjusting the layer height to 0.2-0.3 mm for a good balance of detail and strength. It helps to add a few extra perimeters (rings around your part) in your slicer settings, which can enhance strength and hold up better in functional applications.
6. Watch Out for Stringing
Stringing is one of those pesky issues that can drive you crazy with PETG. This occurs when the nozzle oozes plastic while moving from one part of the print to another. To tackle this, you can dial down your temperature or increase retraction settings in your slicer software. Research what works best for your specific model, as balancing these factors will help you minimize unwanted hair-like strands on your prints.
7. Post-Processing Perks
One of the fun aspects of printing with PETG is how easy it is to post-process. If your prints have visible layer lines, you can smooth them out with a bit of heat—carefully pass a heat gun over the surface, but keep the distance steady to prevent warping. Sanding is also a viable option for finishing, especially if you’re looking for a polished look.
Final Thoughts
With its unique properties and versatility, PETG filament can lead to some fantastic results in your 3D printing projects. While it might take some time to dial in your settings and truly master this material, the rewards are well worth it! Whether you’re crafting prototypes, functional parts, or artistic creations, using PETG can open new doors to your creative endeavors. So go ahead, experiment, and don’t forget to have fun along the way! Happy printing!