


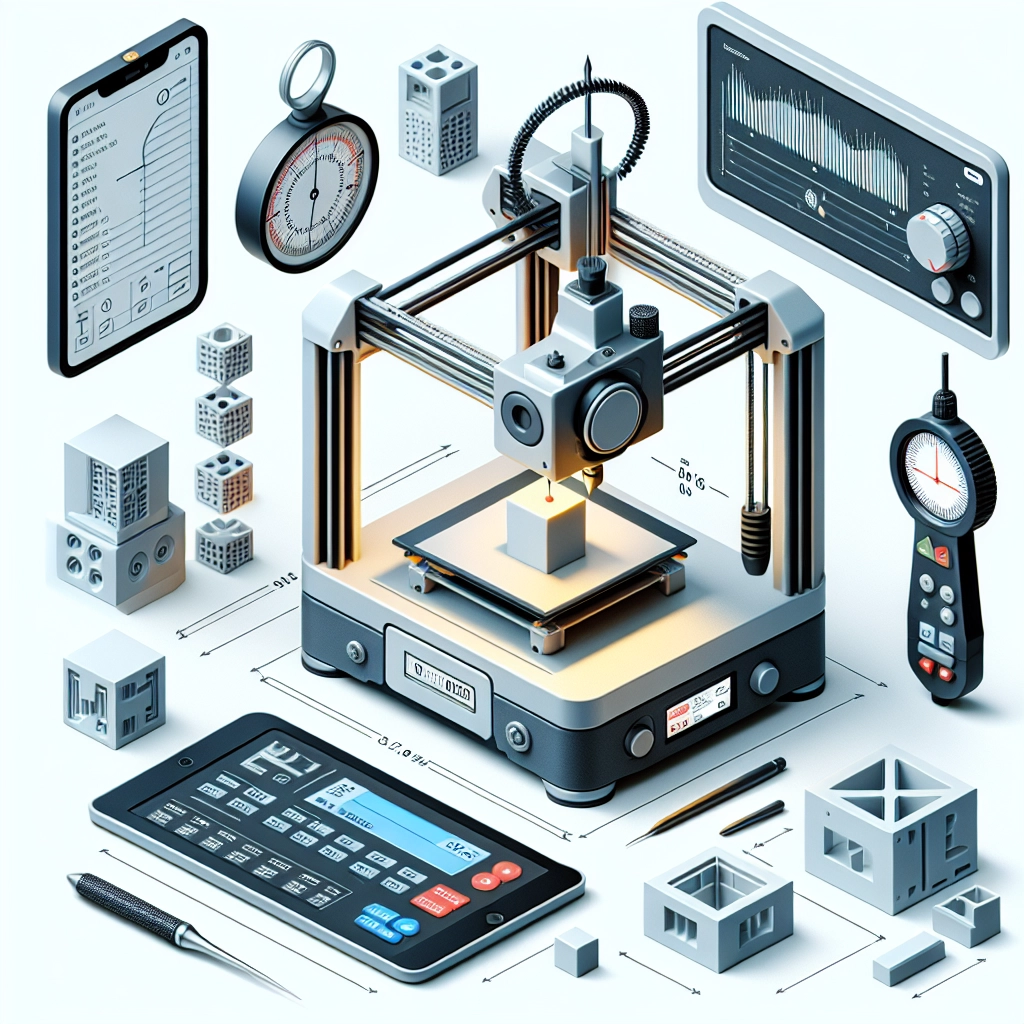
Different Approaches to 3D Printer Calibration
So, you’ve just got your hands on a shiny new 3D printer, and you’re itching to create your first masterpiece. But before you dive headfirst into printing, there’s one crucial step you can’t skip: calibration. Think of 3D printer calibration as the fine-tuning that ensures your prints come out as close to perfection as possible. Whether you’re a newbie or a seasoned pro, understanding different approaches to this process is essential for achieving the best results. Let’s explore the various methods for calibrating your 3D printer, and how each can impact your printing experience.
1. Manual Bed Leveling
One of the most common methods is manual bed leveling. This involves physically adjusting the printer bed by loosening or tightening screws at each corner to ensure it’s parallel to the nozzle. It’s pretty much like balancing a seesaw!
To do this, you’ll want to start with a simple piece of paper (a standard print paper works well). Place it between the nozzle and the bed, and move the nozzle to each corner of the bed, adjusting it until you feel slight resistance when you pull the paper. This method requires a bit of patience, but many printers come with built-in instructions to guide you through the process. If you enjoy getting hands-on, this is a great way to connect with your machine.
2. Auto Bed Leveling
For those who prefer a more tech-savvy approach, auto bed leveling is a godsend. Many newer 3D printers come with this feature built in. Using a sensor, the printer probes the bed at various points to create a mesh map of its surface, compensating for any unevenness. It’s like having a little robot helper doing all the hard work for you!
Once you’ve set the feature in your printer’s firmware, all you need to do is initiate the process, sit back, and let the printer do its magic. This method can save a lot of time and frustration, especially for those who do not want to get too hands-on. However, it’s important to remember that auto bed leveling must be appropriately configured to avoid mistakes.
3. Z-Axis Calibration
Z-axis calibration is essential for ensuring that your nozzle is the right distance from the bed. If it’s too high, filament won’t stick; too low, and you risk damaging your bed or nozzle. To get this right, you can use a piece of paper (just like in manual leveling) or specialized calibration tools.
A popular method is to print a Z-height calibration cube. This gives you an idea of whether adjustments are needed. You’ll slice the cube and adjust the Z-offset accordingly. While it may take a few tries to get it just right, ensuring proper Z-axis calibration can significantly improve the quality of your prints, especially regarding adhesion and layer bonding.
4. Extruder Calibration
Extruder calibration is another important aspect, especially if you’re noticing under-extrusion (your prints look thin or have gaps). The goal is to ensure your printer extrudes the precise amount of filament it’s supposed to.
To calibrate your extruder, you can use a method involving the “Filament Test”. Measure a specific length of filament (usually about 100 mm), mark it, and then command the printer to extrude that length. Measure the distance from the end of the filament to the mark. If it extrudes too much or too little, you’ll need to adjust the steps per mm in your firmware. This one could take a bit of trial and error, but when you get it right, the difference can be night and day!
5. Temperature Calibration
Temperature plays a huge role in print quality, too. Different filaments have unique melting points, so ensuring that you’re using the correct temperature for the material can greatly impact your results. You might consider a technique called the “temperature tower,” where you print a simple ‘tower’ with varying temperatures. This allows you to visually assess which temperature delivers the best layer adhesion while avoiding issues like stringing and warping.
A Balancing Act
Each of these calibration methods offers its advantages, and the best approach often depends on your printer, the filament used, and your personal preferences. Some people swear by manual methods, while others embrace the high-tech conveniences that modern printers offer.
Regardless of the method you choose, remember that calibration is not a one-and-done situation. As you switch materials or if you move your printer, you may need to recalibrate. View this process as part of the creative journey of 3D printing; with patience and practice, you’ll find a calibration routine that works for you, and soon, your printer will become an extension of your creativity! So get calibrating, and happy printing!


