How to Optimize Your 3D Printer Settings for Perfect Prints
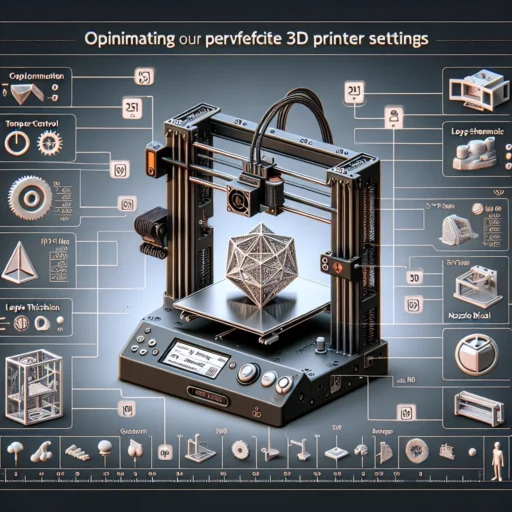
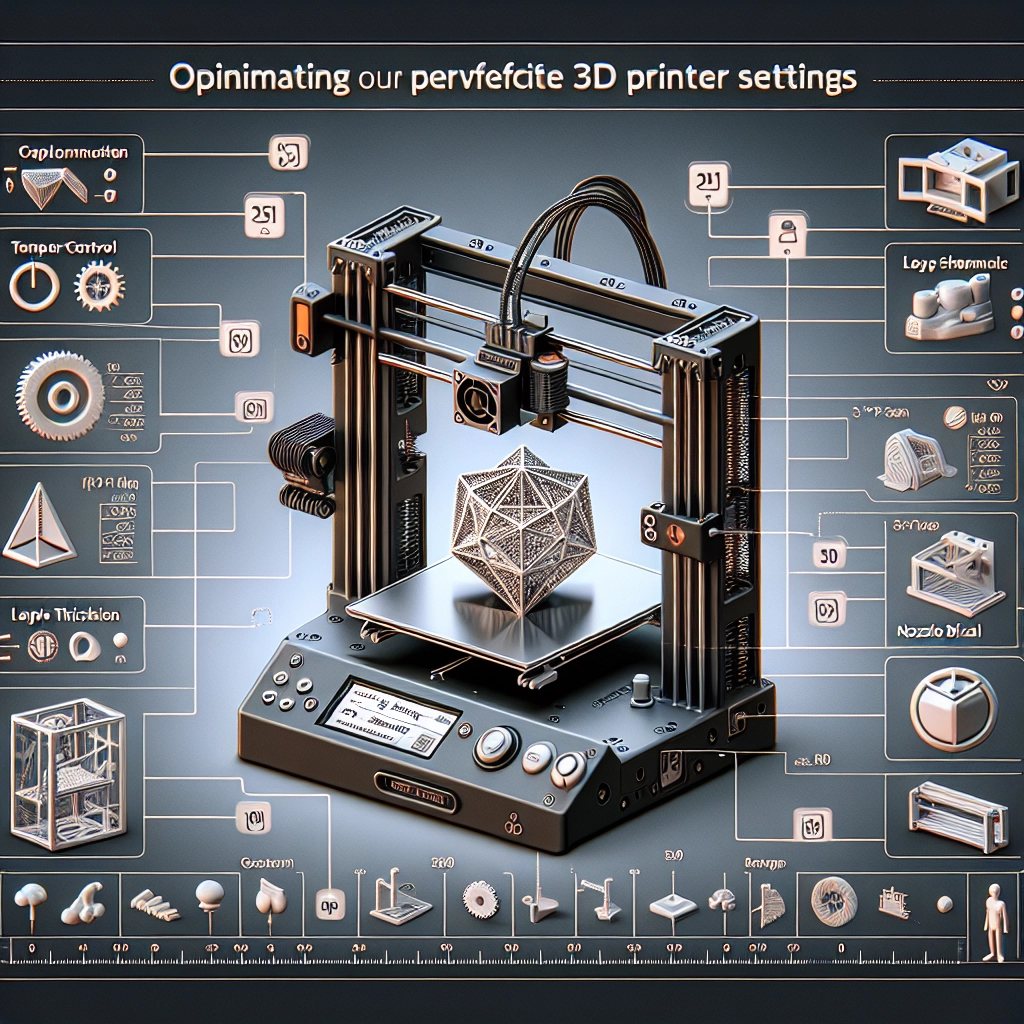
If you’re diving into the thrilling world of 3D printing, there’s a good chance you’ve experienced the frustration of failed prints. Fuzzy lines, layer misalignment, or prints that simply refuse to stick to the bed can make anyone feel like they’re in a never-ending battle with their machine. But fear not! Optimizing your 3D printer settings can elevate your printing game and lead to stunning results. Let’s take a friendly stroll through some essential adjustments that could make all the difference.
Start with the Basics: Bed Leveling
Before you even think about tweaking advanced settings, make sure your print bed is level. A well-leveled bed ensures that your first layer adheres properly, which sets the foundation for a successful print. Many printers come with a specific method for leveling the bed, which usually involves adjusting screws at each corner and checking the distance from the nozzle to the bed. It’s a bit of a chore, but it’s a foundational step worth investing your time in.
Temperature Tales: Nozzle and Bed Heating
Temperature can be a game-changer in 3D printing. Each filament type has its ideal printing temperature range; for instance, PLA typically prints best between 180-230°C, while ABS needs around 220-260°C. If you’re struggling with adhesion or stringing issues, consider adjusting the nozzle temperature within that recommended range.
Then, don’t forget the print bed! A heated bed can make a huge difference in adhesion, particularly when working with materials like ABS. Many users find setting their bed temperature between 50-70°C for PLA and around 90-110°C for ABS yields great results.
Layer Height: Quality vs. Speed
Another key setting to consider is the layer height. A lower layer height means more detail, but it also means longer print times. Conversely, a higher layer height can speed up the printing process but might sacrifice detail. A good balance is typically around 0.1mm for high-detail prints and 0.2mm for standard ones.
Don’t be afraid to experiment! If you’re working on a prototype, you might prefer a quicker, less detailed print, while a final piece might warrant the extra time for that crisp detail.
Print Speed: Finding the Sweet Spot
Speaking of speed, it’s crucial to find the right setting for your print speed. If your printer is going too fast, you might notice issues like stringing, warping, or even layer misalignment. A general rule of thumb is to start at about 50mm/s and adjust from there based on your material and model. Slowing down to around 30mm/s can help with complex models or when printing with flexible filaments.
Retract, Retract, Retract!
Stringing can be one of the most annoying issues you’ll run into during 3D printing, especially for intricate models. This is where retraction settings come into play. Retraction is the process where the filament is pulled back into the nozzle when moving between different parts of the print. The default retraction distance is usually set between 0.5 and 2mm. However, if you’re seeing excessive stringing, consider increasing this amount or adjusting the retraction speed, usually around 30-40mm/s.
Cooling Matters
Cooling can impact your print quality tremendously, particularly with filaments like PLA. Most printers come with built-in fans to help cool the filament right after it’s extruded, preventing sagging or blobbing. If you’re using a cooling fan, try setting the fan speed between 50% to 100% for PLA prints. For ABS, however, a slow or minimal fan speed is often best to avoid warping.
Materials Matter
Have you ever noticed that some filaments just work better for certain projects? It’s true! Each material has its own unique properties requiring different settings. Experimenting with various filaments can lead to discovering the best results for your specific projects.
Post-Print Peeking
Once you’ve fine-tuned your settings and gotten a print you’re proud of, take a moment to analyze it. What worked? What didn’t? Taking notes on settings that led to successful prints can create a valuable reference for future projects. Plus, as you learn and grow in this hobby, you’ll be better equipped to tackle new challenges.
Optimizing your 3D printer settings is a journey of discovery and experimentation. Every print is an opportunity to learn and improve. With patience and attention to detail, you can transform your 3D printing experience from frustration to triumph, creating fantastic pieces that reflect your skills and creativity. So dust off that printer, roll out some filament, and let’s make some magic!


