
Best Practices for Finishing Your 3D Prints
So, you just pulled your latest 3D print off the bed—congratulations! It’s always exciting to see your design come to life. But wait, what’s that? Layer lines, visible supports, or maybe some leftover stringing? Don’t worry; finishing your 3D prints can take your creation from good to great. Let’s dive into some best practices that will help you achieve that polished look and feel.
Clean Up the Model
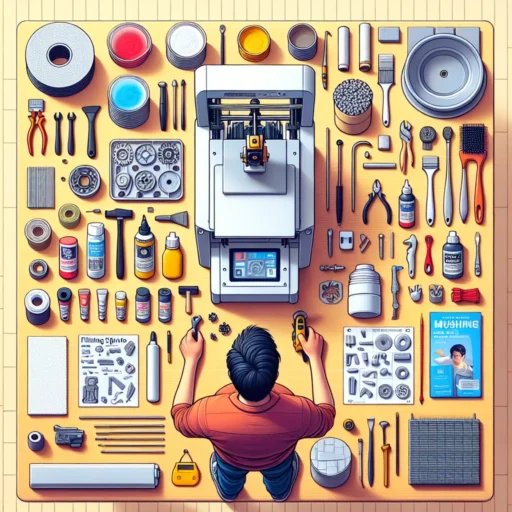
Before you jump into any finishing techniques, the first step is to clean up your print. This usually involves removing any support material and trimming off any stringing or blemishes that may have occurred during the printing process. A craft knife or a pair of clippers can be your best friends here. Just be careful not to damage your print—you’re trying to enhance it, not turn it into a pile of plastic!
Sanding
Once your print is free of supports and stray filaments, it’s time for sanding. This is where you can smooth out those pesky layer lines. Start with a coarser sandpaper (around 100-200 grit) to remove significant imperfections, and then gradually work your way to a finer grit (600-1000 grit) for a smoother finish. Don’t be afraid to use water or sandpaper specifically designed for wet sanding, as this can minimize dust and produce an even better finish.
Filling Gaps
If you notice any gaps or seams that you’d like to fill, you can use various fillers. For PLA prints, you might consider using wood filler, epoxy putty, or even a specialized 3D printing filler. Apply the filler to the gaps, let it dry, and then sand it down to achieve a seamless surface. This step can make a noticeable difference, especially if you’re aiming for a professional finish.
Painting
Now comes the fun part—painting! Before you start splashing paint on your print, it’s important to prime the surface. A good primer will help the paint adhere better and can even fill in some of those minor layer lines. After the primer has dried, you can use acrylic paints for vibrant colors or spray paint for an even finish. If you want to achieve some special effects—like metallic or matte finishes—consider experimenting with different types of paints. Just remember to spray in light coats; it’s much easier to build up color than to remove excess paint!
Sealing the Deal
Once you’ve painted and are satisfied with the results, it’s crucial to seal your print, especially if it’s going to be handled frequently or exposed to moisture. Clear coat sprays are an excellent option for adding a protective layer. Depending on your desired finish (glossy or matte), you can choose the type of clear coat that best suits your needs. Just ensure that the paint is completely dry before applying any sealer.
Post-Processing Techniques
For those who want to take their finishing game to the next level, there are several advanced post-processing techniques worth considering:
-
Smoothing with Heat: Some materials, like ABS, can benefit from vapor smoothing with Acetone. This process can dissolve the outer layers, leaving a shiny and smooth surface. Just be sure to do this in a well-ventilated area and follow safety precautions!
-
Dyeing: If you’re working with Nylon or TPU, dyeing can be a fantastic way to achieve intensive colors. It’s more of a science experiment than traditional painting, but the results can be stunning.
-
Electroplating: For those interested in metallic finishes, electroplating can add real metal to your prints. This process can be technical and often requires specific equipment, but the results can certainly impress.
Your Personal Touch
Remember that finishing your prints is also an opportunity for you to express your creativity! Each project can reflect your unique style, whether it’s through color choice, texture, or even a mix of techniques. The more you experiment, the more you’ll discover your preferences and skills.
In the end, taking the time to finish your 3D prints correctly can elevate them beyond just functional objects into art pieces that catch the eye and spark conversation. Whether you’re a hobbyist creating models for your tabletop game, a cosplayer making custom props, or an artist seeking to showcase your designs, a well-finished 3D print can truly make all the difference. So, roll up your sleeves and have fun with the process—your 3D creations deserve it!