

Effective Post-Processing Techniques for Your 3D Prints
Once you’ve completed a 3D print, the excitement of watching your creation unfold layer by layer gives way to another crucial phase: post-processing. This stage can often be the difference between a 3D model that’s merely functional and one that’s truly stunning. From smoothing rough edges to adding vibrant colors, mastering post-processing techniques can elevate your prints to professional quality!
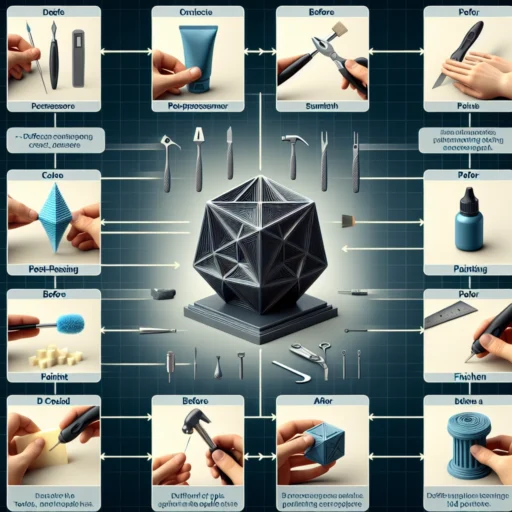
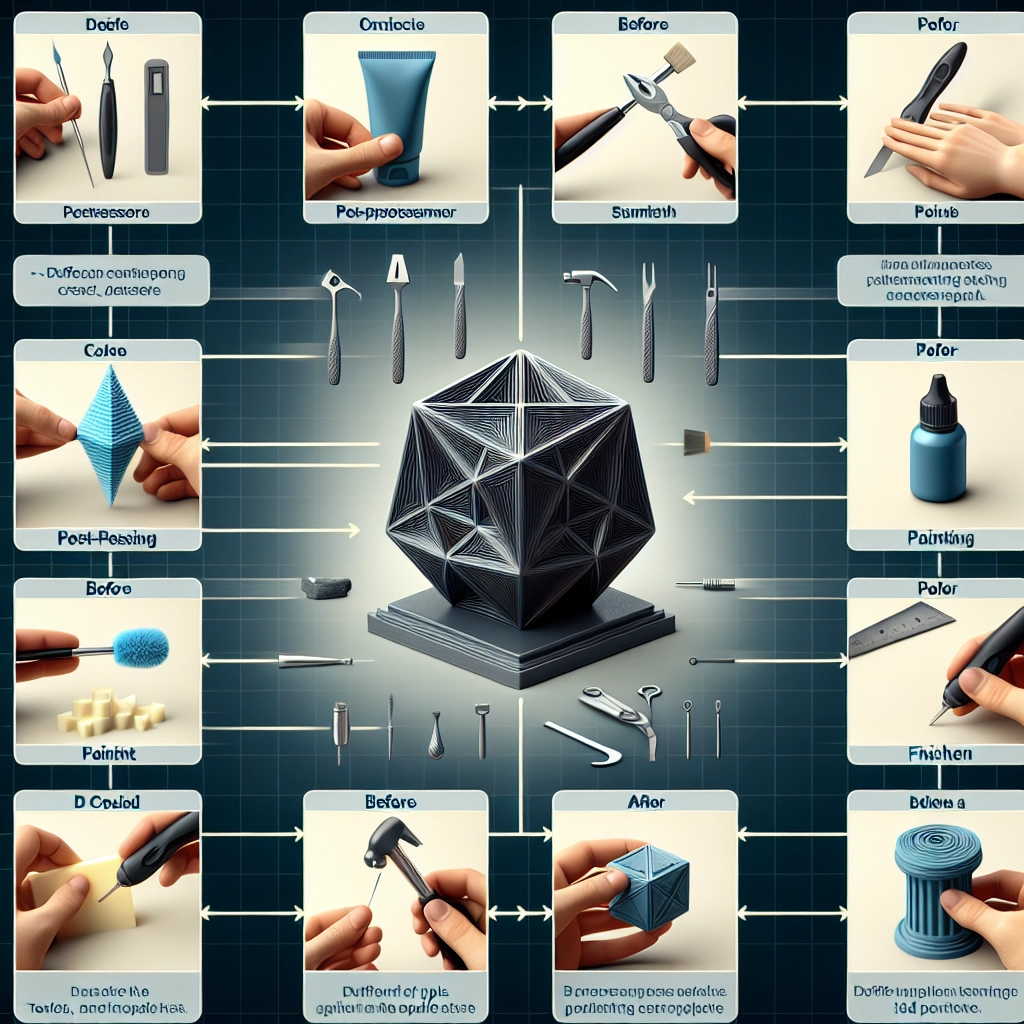
1. Deburring and Sanding
One of the most common issues with 3D prints is the presence of rough edges and bumps, often due to the layering effect. Deburring is an essential first step to remedy this. A simple utility knife or hobby blade can be used to trim off any excess material.
After deburring, sanding is a great way to smooth out the surface. Depending on the material you used, you may want to choose different grits of sandpaper. Start with a coarser grit (around 200-400) to remove imperfections, and then gradually move to a finer grit (600-1200) for that buttery-smooth finish. For more intricate designs, opt for sanding sticks or files that can navigate tighter spaces.
2. Chemical Smoothing
For those who really want to achieve that glass-like finish, chemical smoothing can be a game-changer—especially with prints made from ABS. Acetone vapors can work wonders. Place your print in a sealed container with a small amount of acetone. The vapors will help to melt the surface layer slightly and create a smooth finish. However, safety is crucial! Always work in a well-ventilated area and use gloves to protect your skin.
For other materials, like PLA, some manufacturers offer purpose-made smoothing solutions.
3. Painting and Finishing
Once the surface is smooth, it’s time to add a splash of color! Start with a primer, which helps paint better adhere to the surface and provides a uniform base. For this, a spray primer works wonders. After priming, you can either spray paint or hand-paint your design, depending on your level of detail and the complexity of your project.
When applying paint, remember to build it up in thin layers. This allows for better control and minimizes drips or uneven coverage. If you’re going for a particular finish—like metallics, gloss, or matte—make sure to choose your paints wisely. Seal your masterpiece with a clear coat for protection against wear-and-tear.
4. Applying Textures and Layers
For those looking to add a bit of flair to their prints, consider applying textures. This could be as simple as using a textured roller or stamp for uneven surfaces. For larger prints, you can even create a ‘sculpted’ effect by hand-carving into the surface.
There’s also the option of layering materials! Need a bit of structure or detail? Consider adding resin or epoxy coatings that can be molded and shaped to your liking. Just remember, working with resins can require additional safety gear.
5. Electronics and Moving Parts
If you’re venturing into the territory of functional prints—think robotic arms or other moving parts—post-processing involves more than aesthetics. Ensuring that parts fit together seamlessly may require some additional tweaking. Consider using tolerance settings in your CAD software to make sure your pieces can easily move without constraints.
Additionally, consider adding lubricants to moving joints once the print is complete. A little grease or silicone spray can make all the difference in the longevity and functionality of your print.
6. Finishing Touches
Sometimes your print just needs that little something extra to make it pop. Consider adding decals, stickers, or even some custom engraving. There are even companies that specialize in creating custom stamps for 3D prints, allowing you to imprint your unique designs.
Lighting also plays a crucial role! Integrating LED lights can turn a simple print into a show-stopper. Whether it’s a glowing base or lighting within a model, a little illumination can transform the entire piece.
Wrapping It Up
Post-processing may feel daunting at first, but with a little patience and creativity, it can be one of the most rewarding aspects of your 3D printing journey. Remember, each technique you use adds personality and craftsmanship to your creation. Embrace the process, experiment with different methods, and watch as your prints evolve into something you can’t wait to show off. Happy printing!


