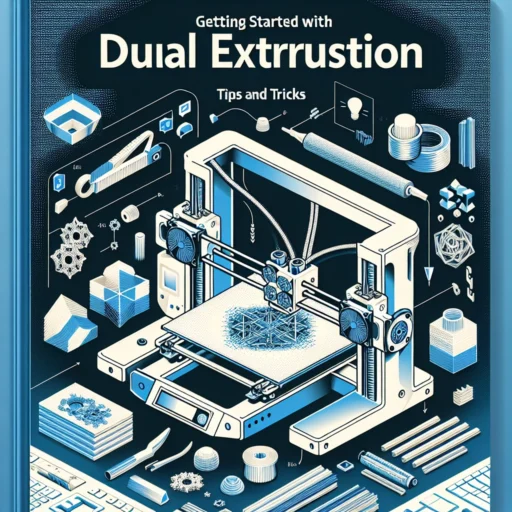

Getting Started with Dual Extrusion: Tips and Tricks
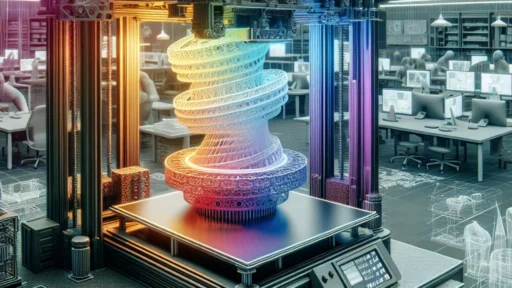
If you’ve been keeping an eye on the 3D printing world, you’ve likely heard whispers (or shouts, really) about dual extrusion. This innovative technique enables you to use two different filaments simultaneously to create stunning, high-quality prints with multiple colors, materials, or properties. Sounds exciting, right? But like all things in the 3D printing realm, it can be a bit daunting to dive into. Fear not! We’ll explore some essential tips and tricks to help you get started on your dual extrusion journey.
Understanding Dual Extrusion
Before we get into the practical tips, let’s briefly touch upon what dual extrusion actually entails. In a nutshell, dual extrusion involves two separate extruder heads working together to print a single object. This allows for the mixing of colors or using different materials—like a support filament that dissolves in water. The result? A more intricate and functional print than ever before!
Choosing the Right Printer
Not all 3D printers can handle dual extrusion. If you’re in the market for one or looking to upgrade, you’ll want to look for a printer equipped with two distinct print heads. Some popular models on the market include the Prusa i3 MK3S+, Raise3D Pro2, and the Creality CR-X. Alternatively, if you’re feeling adventurous, you can even modify an existing single-extruder printer to enable dual extrusion.
Filament Selection Matters
Not all filaments play well together. It’s crucial to choose materials that are compatible with each other when using dual extrusion. PLA and PVA (water-soluble) filament work famously, as do PLA and flexible filaments such as TPU. Just keep in mind that differing print temperatures and adhesion properties may complicate things. It’s a good idea to research your filament options and even consult the manufacturer’s guidelines before making any decisions.
Software Smartness
Now that you have your printer and filament, let’s tackle the software side of things. Most slicers support dual extrusion, but they can differ in their user-friendliness and features. Cura and PrusaSlicer are popular choices, offering extensive dual extrusion settings. Be prepared to spend a little extra time fine-tuning your slicer settings to balance the materials, cooling, and support structures.
Make sure to familiarize yourself with the support generation settings in your software; dual extrusion allows you to create soluble supports for your models, making post-processing a breeze. And don’t skip the preview mode—you’ll want to visualize how your print layers will come together.
Calibration is Key
Okay, we can’t stress this enough: calibration is your best friend in dual extrusion. Achieving a good first layer is essential, as this sets the tone for the entire print. Take the time to ensure both extruders are calibrated for the correct nozzle height and extrusion width. If one extruder is slightly out of alignment, it can lead to poor layer adhesion or uneven prints.
Additionally, calibrate the flow rate for each filament to avoid over-extrusion or under-extrusion. A poorly calibrated extruder can lead to clogs or other frustrating issues mid-print.
Testing, Testing, 1-2-3
Before you launch into your grand multi-colored masterpiece, run some test prints to ensure everything is functioning smoothly. Simple calibration cubes, small parts, or test models that utilize both extruders can help you identify any issues or adjustments that need to be made. Plus, they provide a great opportunity to get familiar with your specific setup!
Troubleshooting Common Issues
Let’s face it: dual extrusion can be a bit tricky at times. If you encounter issues like stringing, ooze, or poor layer adhesion, there are several troubleshooting tips to keep in mind.
-
Stringing: If you notice strings between parts, consider increasing the retraction settings in your slicer. You may also want to adjust the temperature settings for the filament.
-
Ooze: A little bit of ooze is pretty common, but if it’s excessive, check if your nozzles are too hot or if the distance between your extruders is too small.
-
Layer Adhesion: Ensure that your print bed is level and properly prepared for both filaments. Sometimes, adjusting the bed temperature can help improve adhesion.
Enjoy the Process!
Dual extrusion is a fantastic way to push the boundaries of what you can create with 3D printing. While it comes with its set of challenges and nuances, each step you take is an opportunity to learn and grow your skills. So, roll up your sleeves, put on your creativity hat, and don’t hesitate to experiment! You might just impress yourself with the results. Remember, the journey is just as exciting as the final product—and with each print, you’ll be one step closer to mastering the art of dual extrusion. Happy printing!