
Getting Started with Bambu Lab 3D Printers: A Beginner’s Guide
If you’ve recently found yourself captivated by the world of 3D printing, let me tell you—you’re in for a treat! 3D printing has opened up a universe of creativity and innovation, allowing hobbyists, artists, and engineers alike to turn their ideas into reality. Among the many brands out there, Bambu Lab has quickly made a name for itself with its high-performance printers. Whether you’re a complete novice or have dabbled a bit in 3D printing, diving into Bambu Lab’s offerings can be an exciting endeavor. So, let’s get started!
Why Choose Bambu Lab?
One of the standout features of Bambu Lab is their user-friendly design paired with robust functionality. With options suitable for various skill levels, their printers are not just for the tech-savvy. They’ve done a fantastic job of making 3D printing accessible, while still packing in the power for those who want to take their projects to the next level. Additionally, Bambu Lab printers boast impressive print speeds and quality, so you can see your creations come to life quicker than ever!
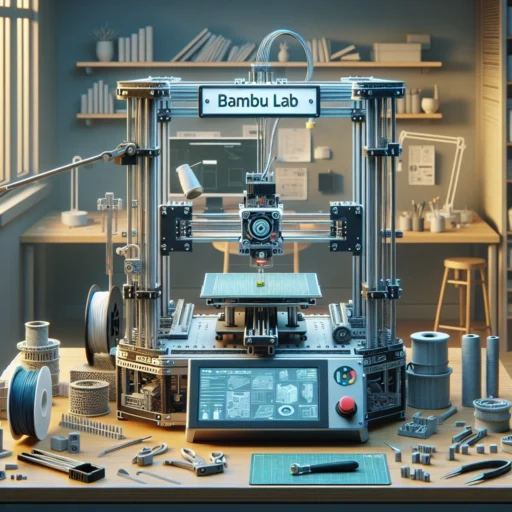
Unboxing Your Bambu Lab Printer
So, you’ve unboxed your new Bambu Lab printer—now what? First things first, take a moment to admire your machine. It may look complex, but with a little patience, it’ll soon feel like an extension of your creativity. Inside the box, you should find not just the printer itself, but also some essential components, including power cables, a filament spool holder, and a sample filament to kickstart your 3D printing journey.
It’s always a good idea to refer to the quick-start guide or online resources provided by Bambu Lab. They often include clear visuals and step-by-step instructions to help you set everything up without a hitch. Follow them closely, and set aside some time to assemble and configure your printer.
Setting Up Your Printer
Once everything is unboxed and assembled, it’s time to set your printer up in the place you want to use it. Make sure it’s on a stable surface, away from direct sunlight or areas that are prone to drafts. Proper ventilation is important too, especially when printing with certain materials.
Next, connect the printer to a power source and switch it on. You’ll see the magic of technology at work as it powers up and goes through its setup sequence. Many Bambu Lab printers come with touchscreens that make navigating settings a breeze. Make sure to calibrate your printer, which involves leveling the print bed and ensuring your extruder is correctly positioned. This step is crucial for successful prints!
Choosing Your Filament
With your printer set up and ready to go, it’s time to dive into one of the most exciting parts—choosing your filament! Bambu Lab printers are compatible with a variety of materials, including PLA, PETG, and even specialty filaments like carbon fiber-infused or flexible options. As a beginner, starting with PLA is a safe bet. It’s easy to work with, forgiving of minor mistakes, and widely available.
When selecting your filament, always keep an eye on the recommended temperature settings and other specifications. This will help you avoid common pitfalls and ensure you get the best results.
Exploring Software Options
To bring your creations to life, you’ll need to dive into slicing software. Bambu Lab has made this super easy with their own slicer application, which simplifies the process and comes pre-set for their printers. However, many users also enjoy using third-party options like PrusaSlicer or Cura, which allow for more detailed controls and settings.
You can explore online repositories of free models, such as Thingiverse, MyMiniFactory, or the Bambu Lab community forums, where you can find everything from simple toys to intricate designs. Download the model you’re interested in, import it into your chosen slicer, adjust your settings as necessary, and you’re ready to slice!
Printing Your First Model
Finally, the moment of truth arrives—you’re ready to hit that print button! Check all your settings one last time, load your filament, and prepare for the thrill of watching your 3D creation come to life. Stay close during the first print; it’s a good opportunity to troubleshoot any issues, especially as a newbie.
As the printer works away, consider keeping a journal or digital notes of what settings worked, what didn’t, and any tweaks you made to your process. This can be incredibly helpful as you grow in your 3D printing journey.
Embrace the Adventure
Remember, 3D printing is all about trial and error, creativity, and continual learning. Don’t get discouraged by initial hiccups; every expert was once a beginner! As you navigate through Bambu Lab’s features and capabilities, trust that experimentation will lead you closer to your unique style and expertise.
So gear up, grab that filament, and let your imagination run wild with your Bambu Lab printer. Your 3D printing adventure is just beginning!