
How to Optimize Your 3D Printing Settings for Best Results
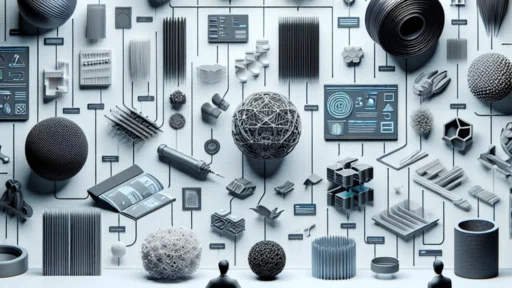
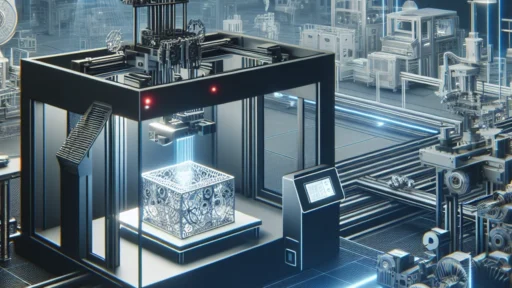
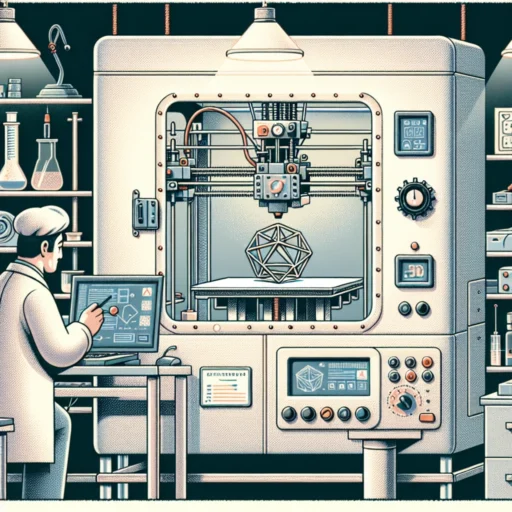
3D printing has rapidly moved from a niche hobby to a widely embraced technology used in everything from prototyping to custom home decor. But anyone who’s ventured into the world of 3D printing knows that achieving that perfect print can be a bit of a challenge. Whether you’re printing your first model or you’re a seasoned pro, optimizing your 3D printing settings can make a world of difference in the outcome of your prints. Here’s how you can tweak your settings for the best results.
Understanding the Basics
Before diving into complex settings, it’s essential to understand some of the key terms associated with 3D printing. A good place to start is with layer height, which refers to the thickness of each printed layer. Thinner layers typically yield more detailed prints but can increase printing time. On the flip side, thicker layers can reduce print time but may sacrifice detail.
Next up is print speed. This setting dictates how fast your printer moves while laying down the filament. Higher speeds can be tempting to reduce print time but might lead to compromised quality. Finding the right balance is a step worth taking.
Temperature settings are equally vital. The ideal temperature for your filament can vary based on the material you’re using. For example, PLA might print well around 200°C, while ABS might require around 220°C or more. Pay attention to the material’s specifications and adjust accordingly.
Fine-Tuning Your Print Settings
1. Layer Height Adjustments
As a beginner, you might want to start with a layer height of around 0.2mm. This setting usually provides a good balance between speed and quality. If your print demands higher detail, consider reducing the height to 0.1mm. For prototyping or less detailed prints, you can go as high as 0.3mm.
2. Print Speed Management
While it can be tempting to maximize your print speed, it’s wise to scale it back if you want better adhesion and detail. A speed of 50-60 mm/s is a solid starting point for most prints. As you gain confidence, experiment with increasing or decreasing this speed and monitor the results.
3. Temperature Calibration
Always reference the manufacturer’s guidelines for your filament, but remember that the environment plays a significant role. If you’re working in a cooler space or have drafts, you might want to increase the temperature slightly. Conversely, if your prints are showing signs of stringing or oozing, lowering the temperature can help.
4. Bed Adhesion Techniques
A common issue for many is ensuring that the first layer sticks to the print bed. Using adhesive options like a glue stick, painter’s tape, or specialized adhesives can make a big difference. Additionally, calibrating your bed height with care helps ensure that the nozzle is at the right distance from the bed, which is crucial for good adhesion.
5. Retraction Settings
Retraction is the process of pulling the filament back into the nozzle when the print head moves to prevent stringing. Activate retraction settings in your slicer and experiment with the retraction distance and speed. Starting with a distance of around 5 mm and a speed of 25 mm/s is reasonable, but tweaking these based on your specific printer and filament can yield improved results.
6. Cooling and Fans
Cooling is often overlooked, but a good cooling system can drastically affect print quality, especially for materials like PLA. Make sure your cooling fan is functioning well. A good rule of thumb is to start with 100% fan speed after the first few layers. This helps with overhangs and intricate details.
Testing and Iterating
Once you’ve adjusted your settings, the best way to see if they are effective is to test and tweak. Don’t be discouraged if your first attempts don’t result in perfection; it’s all part of the learning process. Keep a log of what works and what doesn’t, noting changes and results. Incremental adjustments over several prints can lead to significant improvements over time.
3D printing can be a delightful journey, filled with both successes and learning experiences. By refining your settings and understanding how they affect your final product, you’ll see your skills grow. Remember, patience and consistency are key—keep printing, experimenting, and before you know it, you’ll be producing beautiful prints that you can proudly display or use in fantastic ways. Happy printing!