How to Design 3D Models for 3D Printing Success
3D printing has taken the world by storm, transforming how we think about creating and producing objects. Whether you’re an artist, an engineer, a hobbyist, or someone just curious about the world of 3D printing, getting the design right is crucial for a successful print. So, how do you go about designing 3D models that not only look good on screen but also translate beautifully into the physical world? Let’s dive into some essential tips to help you master the art of 3D modeling for printing!
Understand Your Printer
Before you start designing, it’s important to understand the capabilities and limitations of your specific 3D printer. Different printers use different technologies—like FDM, SLA, or SLS—which can affect your model’s final outcome. For example, FDM printers tend to struggle with overhangs due to the layer-by-layer printing method. Knowing the specifications, such as maximum print volume, layer height, and supported materials, can make a world of difference in your design process.
Choose the Right Software
The right design software can elevate your 3D modeling experience. There are various programs out there, ranging from beginner-friendly options like Tinkercad to professional-grade software like Blender, Fusion 360, or SolidWorks. Your choice should align with your experience level and the complexity of the models you wish to create. Many software options also offer libraries of pre-existing shapes and components, which can save time and provide inspiration.
Think in 3D
When designing, it’s easy to think in 2D—after all, we’re used to working with flat images and drawings. However, creating a 3D model requires a shift in perspective. Consider all three dimensions and think about how your model will be constructed layer by layer. Utilizing features like symmetry and mirroring can help maintain a balanced design. Also, ensure that you visualize how your final piece will occupy space—making it easy to handle, transport, and fit with other components if necessary.
Keep Wall Thickness in Mind
One size does not fit all when it comes to wall thickness. Designing walls that are either too thin can lead to breakage or printing failures, while overly thick walls can waste materials and increase print time. A common rule of thumb is to maintain a wall thickness of at least 1 to 2 mm, depending on the printer and material you’re using. Make sure to do a bit of research or experimentation to find the sweet spot for your specific project.
Prepare for Supports
Supports can be a necessary evil in 3D printing, especially for models with overhangs or complex geometries. When designing your model, try to minimize the need for supports by keeping overhangs to a minimum or incorporating a more gradual incline. If supports are unavoidable, design your model with easy removal in mind. Consider creating a smooth interface or adding features that help break the support structures away cleanly.
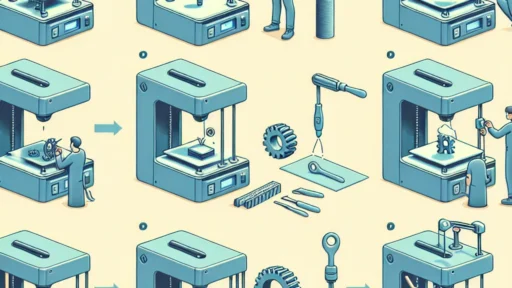
Test, Test, Test
Once you’ve got a model ready to print, run it through the slicer software to check for potential issues. Most slicers will simulate the print process and point out possible problems before you start the actual print. Pay close attention to the estimated print time, material usage, and any warnings about your design. If your print has a lot of errors, it may be worth going back to tweak the design. It’s best to catch things early rather than deal with frustration further down the line.
Iterate and Improve
3D printing is as much a process of trial and error as it is a creative endeavor. Don’t be discouraged if your first print isn’t perfect! Use any failures as learning opportunities to improve the next iteration of your model. Pay attention to what went wrong, whether it was a design flaw or a printing error, and seek out feedback from peers or online communities.
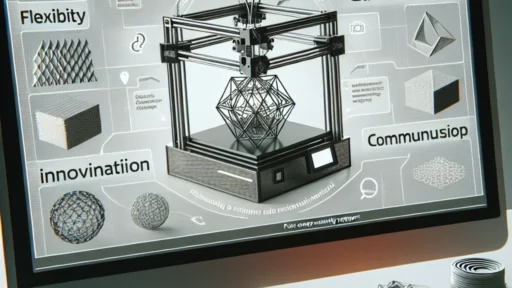
3D printing allows for boundless creativity and innovation. By thinking critically about your design, understanding the capabilities and limits of your printer, and being willing to iterate, you’ll be well on your way to creating stunning models that bring your ideas to life. With a bit of practice, your models can go from digital dreams to tangible realities. So, roll up your sleeves, fire up your design software, and get ready to make your mark in the world of 3D printing!