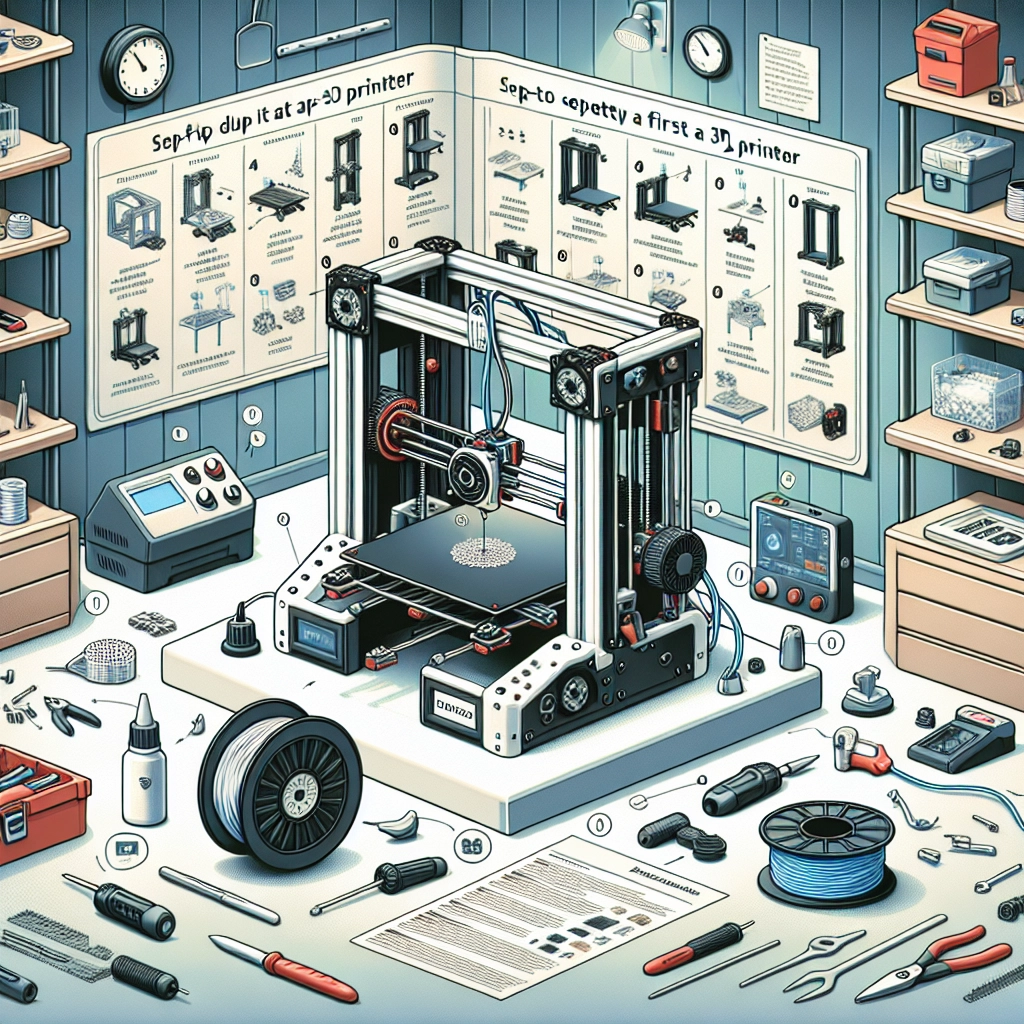
Setting Up Your First 3D Printer: A Step-by-Step Guide
So, you’ve finally taken the plunge and bought your first 3D printer! Whether you’re diving into the world of 3D printing out of sheer curiosity, for a DIY project, or to take your creative skills to the next level, the excitement is palpable. But before you can start printing the next evolution in your creative journey, there’s a bit of setup to do. Don’t worry—it’s easier than it sounds! Let’s walk through the setup process, step by step.
1. Unboxing Your 3D Printer
First things first—let’s get that box open! Carefully remove the printer from its packaging and set it in an appropriate workspace. Ideally, you want a sturdy table or workstation that is level and spacious enough to accommodate the finished prints. Make sure you’ve got enough room for your tools and materials too.
As you unpack, take a moment to check for any accessories included in the box such as cables, tools for assembly, and sample filament. Make sure you’ve received everything listed in the manufacturer’s user manual.
2. Assembling the Printer
Now, depending on the model you’ve chosen, assembly can be either a straightforward plug-and-play setup or a more involved assembly process. Here are some general steps:
-
Familiarize Yourself with the Manual: Before you dive in, take a moment to skim through the manual. It will provide essential insights specific to your printer.
-
Identify Parts: Lay out the parts to see what you’re working with. Most 3D printers will come as separate components: the frame, the print bed, the extruder, and other attachments.
-
Assemble the Frame: Start by assembling the frame according to the provided instructions. This usually involves using screws or bolts to connect the various pieces. Make sure everything is tight, but don’t overdo it—stripped screws are not your friend!
-
Attach the Print Bed and Extruder: Next, attach the print bed and the extruder as indicated in the manual. This can be a bit tricky, but just take it slow.
-
Calibrate the Print Head: This part is crucial! Level the print bed to ensure your prints adhere properly. Most printers will guide you through this with a leveling process, but you can often adjust it manually if you catch any issues later.
3. Connecting to Power and Software Setup
Once your printer is physically assembled, it’s time to connect it to power. Plug it in and turn it on—get ready for that satisfying little beep! Next, you’ll need to install the necessary software.
-
Drivers and Software: Check the manufacturer’s website for the latest drivers and accompanying software. Most printers come with slicing software that converts your 3D models into a language the printer can understand. Common options include Cura and PrusaSlicer.
-
Load the Software: Download and install the software, and familiarize yourself with its interface. You’ll want to learn how to import models, modify settings, and, importantly, export G-code which is what your printer will read to create those amazing 3D objects.
4. Loading the Filament
Now for one of the most satisfying parts of the process—loading the filament!
-
Choose Your Filament: Most beginners start with PLA, as it’s easy to use and doesn’t require a heated bed.
-
Load the Filament: Depending on your printer, this can vary slightly, but typically you’ll need to cut the end of the filament at an angle and feed it into the extruder. Make sure it’s feeding smoothly until it reaches the hot end where it will melt and extrude from the nozzle.
5. Test Print Time!
With everything set, it’s time for the moment of truth. Load your slicing software and prepare a simple model for your first print. Many slicers come with pre-configured settings for common test prints.
-
Slice and Send: After you’ve made necessary adjustments (check bed temperature and print speed), slice the model and send it to your 3D printer.
-
Watch It Go: Keep an eye on your first print. Watching it layer by layer can be mesmerizing! Sometimes, the initial print may not go perfectly—that’s all part of the learning curve. Take notes and adjust accordingly for the next print.
Setting up your first 3D printer can feel daunting, but with a little patience and attention to detail, soon you’ll be creating impressive designs and fulfilling your creative potential. Remember, tinkering is part of the journey in 3D printing—embrace the learning and enjoy the prints to come! So, unleash your imagination, experiment, and happy printing!